A beautifully lit Christmas tree is the centerpiece of any holiday display. Yet, even with the best intentions, many people end up with uneven lighting, dark spots, or tangled strands that detract from the magic. Professional decorators achieve that full, glowing effect not by luck, but through consistent technique, planning, and attention to detail. The good news? You can replicate their results at home with the right approach. Whether you're working with a real fir or an artificial tree, mastering the art of wrapping lights transforms your tree from ordinary to extraordinary.
Start with the Right Materials
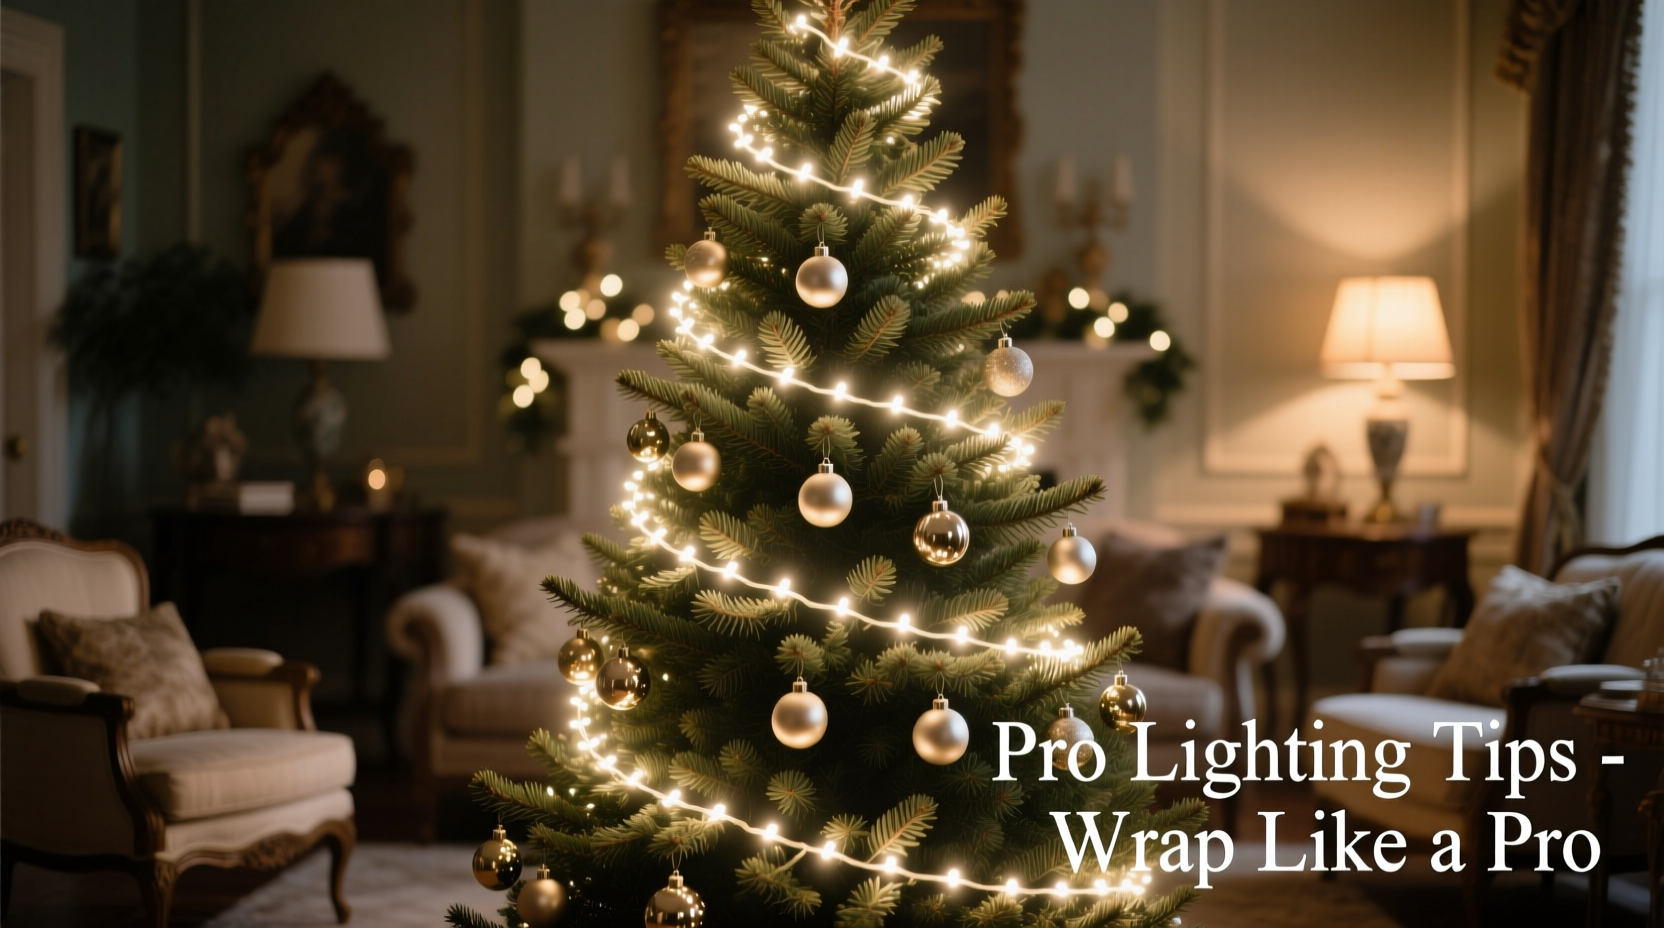
The foundation of a professionally lit tree begins long before you plug in the first strand. Choosing high-quality materials ensures durability, safety, and visual impact. Not all lights are created equal—some flicker, dim, or break easily, while others provide steady, vibrant illumination.
For optimal results, use LED mini lights. They consume less energy, generate minimal heat (making them safer around dry trees), and last significantly longer than traditional incandescent bulbs. Look for lights with a uniform color temperature—typically 2700K to 3000K for a warm white glow that mimics candlelight.
Consider the length and bulb count per strand. A general rule is 100 bulbs per foot of tree height. For example, a 6-foot tree should have about 600 bulbs—or six 100-light strands. Larger trees may require up to 1,000 bulbs or more. If using commercial-grade C7 or C9 bulbs, spacing and coverage differ, so adjust accordingly.
Tip: Always test your light strands before decorating. Plug them in to check for dead bulbs or faulty connections.Plan Your Lighting Strategy
Professional decorators don’t just drape lights haphazardly—they follow a deliberate pattern designed to maximize coverage and minimize shadows. The most effective method is the \"spiral wrap\" technique, which involves weaving lights from the top to the bottom in a continuous, overlapping spiral.
Begin by identifying the front of your tree—the side most visible from your main living area. This becomes your focal point, and lighting should be densest here. However, don't neglect the back and sides; guests move around, and gaps become obvious from different angles.
Decide whether you want a subtle glow or a bold, luminous statement. For a theater-like effect, layer multiple sets of lights. Some decorators use two colors—for example, warm white as a base with cool white accents deep within the branches to create depth.
“Lighting isn’t just about brightness—it’s about dimension. Pros use light to sculpt the tree, highlighting its shape and volume.” — Daniel Reyes, Lead Holiday Designer at Evergreen Displays
Step-by-Step Guide: Wrapping Your Tree Like a Pro
Follow this detailed process to achieve a seamless, professional-quality light wrap. This method works for both pre-lit and bare trees.
- Prepare the tree: Fluff every branch to create fullness. Bent or compressed branches block light and create uneven coverage. Work from the bottom up, pulling sections outward to mimic a natural conical shape.
- Anchor the first strand: Start at the top of the trunk, near the base of the tree cap or star. Secure the plug end of the first light strand with a twist tie or hook. This keeps the outlet accessible and prevents strain on the cord.
- Begin the spiral: Feed the lights down through the center of the tree, emerging near the outer tip of the topmost branch. This internal routing hides cords and allows light to radiate outward.
- Wrap clockwise or counter-clockwise: Choose one direction and stick to it. Move down in a consistent spiral, overlapping each level by about one-third. Aim for 4–6 wraps per foot of vertical height.
- Weave, don’t drape: Push each bulb slightly into the foliage, letting it nestle between branches rather than hanging loosely. This diffuses the light and prevents a “stringy” appearance.
- Cover all zones: Treat the tree in thirds—top, middle, and bottom. Spend extra time on the lower half, which is closest to viewers and often under-lit.
- Fill gaps: After completing the main wrap, walk around the tree. Use spare strands or clip-on spot lights to illuminate dark areas, especially near the trunk or backside.
- Connect and test: Link strands only if they’re designed for series connection (check packaging). Plug in the entire setup before adding ornaments to fix issues early.
Do’s and Don’ts of Professional Tree Lighting
Avoid common pitfalls that undermine your efforts. The table below outlines key practices to embrace or avoid.
| Do’s | Don’ts |
|---|---|
| Use a consistent bulb size and color across all strands | Mix different bulb types (e.g., mini and fairy lights) without planning |
| Fluff branches thoroughly before lighting | Leave branches flat or compressed |
| Route cords through the interior of the tree | Drape lights only on the surface |
| Test all strands before installation | Assume all lights work straight out of storage |
| Overlap wraps for even density | Space wraps too far apart, creating dark bands |
| Secure plugs and excess cord at the base | Leave dangling cords or loose connections |
Real Example: Transforming a Flat-Looking Tree
Sarah from Portland had a 7-foot pre-lit artificial tree that never looked right. Despite having 700 built-in lights, the tree appeared sparse, especially from the side. She followed the standard manufacturer’s suggestion—simply turning it on—but didn’t manually adjust the branches or supplement lighting.
After consulting a local holiday styling guide, she took the tree down, unplugged it, and began fluffing each section. She added two additional 350-light warm white LED strands, wrapping them using the spiral technique starting from the top. By weaving lights deep into the inner branches and focusing on the back and sides, she achieved balanced illumination. The result was a tree that glowed evenly from every angle, appearing almost twice as full. Neighbors later asked if she’d bought a new tree.
This case illustrates a crucial principle: even pre-lit trees benefit from supplemental lighting and intentional placement. Factory-installed lights are often spaced too widely or concentrated on the exterior.
Pro Tips for Long-Lasting, Flawless Results
Once your tree is lit, maintain its appearance throughout the season. Professionals keep their displays pristine with these advanced strategies:
- Layer lighting with ornament placement: Hang heavier ornaments first, then add lighter ones. Lights should remain visible behind decorations, not buried beneath them.
- Use dimmers or controllers: Smart plugs or dimmable strings allow you to adjust brightness for different times of day or moods.
- Rotate viewing angles: Step back frequently during installation to assess symmetry. What looks even up close may appear patchy from across the room.
- Label strands for next year: Use colored tags to mark which lights go where, especially if combining multiple sets.
- Store lights properly after use : Wrap them around a piece of cardboard or use a reel to prevent tangles. Never yank lights off the tree—remove them slowly from bottom to top.
Checklist: Achieve a Pro-Level Light Wrap
Use this checklist before, during, and after decorating to ensure flawless execution:
- ✅ Fluff and shape all tree branches
- ✅ Test every light strand for functionality
- ✅ Choose a consistent bulb type and color temperature
- ✅ Anchor the first strand at the top of the trunk
- ✅ Begin spiral wrapping from the top, moving downward
- ✅ Weave bulbs into the foliage, not just along the surface
- ✅ Overlap each horizontal level by one-third
- ✅ Check for dark spots from multiple angles
- ✅ Add supplemental lights if needed
- ✅ Conceal cords and secure loose ends
- ✅ Plug in and test the full setup before adding ornaments
- ✅ Label and store lights carefully after the season
Frequently Asked Questions
How many strings of lights do I need for my tree?
A reliable formula is 100 mini LED lights per foot of tree height. For a 7-foot tree, aim for 700 bulbs. If using larger C7 or C9 bulbs, reduce to about 50 per foot due to higher brightness. When in doubt, slightly over-light rather than under-light.
Should I put lights on before or after ornaments?
Always install lights before ornaments. This allows you to see exactly where bulbs are placed and avoid covering them with bulky decorations. It also reduces the risk of knocking off ornaments while handling cords.
Can I mix colored and white lights on the same tree?
Yes, but with intention. Many professionals use warm white as the base for overall glow and add colored lights sparingly for accent. For example, weave blue or gold strands deeper into the tree to create shimmering highlights. Avoid equal distribution of multiple colors unless going for a carnival-style look.
Final Thoughts: Elevate Your Holiday Display
Wrapping a Christmas tree in lights like a professional isn’t about expensive gear or secret tools—it’s about method, patience, and attention to detail. By treating the tree as a three-dimensional canvas and using consistent, inward-weaving spirals, you create a glow that feels immersive and luxurious. The transformation is immediate: what once looked flat and festive becomes radiant and refined.
Take your time. Step back often. And remember, the goal isn’t just to cover the tree in lights, but to let the light define its form. With these techniques, your tree won’t just be lit—it will shine with purpose and polish.
💬 Have a lighting hack or photo of your perfectly wrapped tree? Share your experience in the comments and inspire others to decorate with confidence!