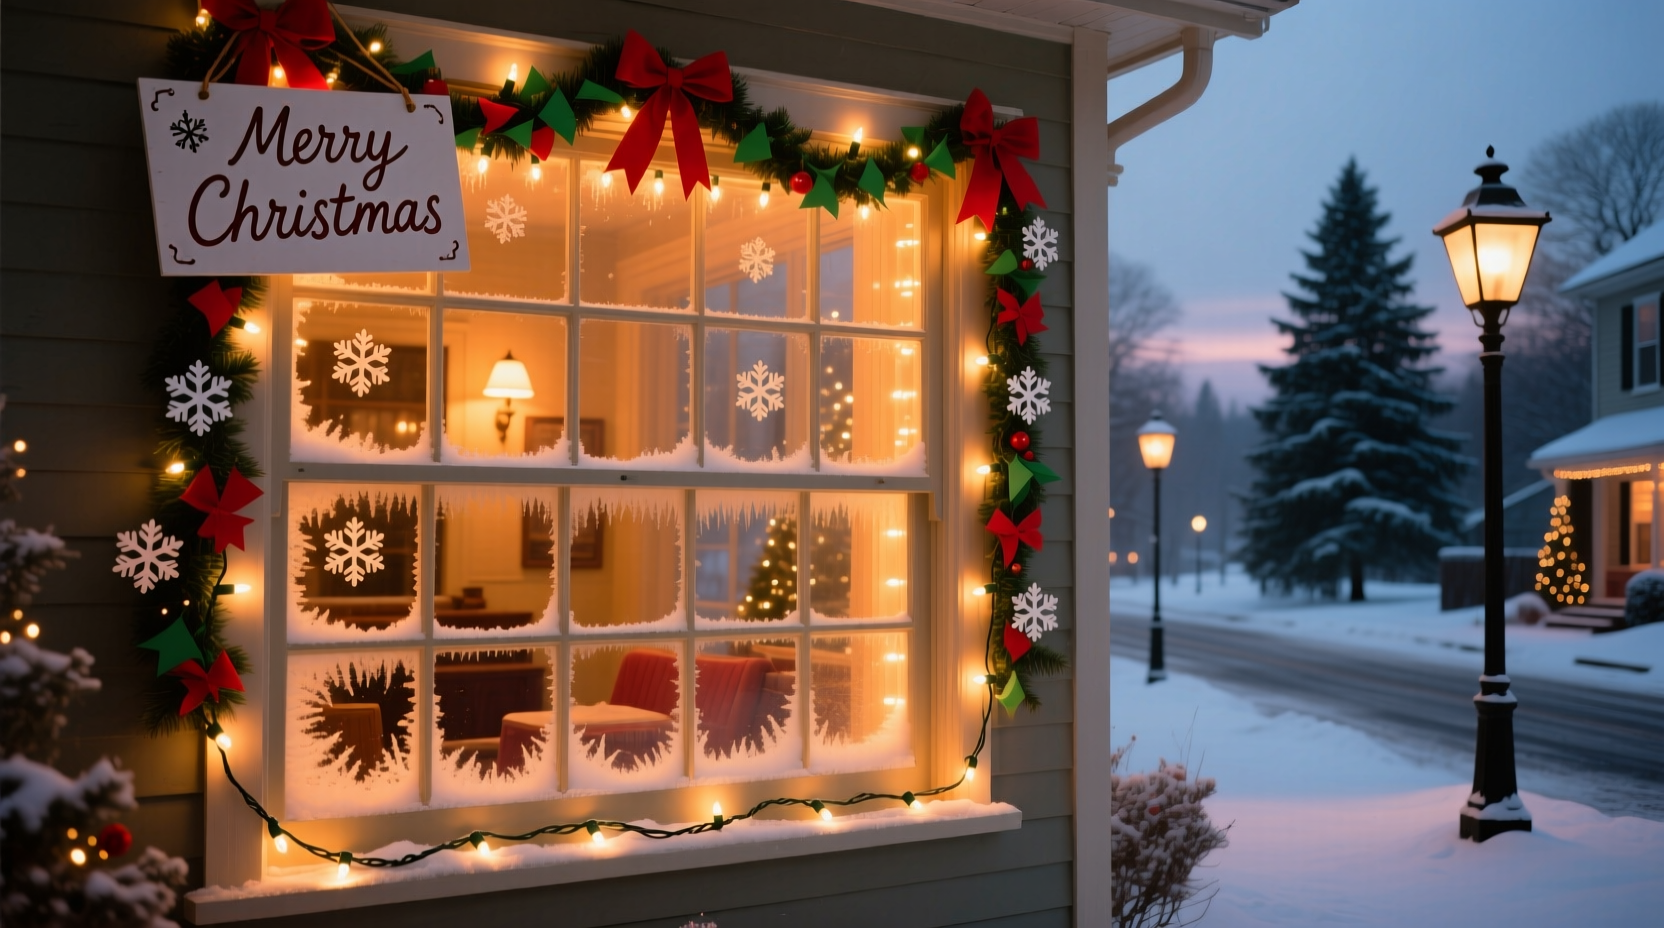
There’s something undeniably nostalgic about the warm glow of vintage Christmas lighting. In decades past, homes were adorned with simple, hand-strung bulbs that framed windows and doors in golden or multicolored light—no smart controls, no animated effects, just charm. Today, rope lights offer a modern way to recreate that classic aesthetic with ease and safety. Unlike older incandescent strands, modern LED rope lights are energy-efficient, durable, and flexible enough to follow window contours precisely. When used thoughtfully, they can transform your home into a retro winter wonderland that evokes memories of Christmases gone by.
This guide walks you through selecting the right rope lights, preparing your windows, installing them effectively, and enhancing the overall vintage ambiance without veering into kitsch. Whether you live in a mid-century ranch or a craftsman bungalow, outlining your windows with rope lights is an elegant way to celebrate the season with timeless style.
Choosing the Right Rope Lights for a Retro Aesthetic
Not all rope lights are created equal—especially when aiming for a vintage look. The key is to avoid overly bright, cool-toned, or flashy LEDs that scream “modern display.” Instead, focus on warmth, color consistency, and subtle diffusion.
Rope lights consist of small LED bulbs encased in a flexible plastic or silicone tube. This casing softens the light output, eliminating harsh glare and creating a continuous, even glow—ideal for framing architectural features like windows. For a retro effect, prioritize the following characteristics:
- Warm white or vintage amber tone: These mimic the soft yellow hue of incandescent bulbs from the 1950s–70s.
- Low lumen output (under 400 lumens per meter): Brightness should be inviting, not blinding.
- Matte diffuser tube: Prevents a “plastic” shine and gives a softer, more authentic appearance.
- Plug-in (not battery-powered): Ensures consistent brightness over long runs and avoids frequent replacements.
Avoid multicolor RGB strips unless you plan to use only warm white mode consistently. While fun for parties, shifting colors break the nostalgic illusion. If you want a hint of variety, consider dual-color rope lights that switch between warm white and soft red or amber—colors common in early electric holiday displays.
Step-by-Step Installation Guide
Installing rope lights around windows is straightforward but requires attention to detail for a clean, professional finish. Follow this timeline to achieve a polished retro look in under two hours (depending on the number of windows).
- Measure each window perimeter: Use a retractable tape measure to record the total linear feet around each window frame. Add 10% extra length to account for curves and connections.
- Cut or connect rope lights as needed: Most rope lights can be cut every 4–6 inches at designated cut marks. Ensure power ratings match if linking multiple sections.
- Test before mounting: Plug in the lights to confirm all segments work and the color temperature meets expectations.
- Prepare the surface: Clean the window frame with rubbing alcohol to remove dust and grease. This improves adhesive grip.
- Apply mounting clips or adhesive backing: Some rope lights come with pre-applied 3M tape; others require plastic clips screwed or taped lightly into place. Clips allow future removal without residue.
- Install the rope light slowly: Press the light firmly into place, following the window’s edge. Avoid sharp bends—maintain a minimum 1-inch radius to prevent internal damage.
- Conceal cords and plug: Route excess cord along baseboards or downspouts using cord covers or paint-matched wire clips. Plug into an outdoor-rated extension cord connected to a GFCI outlet.
- Add a timer: Set lights to turn on at dusk and off at bedtime (e.g., 5 PM–11 PM) for both convenience and energy savings.
For multi-pane windows, consider outlining only the outer perimeter rather than each individual sash. This keeps the look clean and period-appropriate—early Christmas displays emphasized simplicity over complexity.
Design Tips for Authentic Retro Appeal
The goal isn’t just to install lights—it’s to evoke a specific time and feeling. Mid-20th century holiday decor favored restraint, symmetry, and natural materials. To amplify the retro vibe, pair your rope lighting with complementary elements.
| Design Element | Do | Don’t |
|---|---|---|
| Color Scheme | Warm white, soft red, amber, or muted green | Bright blue, purple, or rainbow sequences |
| Window Dressings | Sheer ivory curtains or kraft paper snowflakes | Heavy blackout drapes or digital projectors |
| Additional Lighting | Frosted bulb string lights on nearby trees | Strobe effects or laser displays |
| Outdoor Accents | Vinyl records hung as ornaments, wooden sleds | Inflatable characters or neon signs |
Consider adding a few carefully placed vintage touches: a wreath made of pinecones and red berries, a hand-painted “Joy” sign in 1950s script, or milk glass candleholders on the windowsill. These details reinforce the era without overwhelming the space.
“Lighting sets the emotional tone of holiday decor. A single strand of warm rope lights can say more about tradition and warmth than a hundred flashing LEDs.” — Daniel Reeves, Lighting Historian & Author of *American Holiday Illuminations, 1940–1980*
Real Example: Reviving a 1950s Ranch Home’s Curb Appeal
Sarah Mendoza, a graphic designer in Pasadena, California, wanted to honor her 1957 ranch-style home during the holidays. She avoided modern inflatables and opted for a subdued retro theme centered on authenticity.
After researching mid-century Christmas photos, she purchased 75 feet of 12V warm white rope lighting with a matte silicone jacket. She outlined six large picture windows along the front façade, using adhesive clips to preserve the stucco finish. To complete the look, she added a vintage aluminum Christmas tree visible through the living room window, lit from within with soft white bulbs.
Neighbors began referring to her house as “the time capsule,” and local news even featured it in a segment on nostalgic holiday decorating. Sarah credits the rope lights as the foundation of the design: “They didn’t shout for attention. They just glowed—like someone had left the porch light on for you.”
Common Mistakes and How to Avoid Them
Even experienced decorators can misstep when working with rope lights. Here are frequent errors and practical solutions:
- Mistake: Using cool white lights – These appear clinical and disrupt the cozy retro mood. Solution: Always test lights in person before full installation; view them at night in outdoor conditions.
- Mistake: Overlapping or bunching lights – Creates uneven brightness and visual clutter. Solution: Maintain consistent spacing and avoid doubling up on corners.
- Mistake: Exposed cords running across siding – Breaks immersion and looks unprofessional. Solution: Use paintable PVC cord channels or route wires behind gutters where safe and permitted.
- Mistake: Ignoring weather resistance – Indoor-rated rope lights degrade quickly outdoors. Solution: Only use lights rated IP65 or higher for exterior applications.
Frequently Asked Questions
Can I leave rope lights on overnight?
Yes, LED rope lights generate minimal heat and are safe for extended use. However, pairing them with a timer enhances longevity and reduces energy use. Never leave non-LED or damaged lights unattended for long periods.
How do I remove rope lights without damaging paint or siding?
If using adhesive-backed lights, gently warm the strip with a hairdryer and peel slowly at a 180-degree angle. Residue can be removed with rubbing alcohol or adhesive remover. For clip-mounted systems, simply unscrew or unclip—no residue remains.
Are rope lights suitable for historic homes?
Yes, especially when installed non-invasively. Use removable clips instead of nails or permanent glue. Consult local preservation guidelines if your home is in a historic district, as some regulations limit visible electrical modifications.
Checklist: Installing Retro-Style Window Rope Lights
- ☐ Measure all window perimeters and order sufficient rope light length
- ☐ Select warm white, low-lumen, matte-finish rope lights (IP65+ for outdoors)
- ☐ Test lights before installation
- ☐ Clean window frames with alcohol wipes
- ☐ Install mounting clips or apply adhesive backing
- ☐ Carefully attach rope light, avoiding sharp bends
- ☐ Conceal cords using raceways or painted clips
- ☐ Connect to outdoor-safe extension cord and GFCI outlet
- ☐ Program timer for dusk-to-bedtime operation
- ☐ Step back and view at night to assess evenness and tone
Final Thoughts: Light with Intention
Using rope lights to outline windows isn’t just about decoration—it’s about storytelling. Each glowing line recalls an era when holidays were marked by patience, craftsmanship, and quiet joy. By choosing warmth over wattage and simplicity over spectacle, you create more than a festive display. You craft an invitation: a visual cue that says this home values memory, comfort, and continuity.
The retro Christmas vibe isn’t about replicating the past perfectly. It’s about borrowing its best qualities—authenticity, warmth, restraint—and weaving them into today’s world. Rope lights, humble as they may seem, are powerful tools in that effort. When installed with care, they don’t just illuminate windows. They illuminate feeling.
💬 Ready to bring back the glow? Start measuring your windows tonight and share your retro lighting journey in the comments. What childhood Christmas memories inspire your decor?