Sleeping through the night shouldn’t be a luxury. Yet for many, noise from neighbors, traffic, or household activity turns rest into a challenge. While full-scale renovations like adding insulation or rebuilding walls are effective, they’re costly and disruptive. The good news? You can significantly reduce unwanted noise in your bedroom without touching a single wall stud or spending thousands.
Effective soundproofing isn’t just about blocking sound—it’s about managing how sound travels, reflects, and is absorbed within a space. With smart, low-cost strategies, you can create a quieter, more peaceful bedroom using everyday materials and simple modifications. This guide focuses exclusively on non-permanent, renter-friendly, and budget-conscious solutions that deliver measurable results.
Understanding How Sound Travels
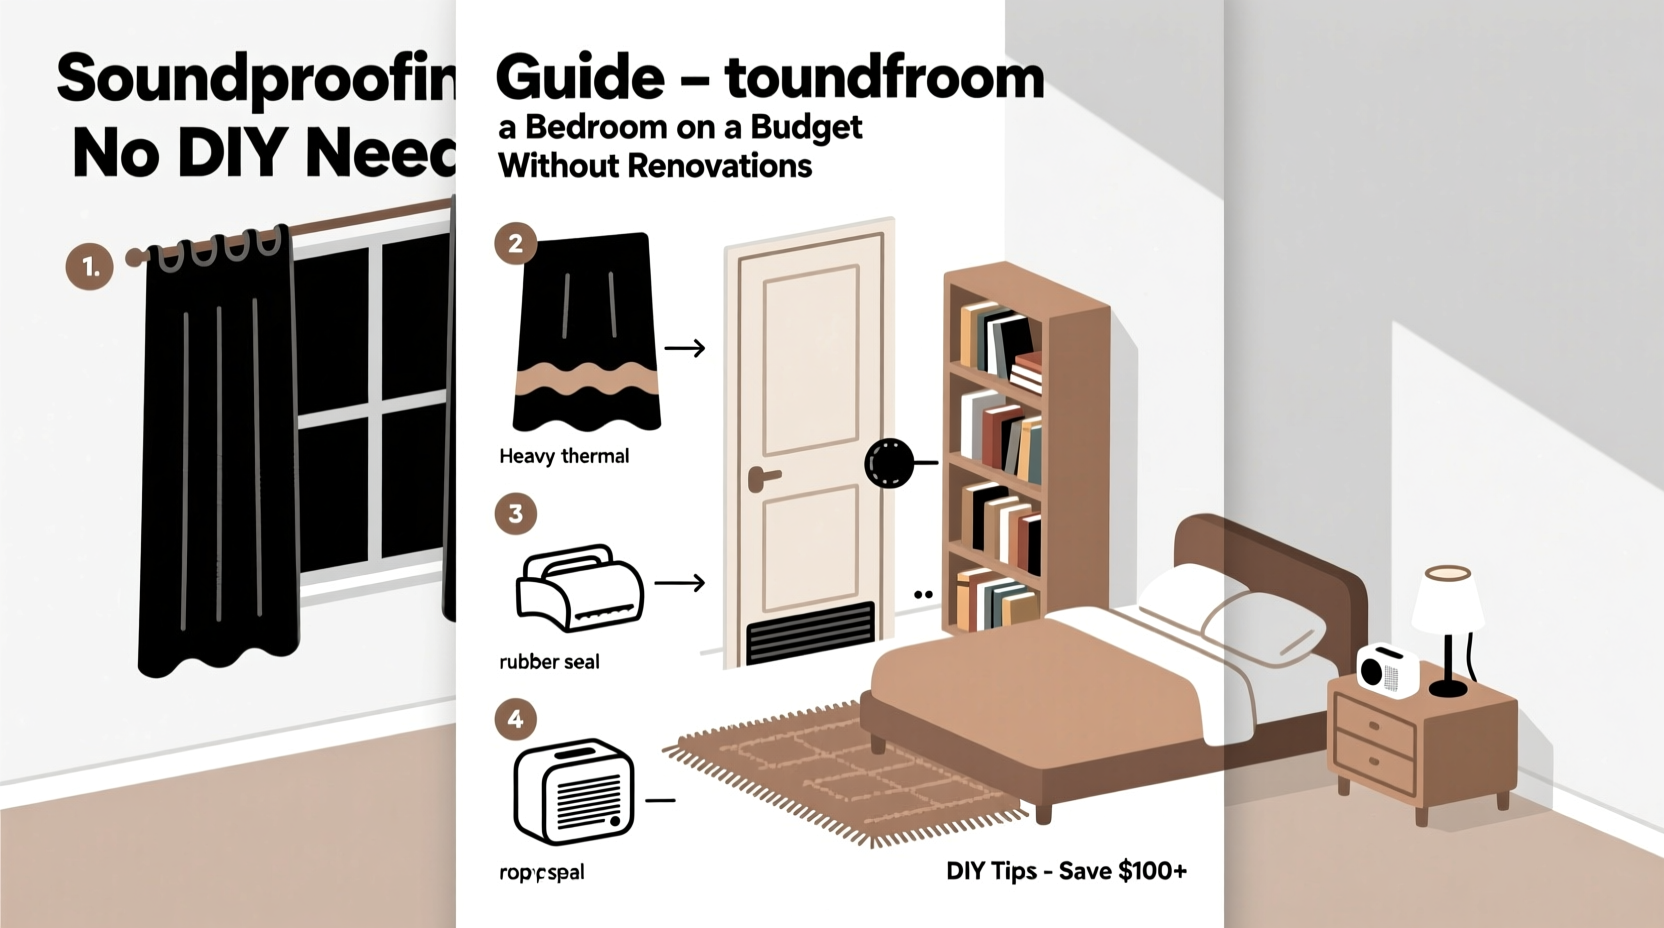
Before applying any fix, it helps to understand the mechanics of noise. Sound moves in waves, entering your room through two primary paths: airborne and structure-borne.
- Airborne noise includes voices, music, barking dogs, and TV sounds—these travel through the air and enter via gaps in doors, windows, and ventilation.
- Structure-borne noise comes from footsteps, moving furniture, or vibrations that travel through floors, walls, and ceilings.
Most bedroom disturbances are airborne, especially in apartments or shared homes. The key to reducing them lies in three principles: mass (adding density), sealing gaps (eliminating air leaks), and absorption (softening reflections).
“Even small improvements in sound isolation can lead to better sleep quality and reduced stress.” — Dr. Lena Torres, Acoustic Researcher at Urban Living Institute
Seal All Air Leaks for Immediate Results
Sound sneaks through tiny openings just like air. A gap under a door or around a window frame may seem insignificant, but it acts as a direct channel for noise. Sealing these leaks is one of the most cost-effective ways to improve sound isolation.
Focus Areas for Sealing
| Area | Common Problem | Budget Solution |
|---|---|---|
| Door Bottom | Gaps up to 1 inch allow heavy noise flow | Attach a draft stopper or use a rolled towel |
| Door Sides/Top | Cracks around frame | Install adhesive weatherstripping tape |
| Windows | Loose sashes, worn seals | Apply removable acoustic sealant or use window plugs |
| Electrical Outlets | Backside cavities transmit hallway noise | Use foam gaskets behind outlet covers |
| Vents & Ducts | Open pathways between rooms | Cover with magnetic vent covers when not in use |
For doors, consider a temporary door sweep or a DIY draft snake made from fabric and rice. These cost under $10 and can reduce noise transmission by up to 50% if applied correctly. Weatherstripping tape—especially V-strip or felt varieties—can be cut to size and pressed onto door frames in minutes.
Tip: Test for leaks by holding a lit candle near the door or window. If the flame flickers, you’ve found a sound entry point.Add Mass and Density to Key Surfaces
Mass blocks sound. Heavier, denser materials make it harder for sound waves to vibrate through surfaces. Since you can’t add drywall or insulation, focus on layering existing surfaces with affordable, removable products.
Windows: The Weakest Link
Standard single-pane windows offer almost no sound resistance. Upgrading glass is expensive, but you can enhance existing windows using secondary glazing or thick coverings.
- Plexiglass inserts: Cut a sheet of acrylic to fit inside the window frame. Mount it with removable clips. This creates an air gap that disrupts sound waves.
- Thick curtains: Use heavy blackout or moving blankets hung close to the glass. Look for fabrics with high STC (Sound Transmission Class) ratings.
- Drapery rods: Install ceiling-mounted or floor-to-ceiling rods to ensure full coverage and minimize side gaps.
One study found that layered thermal curtains reduced mid-frequency noise (like speech) by up to 40%. Combine this with a sealed window frame, and the improvement becomes noticeable overnight.
Floors: Reduce Impact Noise
If you're on an upper floor, footsteps from above or your own movement can echo. Area rugs with thick padding absorb both impact and reflected sound.
- Choose rugs with rubber or foam backings—at least 1/2 inch thick.
- Layer multiple smaller rugs if a large one doesn’t fit your budget.
- Place rugs strategically near beds, desks, or high-traffic zones.
Rugs won’t block sound from traveling between floors, but they reduce reverberation within the room, making external noise less intrusive.
Walls: Temporary Panels and Furnishings
You don’t need to rebuild walls to add mass. Use furniture and soft panels as barriers.
- Position bookshelves filled with books against noisy walls. Books are dense and irregularly shaped, which helps scatter sound.
- Hang quilts, tapestries, or sound-absorbing foam panels (used in home studios) on problem walls.
- Use freestanding room dividers filled with insulation material—some models are designed specifically for acoustic control.
Note: While foam panels don’t block sound, they reduce echo and make the room feel quieter by minimizing internal reflections.
Strategic Furniture Placement and Room Layout
The way you arrange your bedroom impacts how sound behaves. Thoughtful placement of large objects can act as natural sound barriers.
Blocking Sound Pathways
If noise enters from a specific direction—a shared wall with a living room or a hallway door—position heavy furniture between the source and your bed. A dresser, wardrobe, or tall bookshelf serves as a physical buffer.
Avoid placing the bed directly against a shared wall. Even with insulation, vibrations pass easily through lightweight framing. Pulling the bed 6–12 inches away reduces contact transmission and improves comfort.
Using Soft Furnishings to Absorb Echo
Hard surfaces like wood floors, glass, and bare walls reflect sound, creating a “live” room that amplifies noise. Soft materials absorb these reflections.
- Add upholstered chairs or a padded bench at the foot of the bed.
- Use mattress toppers with memory foam—they slightly dampen vibrations.
- Incorporate throw pillows and layered bedding; while minor, every soft surface contributes.
This approach won’t eliminate outside noise, but it transforms the acoustic character of the room, making it feel calmer and more private.
Tip: Group soft materials near where you spend the most time—your bed or reading chair—for maximum perceptual quiet.Step-by-Step Guide: Soundproof Your Bedroom in One Weekend
You don’t need weeks of effort. Follow this realistic, weekend-long plan to achieve noticeable improvements.
- Day 1 Morning – Identify Noise Sources
Walk around your bedroom while someone makes noise outside (e.g., talking, playing music). Note where sound is loudest—door, window, wall, or floor. - Day 1 Afternoon – Seal Gaps
Apply weatherstripping to the door, install a draft stopper, and seal window edges with removable tape. Add foam gaskets to outlets on shared walls. - Day 1 Evening – Hang Window Coverings
Install a ceiling-mounted rod and drape thick curtains over windows. Ensure they extend beyond the frame on all sides. - Day 2 Morning – Rearrange Furniture
Move your bed away from shared walls. Place bookshelves or dressers between noise sources and sleeping areas. - Day 2 Afternoon – Add Floor and Wall Softness
Lay down a rug with padding. Hang a quilt or foam panel on reflective walls. - Day 2 Evening – Test and Adjust
Have someone repeat the noise test. Listen for improvements. Tweak curtain tightness or reposition rugs as needed.
This sequence costs under $100 if using secondhand items or repurposed materials. Most supplies are available at hardware stores, dollar shops, or online marketplaces.
Mini Case Study: Maria’s Apartment Bedroom Transformation
Maria lives in a third-floor apartment in Chicago, where late-night street noise and thin walls made sleep difficult. She couldn’t modify the structure—her lease prohibited permanent changes. On a $75 budget, she implemented the following:
- $12: Door draft snake filled with rice and sewn from old fabric
- $20: Blackout thermal curtains with grommets
- $15: Self-adhesive weatherstripping for door and window
- $28: Used area rug with rubber backing from a thrift store
- $0: Bookshelf moved from another room and filled with her collection
After one weekend, Maria reported being able to fall asleep 30 minutes earlier and waking up less frequently. A decibel app measured a 10 dB reduction near her bed—equivalent to cutting perceived loudness nearly in half.
“I didn’t think such small things could help,” she said. “But closing those gaps really blocked the city hum. Now I barely hear the sirens.”
Checklist: Budget Soundproofing Essentials
Keep this list handy when shopping or planning your project:
- ✅ Draft stopper or DIY door snake
- ✅ Weatherstripping tape for doors and windows
- ✅ Thick curtains or moving blankets
- ✅ Ceiling-mount curtain rod for full coverage
- ✅ Rug with dense padding (at least 1/2 inch)
- ✅ Foam gaskets for electrical outlets
- ✅ Bookshelf or tall furniture for wall buffering
- ✅ Removable adhesive hooks for hanging panels
- ✅ Decibel meter app to test before/after levels
Frequently Asked Questions
Will soundproof curtains block all noise?
No single product eliminates all sound, but quality soundproof curtains can reduce mid-range frequencies (like voices) by 30–50%. They work best when combined with sealed gaps and other mass layers. For low-frequency noise (bass), additional mass and air gaps are required.
Can I soundproof without damaging walls or paint?
Absolutely. All methods described here use removable adhesives, freestanding furniture, or non-invasive attachments. Weatherstripping peels off cleanly, rugs lay flat, and curtains hang from tension rods or command hooks. Nothing requires drilling or permanent modification.
Is it worth soundproofing if I’m renting?
Yes—especially since quiet improves sleep, concentration, and well-being. Many landlords appreciate tenants who maintain peace. Plus, most materials can be taken with you when you move, offering long-term value.
Final Thoughts: Small Changes, Big Impact
Creating a quiet bedroom doesn’t require demolition or deep pockets. By focusing on airflow, mass, and absorption, you can dramatically reduce noise intrusion using tools and materials already within reach. The most effective strategies are often the simplest: sealing cracks, layering textiles, and rearranging what you already own.
Start with one weak point—usually the door or window—and build from there. Measure your progress by how rested you feel, not just by equipment readings. Peaceful sleep is a form of self-care, and every step toward quiet is a step toward better health.
🚀 Ready to reclaim your quiet? Pick one strategy from this guide and implement it tonight. Share your progress or tips in the comments—your solution might help someone else finally get some rest.