
As the holiday season approaches, many homeowners look forward to transforming their homes into festive displays with strings of twinkling Christmas lights. However, one common challenge arises when trying to hang these lights on homes with vinyl, aluminum, or fiber cement siding: how to do so without causing cracks, warping, or permanent holes. Traditional methods like nails or staples may seem convenient but can compromise both the appearance and integrity of your exterior walls. The good news is that there are multiple damage-free solutions that provide a secure hold while preserving your siding for years to come.
This guide explores proven techniques, tools, and best practices to help you decorate safely and beautifully—without risking costly repairs or voiding manufacturer warranties on your siding.
Understanding Siding Materials and Risks
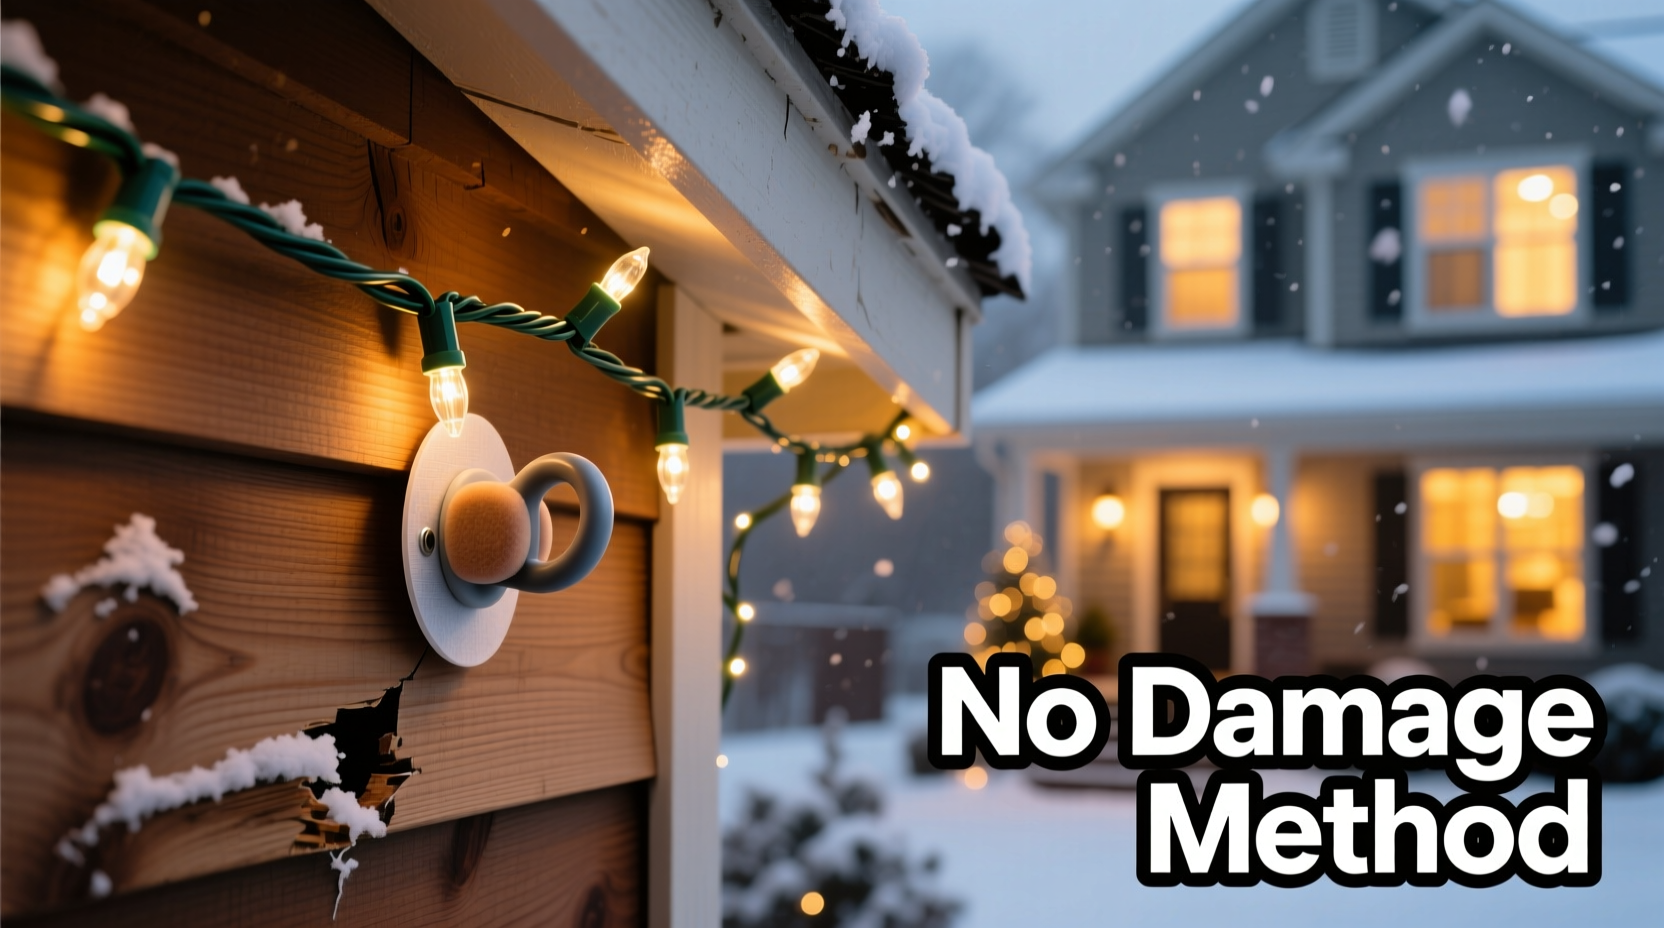
Before choosing a method to hang Christmas lights, it’s essential to understand the type of siding your home has. Different materials react differently to fasteners, temperature changes, and pressure.
- Vinyl Siding: Lightweight and flexible, but prone to cracking in cold weather if punctured or over-tightened.
- Aluminum Siding: Durable but can dent easily; drilling creates entry points for moisture and corrosion.
- Fiber Cement (e.g., HardieBoard): Extremely tough but brittle—drilling without proper tools can cause chipping or structural weakening.
- Wood Siding: Can accept nails, but repeated use in the same spots leads to rot and water intrusion over time.
Regardless of material, any penetration compromises the siding’s ability to shed water and insulate properly. Even small holes can expand due to freeze-thaw cycles, leading to leaks, mold, or pest entry.
“Homeowners often don’t realize that even minor punctures in siding can lead to significant moisture damage over time,” says Mark Reynolds, a certified building inspector with over 20 years of experience. “Using non-invasive hanging methods isn’t just about aesthetics—it’s a long-term investment in your home’s integrity.”
Safe & Effective Alternatives to Nails and Staples
The key to securing outdoor Christmas lights without damaging siding lies in leveraging tension, adhesion, and design-specific hardware that works *with* your existing structure—not against it.
1. Use Siding Clips Designed for Holiday Lighting
Siding clips are specially engineered to slide under the horizontal seams of vinyl or aluminum panels, allowing lights to be hooked securely without any drilling or adhesive residue.
Tip: Choose UV-resistant plastic clips labeled for outdoor use—they won’t become brittle after winter exposure.These clips come in two main styles:
- J-Hooks: Slide under the siding edge and hold one string per clip.
- Multi-Grip Clips: Feature several attachment points for bundled strands or icicle lights.
Installation is simple: gently lift the bottom edge of the siding panel, insert the tab of the clip, and release. Then snap your light strand into place. Most clips cost less than $1 each and can be reused year after year.
2. Apply Heavy-Duty Outdoor Adhesive Hooks
For homes with smooth surfaces or limited access to siding grooves, adhesive hooks offer a reliable alternative. Look for products rated for extreme temperatures and high weight capacity.
| Product Type | Weight Capacity | Removal Method | Best For |
|---|---|---|---|
| 3M Command™ Outdoor Hooks | Up to 2 lbs per hook | Tab-and-pull release | Light strands, garlands |
| Adhesive Rope Clips | 1–1.5 lbs | Peel off backing | Thin wire lights |
| Metal Hooks with Epoxy Base | 5+ lbs | Requires scraping | Heavy displays (use cautiously) |
Always clean the surface with isopropyl alcohol before applying adhesive products. Wait at least 24 hours after installation before hanging lights to ensure full bond strength.
3. Utilize Gutter and Roof Edge Attachments
If your lights run along rooflines or eaves, consider attaching them to gutters instead of walls. Gutter hooks, magnetic mounts (for metal gutters), or clamp-style brackets distribute weight safely.
- Gutter hooks made from coated steel prevent scratching.
- Magnetic hangers work well on steel-faced gutters and allow quick repositioning.
- Overhang clips grip the roof edge without penetrating shingles.
This strategy minimizes contact with siding altogether while providing a stable base for top-heavy lighting arrangements.
Step-by-Step Guide: Installing Lights Without Damage
Follow this timeline to install your outdoor Christmas lights efficiently and safely.
- Week 1: Plan Your Layout
Sketch your house outline and mark where lights will go. Measure total linear feet needed and purchase extra (10–15%) for adjustments. - Day Before Installation: Test All Strings
Plug in every strand to check for dark bulbs or broken connections. Replace faulty sections early. - Installation Morning: Prepare Tools
Gather clips, gloves, ladder, level, zip ties (for bundling), and extension cords rated for outdoor use. - Start at One Corner
Begin installing siding clips or adhesive hooks along the planned path. Keep spacing consistent—usually 12 to 18 inches apart. - Attach Lights Gradually
Snap each section into place as you unroll the string. Avoid pulling tightly; allow slight sag for natural drape. - Secure Power Source
Use a weatherproof outlet cover and ground-fault circuit interrupter (GFCI) outlet. Elevate plugs off the ground with a raised platform or block. - Final Check
Walk around the house to verify alignment, brightness, and safety clearance from doors, walkways, and vents.
Common Mistakes to Avoid
Even well-intentioned decorators make errors that risk property damage or electrical hazards. Be mindful of these pitfalls:
- Overloading Circuits: Don’t plug more than three standard incandescent strands into one outlet. Use LED lights to reduce energy draw.
- Using Indoor-Only Products Outside: Indoor clips and tapes degrade quickly in rain and cold.
- Ignoring Manufacturer Warnings: Some siding brands explicitly void warranties if holes are drilled—even small ones.
- Leaving Lights Up Too Long: Prolonged exposure to sun and snow accelerates wear. Remove within two weeks after New Year’s.
- Pulling Siding Too Hard: When inserting clips, never force the panel open beyond its natural flex. This can dislodge locking mechanisms.
Real Example: A Homeowner’s Smart Upgrade
When Sarah Thompson first decorated her 2005 vinyl-sided colonial in upstate New York, she used staple guns like her parents had done for decades. By spring, she noticed warped panels near the roofline and tiny gaps where water had seeped behind the siding.
Determined to fix the issue before winter, she consulted a contractor who advised switching to siding clips. That next holiday season, Sarah invested $30 in 50 reusable J-clips. She completed the job in under three hours and found the clips held better than staples. Over the next five years, she reused them annually—with no further siding issues.
“It felt like such a small change,” she said, “but it saved me hundreds in potential repair costs. Now I recommend clips to everyone on my neighborhood Facebook group.”
Checklist: Damage-Free Christmas Light Installation
Use this checklist to ensure a smooth, safe decorating process:
- ✅ Identify your siding type and consult manufacturer guidelines
- ✅ Purchase appropriate clips or adhesive hooks (UV-rated, outdoor-safe)
- ✅ Clean mounting surfaces thoroughly before applying adhesives
- ✅ Test all light strings before installation
- ✅ Install clips or hooks with even spacing (12–18 inches apart)
- ✅ Allow slack between supports to prevent tension on fasteners
- ✅ Use GFCI-protected outlets and waterproof cord connectors
- ✅ Remove lights promptly after the holidays to extend lifespan
- ✅ Store lights coiled neatly with labels for future use
- ✅ Inspect siding post-removal for any signs of stress or residue
Frequently Asked Questions
Can I reuse siding clips every year?
Yes, most high-quality plastic or rubber-coated siding clips are designed for multi-year use. Store them indoors during off-seasons to prevent UV degradation. Inspect for cracks or brittleness before reusing.
Do adhesive hooks really hold in freezing temperatures?
High-performance outdoor adhesives, especially those using 3M’s Command technology, are formulated to remain bonded between -20°F and 125°F. Proper surface prep is critical—clean, dry, and grease-free areas yield the best results.
What should I do if I already have holes from previous years?
Small nail holes in vinyl or aluminum siding typically don’t require repair unless they’re leaking. For larger damage, consult a siding professional. Some manufacturers offer patch kits. Never caulk over holes unless recommended by the installer, as trapped moisture can cause hidden rot.
Protect Your Home While Celebrating the Season
Decorating for the holidays should bring joy—not unexpected repair bills. By choosing smart, non-invasive methods to secure your outdoor Christmas lights, you preserve your home’s curb appeal and structural health. Whether you opt for siding clips, adhesive hooks, or gutter-based systems, the right tools make all the difference.
Take a few extra minutes to plan your approach, invest in reusable supplies, and follow best practices for installation and removal. These small efforts pay off in long-term savings and peace of mind.
💬 Have a favorite damage-free lighting trick? Share your tip in the comments below and help fellow homeowners light up their holidays safely!