A small closet without built-in shelves presents a common but solvable challenge. Many homes—especially older apartments or compact modern units—feature closets that are little more than empty boxes with a door. Without structural shelving, it’s easy for these spaces to become dumping grounds for clothes, shoes, and accessories. However, the absence of fixed shelves doesn’t mean you’re out of options. In fact, it opens the door to creative, flexible, and highly personalized organization systems. With the right tools and strategies, even the tiniest closet can be transformed into an efficient, accessible, and visually calming storage hub.
Assess Your Space and Needs
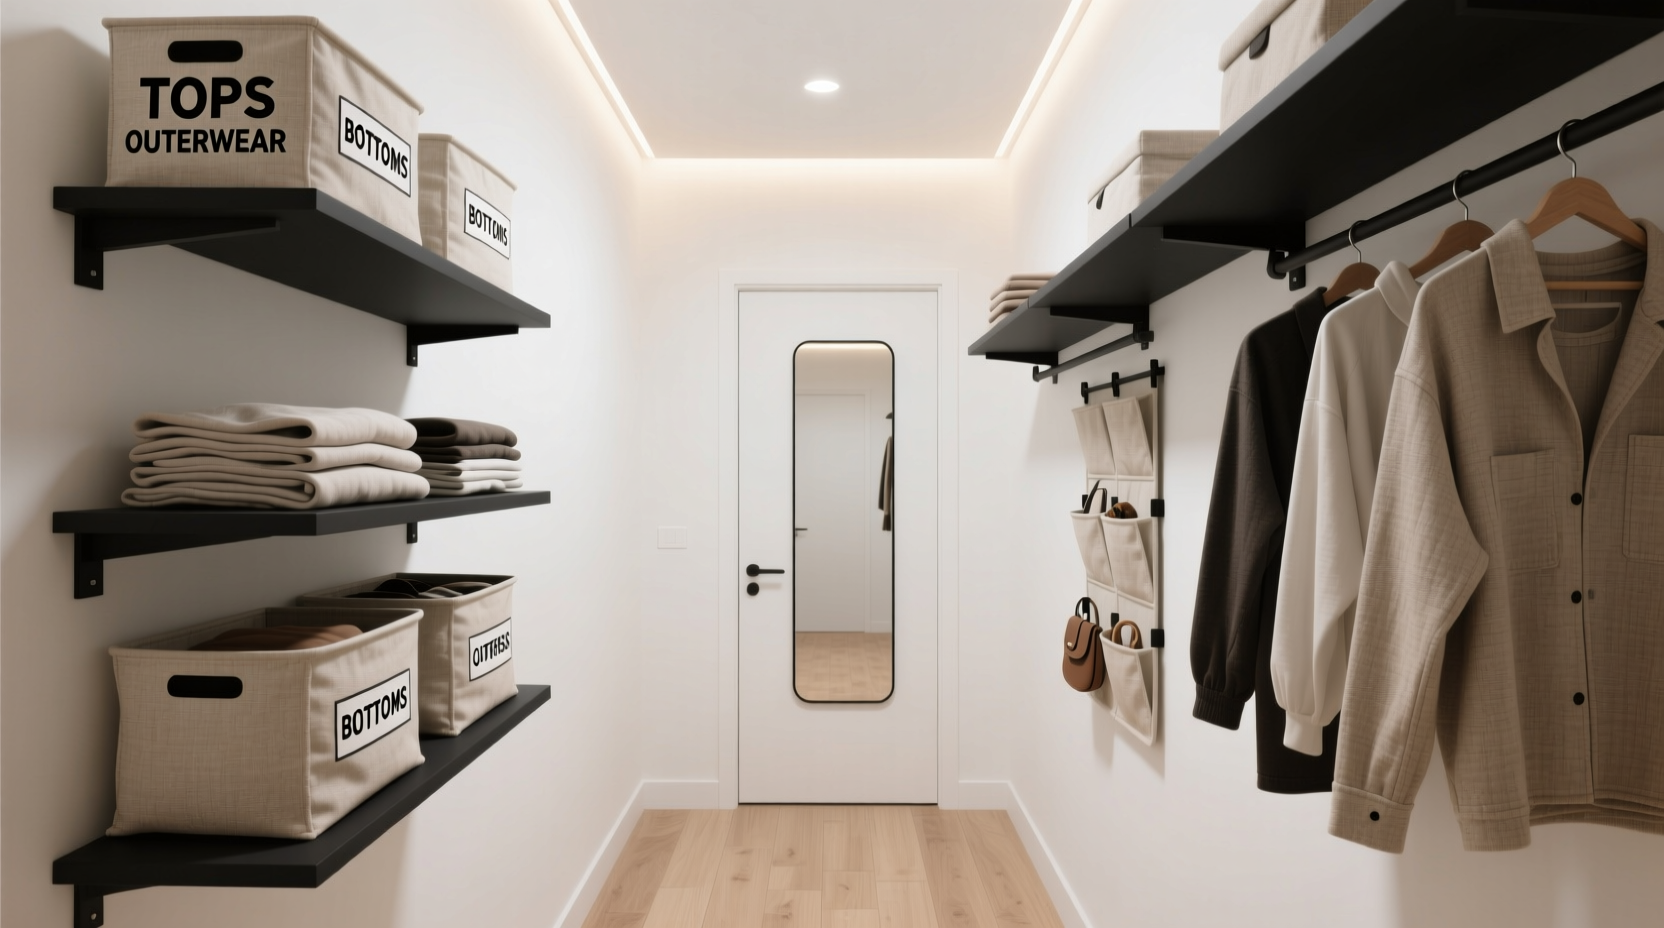
Before purchasing any storage products, take time to evaluate your closet’s dimensions and your personal usage patterns. Measure the width, depth, and height of the space. Note where lighting falls, where the door swings, and whether there are obstructions like pipes or vents. This baseline data will guide your decisions and prevent costly mistakes.
Next, analyze what you actually store in your closet. Is it primarily clothing? Do you keep shoes, bags, seasonal items, or household supplies inside? Understanding your inventory helps determine which organizational methods will work best. For instance, someone with a large shoe collection may prioritize floor-level storage, while a minimalist dresser might focus on vertical hanging solutions.
Tip: Take everything out of the closet before organizing. This forces you to assess each item and prevents re-stuffing clutter.Declutter First, Organize Later
Begin by removing all contents from the closet. Sort items into four clear categories: keep, donate, repair, and discard. Be ruthless—anything unworn for over a year, ill-fitting, or damaged beyond repair should go. Use this moment to practice mindful consumption. The smaller the closet, the more important it is to maintain a lean, functional wardrobe.
After decluttering, group remaining items by category: tops, bottoms, dresses, outerwear, etc. Within those groups, further sort by frequency of use. Daily wear items should be most accessible; seasonal or occasional pieces can occupy less convenient spots.
Maximize Vertical Space with Hanging Solutions
In a shelf-less closet, vertical space is your greatest asset. Standard rod-mounted closets often underutilize the area above and below hanging clothes. To overcome this, adopt layered hanging systems that make every inch count.
- Double-hang rods: Install a second rod below the existing one to create two tiers of hanging space. This works especially well in deeper closets. Use the upper rod for shirts and blouses, the lower for pants or skirts.
- Hanging organizers: Fabric or canvas multi-tier units hang directly from the rod and provide compartments for folded items like sweaters, jeans, or workout clothes.
- Cascading hangers: These allow multiple garments to hang from a single hook, ideal for scarves, ties, or tank tops.
“Vertical layering is the key to small-space efficiency. By stacking functions rather than spreading them, you gain up to 70% more usable space.” — Lena Torres, Interior Organization Consultant
Use Adjustable Shelving Alternatives
Since your closet lacks built-in shelves, portable or modular shelving offers a customizable alternative. Unlike permanent installations, these systems adapt as your needs change.
| Solution | Best For | Pros | Cons |
|---|---|---|---|
| Fabric cube organizers | Folded clothes, accessories | Affordable, breathable, easy to move | Less rigid support |
| Stackable plastic bins | Seasonal storage, shoes | Durable, dust-resistant, stackable | Can look utilitarian |
| Metal or wood shelving towers | Heavy items, bags, baskets | Sturdy, stylish, long-lasting | Bulkier footprint |
| Over-the-door organizers | Belts, scarves, jewelry | Uses unused door space | Limited weight capacity |
Create Zones for Different Categories
An organized closet isn’t just about fitting everything in—it’s about making things easy to find. Divide your closet into distinct zones based on function and frequency of access. Common zones include:
- Hanging zone: Reserved for wrinkle-prone or frequently worn items like shirts, dresses, and jackets.
- Folded zone: Use shelves or bins for knits, tees, and loungewear that can be stacked without damage.
- Shoe zone: Keep footwear off the floor with tiered racks, clear boxes, or under-hanging organizers.
- Accessories zone: Dedicate a small area for belts, hats, or jewelry using hooks, trays, or hanging pockets.
- Seasonal zone: Store off-season clothes in labeled, flat containers at the top or back of the closet.
Zoning reduces decision fatigue. When everything has a designated home, putting things away becomes automatic, not a chore.
Real Example: Transforming a 3x5 Foot Closet
Consider Maria, a graphic designer living in a studio apartment with a narrow closet measuring just 3 feet wide and 5 feet deep. Initially crammed with mismatched hangers and overflowing piles, she decided to reorganize using only non-permanent solutions.
She began by clearing everything out and donating over half her wardrobe. Then, she installed a second hanging rod 18 inches below the original using inexpensive tension rods. Above it, she added a fabric shelf organizer for folded sweaters. On the floor, she placed three stackable bins: one for pajamas, one for workout gear, and one for off-season layers. Shoes were arranged on a slim, angled rack tucked into the corner.
The result? A fully functional closet that felt twice as large. More importantly, Maria reported spending less time choosing outfits and never losing track of essentials.
Step-by-Step Guide to Organizing Your Shelf-Free Closet
Follow this seven-step process to transform your bare-bones closet into a streamlined system:
- Empty the closet completely. Remove every item to start fresh.
- Sort and declutter. Categorize belongings and remove anything no longer needed.
- Measure the space. Record exact dimensions to plan furniture and storage fit.
- Choose a layout strategy. Decide between double-hanging, freestanding shelves, or modular cubes.
- Purchase adaptable storage tools. Focus on lightweight, adjustable, and stackable options.
- Install hanging and floor systems. Set up rods, organizers, and bins according to your zoning plan.
- Place items back mindfully. Assign each category a specific zone and maintain consistency.
This methodical approach ensures you don’t skip critical steps and avoid common pitfalls like overcrowding or poor accessibility.
Smart Storage Products That Work Without Shelves
You don’t need to remodel to gain functionality. Several affordable, renter-friendly products are designed specifically for shelf-free environments:
- Tension pole organizers: These extend vertically between floor and ceiling and support multiple hanging bars or shelves. Ideal for corners or narrow walls.
- Freestanding closet systems: Units like IKEA’s SKUBB or Elfa-style towers offer full closet functionality without drilling.
- Over-the-door storage: Clear pockets or mesh organizers maximize door space for small items.
- Drawer pedestals: Rolling units with drawers or cubbies serve as both storage and elevated platforms for bins.
- Shoe carousels or turntables: Great for deep closets, allowing access to back-row shoes without pulling everything forward.
Frequently Asked Questions
Can I add shelves without drilling into the wall?
Yes. Tension rods, freestanding shelving units, and stackable bins eliminate the need for permanent modifications. Some adhesive-ledge systems also exist, though they’re better suited for lightweight items.
How do I keep things from looking messy?
Uniformity creates visual calm. Use matching hangers, consistent bin colors, and closed containers for items that aren’t aesthetically pleasing. Fold clothes neatly using the KonMari method for a clean, grid-like appearance.
What if my closet has a sloped ceiling or awkward shape?
Custom-fit rolling bins or soft fabric organizers can conform to irregular spaces. Prioritize storing less-used items (like luggage or seasonal decor) in hard-to-reach areas.
Final Checklist: Closet Organization Success
Use this checklist to ensure your project stays on track:
- ☐ Removed all items from the closet
- ☐ Decluttered and donated unwanted pieces
- ☐ Measured closet dimensions accurately
- ☐ Selected appropriate storage solutions
- ☐ Installed hanging and shelving systems
- ☐ Created designated zones for categories
- ☐ Labeled bins and baskets for quick identification
- ☐ Maintained a rotation schedule for seasonal swaps
Conclusion: Turn Limitations Into Opportunities
A small closet without built-in shelves isn’t a design flaw—it’s an invitation to innovate. By embracing flexibility, thoughtful categorization, and smart storage choices, you can build a system that’s not only functional but sustainable. The goal isn’t perfection; it’s progress. Start with one shelf-free solution, observe what works, and refine over time. Every adjustment brings you closer to a space that supports your daily life instead of complicating it.
💬 Ready to reclaim your closet? Begin tonight with a simple sweep-out and sorting session. Share your transformation story or ask questions in the comments—your journey could inspire someone else to start theirs.