A well-organized liquor cabinet does more than look impressive—it transforms cocktail-making from a chaotic scramble into a seamless, intuitive ritual. Whether you’re hosting friends on a Friday night or pouring a quiet evening dram, the difference between frustration and flow often comes down to how thoughtfully your spirits are arranged. Most home cabinets fail not from lack of inventory, but from absence of intention: bottles stacked haphazardly, labels obscured, frequently used items buried behind obscure liqueurs, and no logical system tying function to form. This isn’t about perfectionism or minimalist aesthetics alone—it’s about designing a system that respects your habits, honors your collection, and elevates everyday moments. Drawing on insights from professional bartenders, retail display designers, and home organization specialists, this guide delivers actionable structure—not theory.
1. Audit and Categorize: Know What You Own (Before You Rearrange)
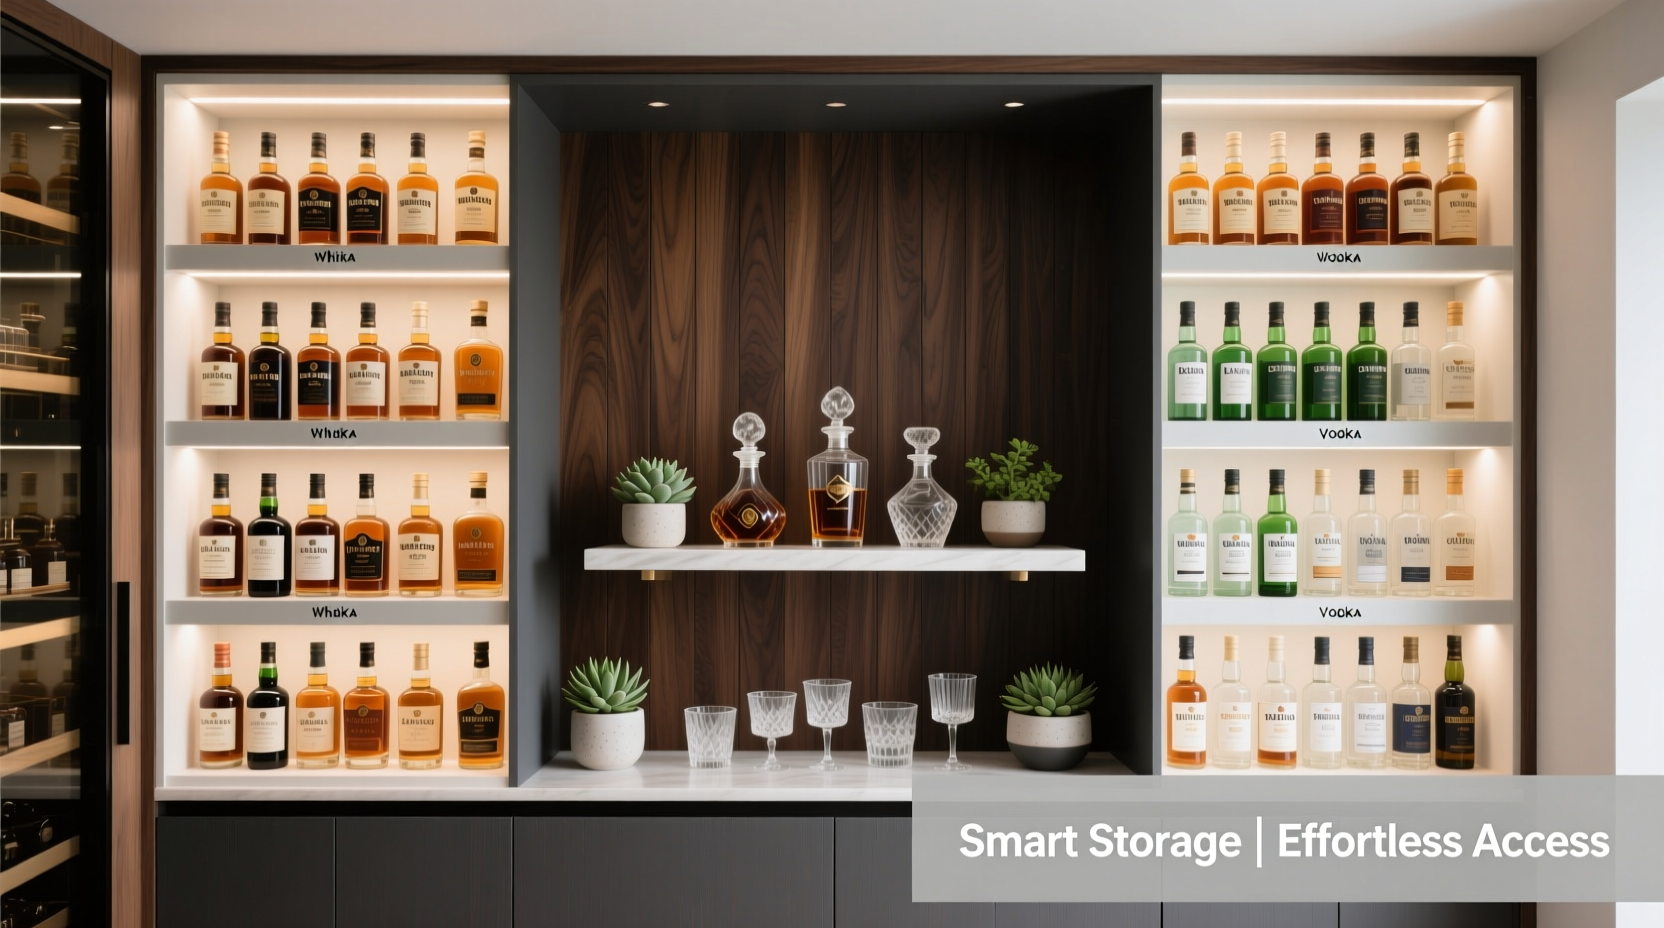
Begin not with shelves, but with inventory. Pull every bottle out—yes, even the half-empty amaro tucked behind the bourbon—and lay them on a clean surface. Discard anything expired, oxidized, or unpalatable (taste-test if uncertain). Then group by primary category: base spirits (vodka, gin, rum, tequila, whiskey, brandy), fortified wines (sherry, port, vermouth), liqueurs (sweet, herbal, bitter), bitters, mixers, and garnishes (olives, cherries, citrus peels—if refrigerated, note location separately). Avoid overcomplicating categories: “whiskey” includes bourbon, rye, Scotch, and Japanese whisky—don’t subdivide unless you routinely use 10+ expressions and need granular access.
Next, assess usage frequency. Mark each bottle with a sticky note: High (used weekly), Medium (monthly), or Low (special occasion or experimental). This triage reveals where your real workflow lives—and where space should be prioritized. A common oversight: assuming “expensive” equals “frequently used.” A $120 single malt may sit untouched for months, while your $25 rye gets poured three times a week. Let behavior—not price—dictate placement.
Tip: Photograph your full inventory before sorting. Use your phone’s Notes app to tag each photo with category, volume, and frequency—no physical notes to lose.2. Design Your Layout Using the “Golden Triangle” Principle
Professional bars operate on the “golden triangle”: the ergonomic zone between your dominant hand, the shaker tin, and the pour spout. At home, adapt this to your cabinet’s physical constraints. Identify your most-used station—the spot where you stand to build drinks—and map a 24-inch radius around it. Within that zone, place your top five high-frequency items: your go-to spirit, a versatile mixer (e.g., dry vermouth or simple syrup), a bitters bottle, a jigger, and a mixing glass or shaker. Everything outside this triangle follows a deliberate hierarchy.
Vertical zoning is equally critical. Reserve eye-level shelves (roughly 48–66 inches from the floor) for high- and medium-frequency base spirits and vermouths—bottles you reach for without bending or stretching. Place liqueurs and specialty items on middle shelves (36–48 inches), where they’re visible but not competing for prime real estate. Store low-frequency items—rare amari, vintage ports, or infrequent cocktail modifiers—on lower or upper shelves, where accessibility yields to preservation and display.
This system eliminates wasted motion. Bartender and beverage consultant Marcus Bell confirms: “In a properly organized home bar, 80% of cocktails require zero shelf changes. The goal isn’t to fit everything in one row—it’s to make the 20% you use daily effortless.”
“Your cabinet should reflect how you drink—not how a magazine photoshoot looks. If you make two Old Fashioneds a week but own twelve bitters, only three need front-and-center placement. The rest belong in a labeled drawer or secondary cabinet.” — Lena Torres, Beverage Director, The Copper Still (Chicago)
3. Optimize Bottle Presentation for Speed and Clarity
Labels matter—but not just for aesthetics. A misaligned label forces you to rotate the bottle to read it, adding seconds per pour. Standardize orientation: all front labels facing forward, caps or pour spouts angled toward the front edge of the shelf. For tall, narrow bottles (like aquavit or some gins), use shelf risers or acrylic stands to elevate them slightly so labels remain visible behind shorter companions (e.g., bitters or shrubs).
Group by color *only* after function is secured. While rainbow arrangements look striking in Instagram posts, they undermine utility: a green Chartreuse sits next to a green absinthe, but their roles in cocktails differ vastly. Instead, use color as a secondary cue *within* categories—e.g., all amber-hued whiskeys grouped together, or clear vodkas and gins aligned for quick visual scanning. Never sacrifice readability for symmetry.
For mixed collections, adopt a consistent labeling system. Handwrite or print small, discreet tags (3/4” x 1”) with category + flavor profile: “GIN | Citrus-Forward,” “VERMOUTH | Dry,” “LIQUEUR | Herbal-Bitter.” Attach with removable double-stick tape to the bottle’s shoulder—not the label itself. This avoids damaging collectible packaging while providing instant context.
4. Build a Functional Storage System (Beyond the Shelf)
Shelves alone can’t solve clutter. Integrate complementary storage to handle tools, garnishes, and accessories without crowding spirits. Start with tiered acrylic shelf dividers—these create vertical pockets for bitters, syrups, and small-format liqueurs (50ml or 200ml), keeping them upright and legible. Dedicate one shallow drawer (lined with non-slip felt) for bar tools: jiggers, muddlers, citrus reamers, and channel knives. Keep it stocked, not stuffed—tools should slide freely, not jam.
For garnishes, avoid open bowls on the bar top. Instead, use lidded, stackable glass jars (1-pint size) stored on a lower shelf or in a nearby pantry: one for olives, one for cocktail onions, one for preserved lemon peels. Label each with date opened and expiration. Refrigerated items—fresh citrus, house-made syrups, shrubs—belong in the fridge, *not* the cabinet. Assign them a dedicated door bin with a printed list (“Citrus: Limes, Lemons, Grapefruit”) so you never hunt.
| Storage Type | Best For | Avoid |
|---|---|---|
| Tiered acrylic risers | Bitters, mini-liqueurs, shrubs, syrups | Heavy whiskey bottles or wide-base bottles |
| Drawer with felt lining | Jiggers, strainers, muddlers, bar spoons | Sharp tools loose (risk of scratches) or damp tools (causes rust) |
| Stackable glass jars (lidded) | Olive brine, pickled onions, dehydrated citrus | Unlabeled containers or plastic (leaches flavor) |
| Wall-mounted magnetic strip | Stainless steel bar tools (spoons, zesters, paring knives) | Non-magnetic tools (wood, ceramic) or near electronics |
5. Maintain Aesthetic Appeal Without Sacrificing Utility
Aesthetic appeal emerges from consistency—not decoration. Choose one unifying element and apply it rigorously: uniform bottle height (use empty boxes or custom-cut foam inserts to raise shorter bottles), matching pour spouts (matte black or brushed brass across all spirits), or cohesive label orientation (all centered, all bottom-aligned). These subtle repetitions create visual rhythm, signaling order even in variety.
Lighting elevates both function and feel. Install battery-operated LED puck lights under each shelf lip. Warm white (2700K–3000K) light enhances amber spirits and doesn’t wash out label text. Avoid cool white LEDs—they cast harsh shadows and make brown liquors look dull. Position lights so beams fall directly on bottle shoulders, illuminating labels without glare.
Real-world example: When interior designer Priya Mehta renovated her Brooklyn apartment, she inherited a cramped, oak-paneled cabinet with mismatched shelving. Her first step wasn’t new woodwork—it was removing two shelves entirely to create one deep, open zone for glassware (rocks, coupes, highballs) below the spirit zone. She added matte-black shelf risers for bitters, installed warm LED strips, and replaced all pour spouts with identical brushed-nickel models. “The biggest change wasn’t what I added,” she says. “It was removing the shelf that forced me to stack bottles sideways just to fit. Once I stopped fighting the space, the elegance followed.”
Step-by-Step Cabinet Reorganization Timeline
- Day 1 (60 mins): Empty cabinet completely. Discard expired items. Wipe shelves and bottles. Photograph and categorize inventory.
- Day 2 (45 mins): Map your golden triangle. Measure shelf heights. Order risers, lighting, or drawer liners if needed.
- Day 3 (90 mins): Install lighting and risers. Group bottles by category + frequency. Place high-use items in golden triangle zone.
- Day 4 (30 mins): Label tools and garnish jars. Align all labels. Test workflow: make three cocktails you regularly serve.
- Day 5 (15 mins): Refine. Adjust one shelf if reach feels strained. Document your layout (take a photo + note placements) for future reference.
FAQ
How often should I reorganize my liquor cabinet?
Reassess every 3–4 months. Rotate seasonal items (e.g., switch from minty cordials in summer to spiced options in winter), update frequency tags based on actual use, and replace worn labels or risers. A 15-minute quarterly refresh prevents drift.
Can I store wine and spirits together?
Yes—but separate by environment needs. Spirits thrive at room temperature, away from light and heat. Wine, especially delicate whites and sparkling, requires cooler, stable temps (ideally 45–55°F). If sharing cabinet space, reserve the coolest, darkest corner (often the back-bottom shelf) for wine, and keep spirits on upper/middle shelves. Never store wine above heat sources like ovens or radiators.
What’s the best way to store open vermouth and fortified wines?
Refrigerate immediately after opening. They oxidize rapidly at room temperature. Use a vacuum pump sealer or inert gas spray (like Private Preserve) to extend life by 2–3 weeks. Store upright to minimize cork contact with air. Label bottles with the date opened using masking tape and a fine-tip marker.
Conclusion
Organizing a liquor cabinet isn’t about achieving a static, magazine-worthy tableau—it’s about building a living system that evolves with your tastes, supports your routines, and quietly removes friction from moments meant for connection. When your favorite rye is always within arm’s reach, when your orange bitters don’t require a 10-second search, when your guest can grab a glass without asking “Where’s the ice?”—that’s when function becomes feeling. You don’t need rare bottles or custom cabinetry to experience this. You need clarity, consistency, and the willingness to let your habits—not trends—guide your choices. Start tonight: pull out one shelf, sort what’s there, and place your three most-used bottles where you’ll see them first. That single act resets the entire dynamic. The elegance follows the ease.
💬 Your turn: Try one tip this week and share what changed—did you shave 30 seconds off your cocktail time? Did a forgotten bottle become your new favorite? Comment below and help others refine their rhythm.