Transforming simple mason jars into glowing holiday centerpieces is one of the most rewarding and cost-effective ways to bring warmth and charm to your Christmas decor. With just a few supplies and a little creativity, you can craft personalized, luminous accents that shine throughout the season. These lighted jars double as gifts, table displays, or outdoor accents when weatherproofed properly. Whether you're an experienced crafter or new to holiday DIYs, this guide walks you through every step—from choosing materials to troubleshooting common issues—so your handmade decorations turn out beautifully year after year.
Gather Your Materials and Tools
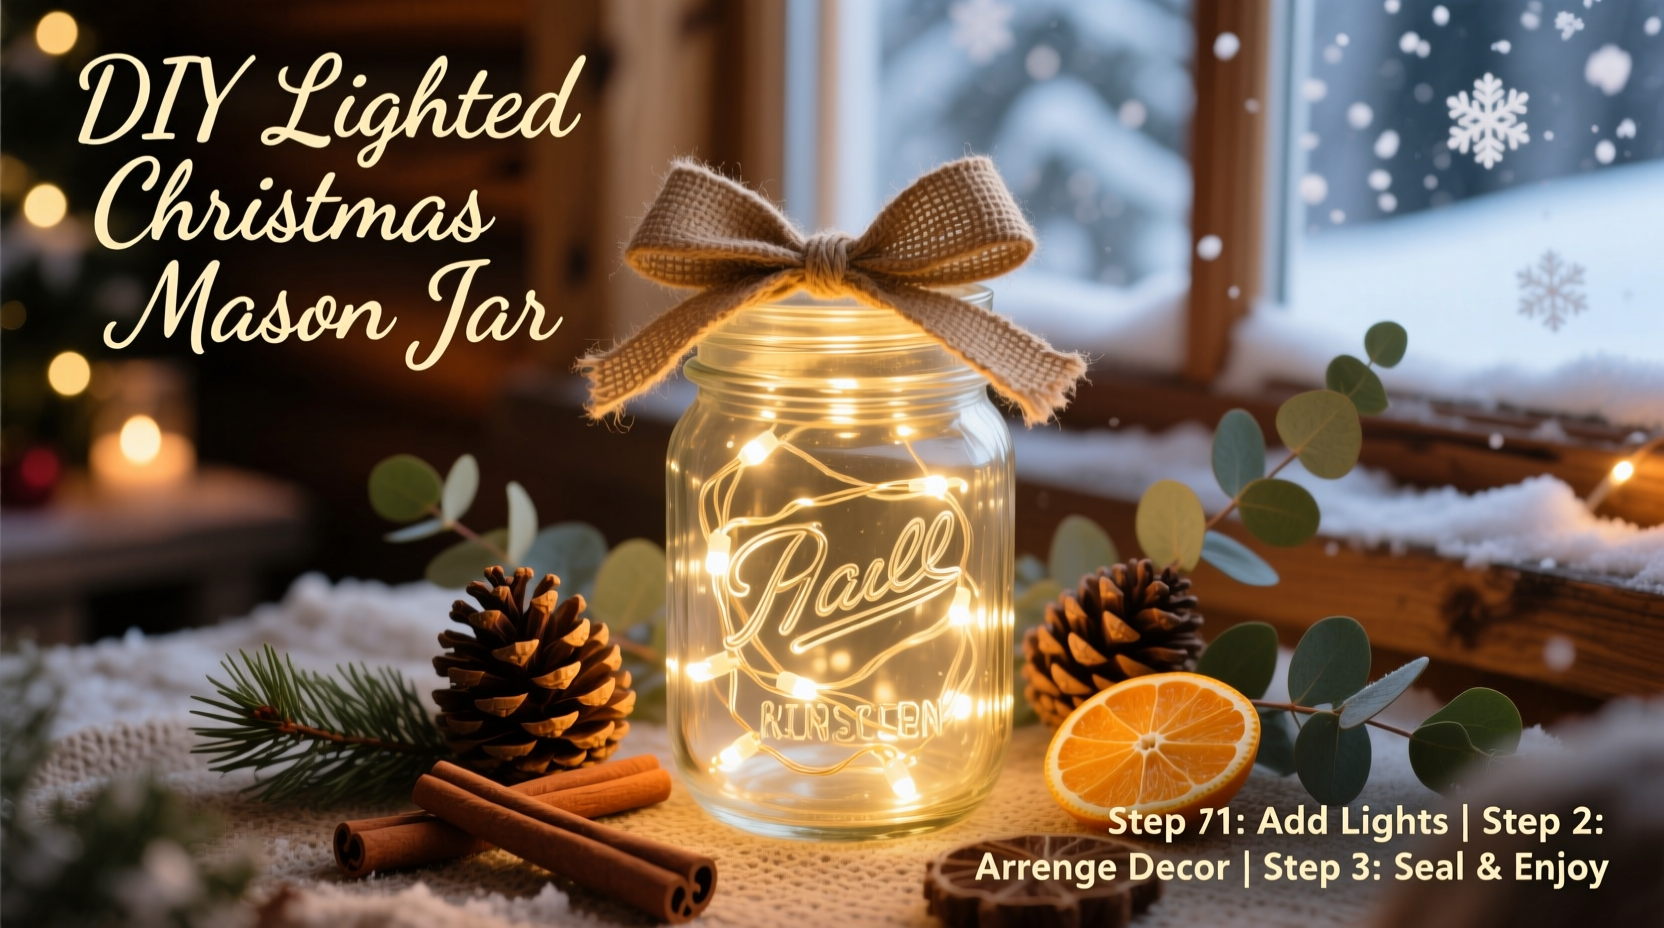
The foundation of any successful DIY project lies in preparation. Before diving into assembly, collect all necessary components to avoid mid-project delays. Most items are readily available at craft stores, dollar shops, or online retailers. The key is selecting quality pieces that balance affordability with durability, especially since these jars may be reused annually.
Below is a checklist of essential and optional supplies:
Checklist:✅ Mason jars (quart size works best)
✅ Battery-operated fairy lights (warm white or multicolor)
✅ Craft glue or hot glue gun
✅ Decorative elements (pinecones, faux snow, ribbon, etc.)
✅ Spray paint (optional, for tinted glass)
✅ Twine or jute rope
✅ Scissors
✅ Pencil and tracing paper (for stencils)
✅ Mod Podge or clear sealant (if using paper cutouts)
✅ Small figurines (mini trees, deer, snowmen)
Jars come in various shapes—regular mouth, wide mouth, short, tall—but consistency in size helps create a cohesive look when displaying multiple units. Opt for clear glass unless you're aiming for a frosted or colored effect. For lighting, choose LED string lights with a battery pack that fits discreetly behind or beside the jar. Look for models with an on/off switch and timer function for convenience.
Choose Your Design Theme
One of the joys of crafting mason jar decorations is the freedom to customize based on personal taste or seasonal themes. Some popular styles include rustic woodland, vintage nostalgia, modern minimalist, and whimsical winter wonderland. Each theme influences material choices, color schemes, and arrangement techniques.
Consider the space where the finished piece will live. A dining table centerpiece might benefit from taller jars with layered textures, while shelf displays work well with shorter, clustered arrangements. Outdoor use requires additional weather protection, such as sealing porous materials and enclosing the battery pack in a waterproof casing.
| Theme | Recommended Materials | Best Placement |
|---|---|---|
| Rustic Cabin | Pine branches, burlap, twine, cinnamon sticks | Entryway, mantel |
| Winter Forest | Faux snow, mini evergreens, animal figurines | Centerpiece, bookshelf |
| Vintage Noel | Red-and-green ribbon, old-fashioned ornaments, lace | Dining room, window sill |
| Modern Glow | Metallic spray paint, geometric cutouts, monochrome palette | Living room, office |
Step-by-Step Assembly Guide
With materials gathered and a design chosen, it’s time to build your lighted mason jar. Follow this six-step process for consistent, professional-looking results.
- Prepare the Jar Surface
Clean the jar thoroughly with soapy water and dry completely. Any residue can interfere with adhesives or paints. If painting, apply two thin coats of spray paint, allowing drying time between layers. For a frosted look, use glass etching cream or Mod Podge mixed with baking soda. - Add Interior Elements
Begin layering non-electrical components inside the jar. Start with larger items like pinecones or figurines, anchoring them with a dab of hot glue if needed. Sprinkle faux snow or glitter sparingly to mimic ground cover without obscuring the light. - Insert the Light String
Coil the fairy lights loosely from bottom to top. Avoid tight wrapping, which creates bright clusters and dark zones. Let some bulbs rest near the sides for edge illumination. Ensure the battery pack wire exits smoothly—either under the lid ring or through a drilled hole in a metal lid (use caution and proper tools). - Seal and Secure the Lid
If using a regular lid, place the band over the jar first, then set the flat lid on top so the wire peeks out between them. Tighten just enough to hold; over-tightening may damage threads. For permanent setups, drill a small hole in the center of a metal lid, feed the wire through, and seal with silicone caulk. - Decorate the Exterior
Wrap twine around the neck, attach a ribbon bow, or glue on small ornaments. Use craft glue for lightweight additions. For stenciled designs (like snowflakes or “Noel”), trace patterns onto the glass and fill with paint or adhesive glitter. - Final Testing and Adjustments
Turn on the lights in a dim room. Rotate the jar to check visibility from all angles. Add more filler if shadows appear. Replace weak bulbs or reposition the coil as needed.
“Light diffusion is everything in jar crafts. Layered textures and open spacing make the glow feel organic, not staged.” — Lydia Chen, Seasonal Designer & Etsy Creator
Troubleshooting and Pro Tips
Even well-planned projects encounter hiccups. Here are common challenges and how to solve them effectively.
- Flickering Lights: Often caused by loose batteries or corroded contacts. Clean terminals with rubbing alcohol and ensure snug fit. Consider upgrading to a USB-rechargeable strand for longer life.
- Uneven Illumination: Re-coil the string with wider loops. Add reflective materials like silver beads or mirrored paper scraps to bounce light into corners.
- Glue Seepage: Apply hot glue quickly and precisely. Use a toothpick to spread small amounts evenly. Work on newspaper to protect surfaces.
- Lid Wire Damage: If threading through a metal lid, smooth sharp edges with sandpaper. Wrap the wire in electrical tape at stress points.
- Overcrowding: Less is more. Too many interior objects block light and reduce visual impact. Stick to 2–3 focal elements per jar.
Real Example: A Family Holiday Tradition
In rural Vermont, the Miller family began making lighted mason jars five years ago as a way to involve their young children in holiday prep. What started as a simple craft night evolved into an annual event where each member designs a jar reflecting their personality. The youngest uses colorful pom-poms and glitter; the teenager prefers sleek black jars with blue LEDs; parents favor classic red-and-white themes.
They now line their front porch with ten jars each December, drawing compliments from neighbors and passersby. Last winter, they donated a set to their local senior center, sparking a community workshop. “It’s not just about decoration,” says Sarah Miller. “It’s about creating moments we remember long after the season ends.”
Safety and Longevity Best Practices
Safety should never be compromised, especially with electrical components near flammable materials. While LED fairy lights produce minimal heat, improper handling can still pose risks.
- Use Only Battery-Powered Lights
- Never use plug-in strings inside enclosed jars. Overheating and fire risk increase significantly.
- Avoid Flammable Fillers Near Contacts
- Keep cotton balls, paper, or dried foliage away from the battery pack. Opt for flame-retardant faux snow instead of real.
- Inspect Lights Annually
- Before reuse, check for frayed wires, dimming sections, or leaking batteries. Discard damaged strands immediately.
- Supervise Around Children and Pets
- Small decorative parts can be choking hazards. Place jars out of reach or secure contents permanently.
For extended lifespan, disassemble jars at season’s end if possible. Remove lights, clean glass, and store components separately. Label containers clearly for quick setup next year.
Frequently Asked Questions
Can I leave my lighted mason jar outside?
Yes, but only if properly sealed. Use outdoor-rated, waterproof LED strings and enclose the battery pack in a plastic container with desiccant packs to prevent moisture buildup. Elevate jars off wet surfaces and avoid direct rain exposure.
How long do the batteries last?
Standard AA batteries in LED strings typically last 45–100 hours, depending on usage. Opt for lithium batteries for colder environments or continuous operation. Timer settings (e.g., 6 hours on, 18 off) can extend life up to three times.
What if I want changing colors or remote control?
RGB LED strings with remote functionality work perfectly in mason jars. Choose models with memory settings so your preferred color stays consistent. Ensure the signal isn’t blocked by thick glass or metal lids—position the receiver externally if needed.
Conclusion: Illuminate Your Holidays with Handmade Charm
Creating your own lighted Christmas mason jar decorations blends artistry, practicality, and tradition into one glowing package. More than just festive accents, these jars carry the imprint of your effort, imagination, and care. They spark conversations, inspire others, and become heirlooms passed down through seasons. From selecting the perfect shade of warm white light to arranging miniature scenes inside glass walls, every decision adds meaning to your holiday narrative.
Start small—one jar for the coffee table—and expand as confidence grows. Involve family members, experiment with themes, and don’t fear imperfections. Some of the most cherished decorations began as happy accidents. As you twist the lid shut and flip the switch for the first time, watch how a simple jar fills with magic.
💬 Share your creations! Snap a photo of your finished mason jar and tag a friend who loves holiday crafts. Inspire someone today to start their own handmade tradition.