As the holiday season approaches, finding thoughtful, handmade gifts that still feel personal—but don’t consume hours of your time—can be a challenge. A no-sew fleece blanket is one of the most practical and heartwarming solutions. It requires no sewing machine, no prior crafting experience, and can be completed in under two hours. With soft, vibrant fabric and a cozy finish, these blankets are ideal for children, seniors, or anyone who appreciates warmth and care wrapped into one.
Beyond being quick and easy, no-sew fleece blankets are customizable. You can match colors to someone’s favorite team, use holiday-themed prints, or even incorporate sentimental patterns like photos printed on fabric. This guide walks you through every step—from choosing materials to gifting ideas—so you can create beautiful, meaningful presents without stress.
Why Choose a No-Sew Fleece Blanket?
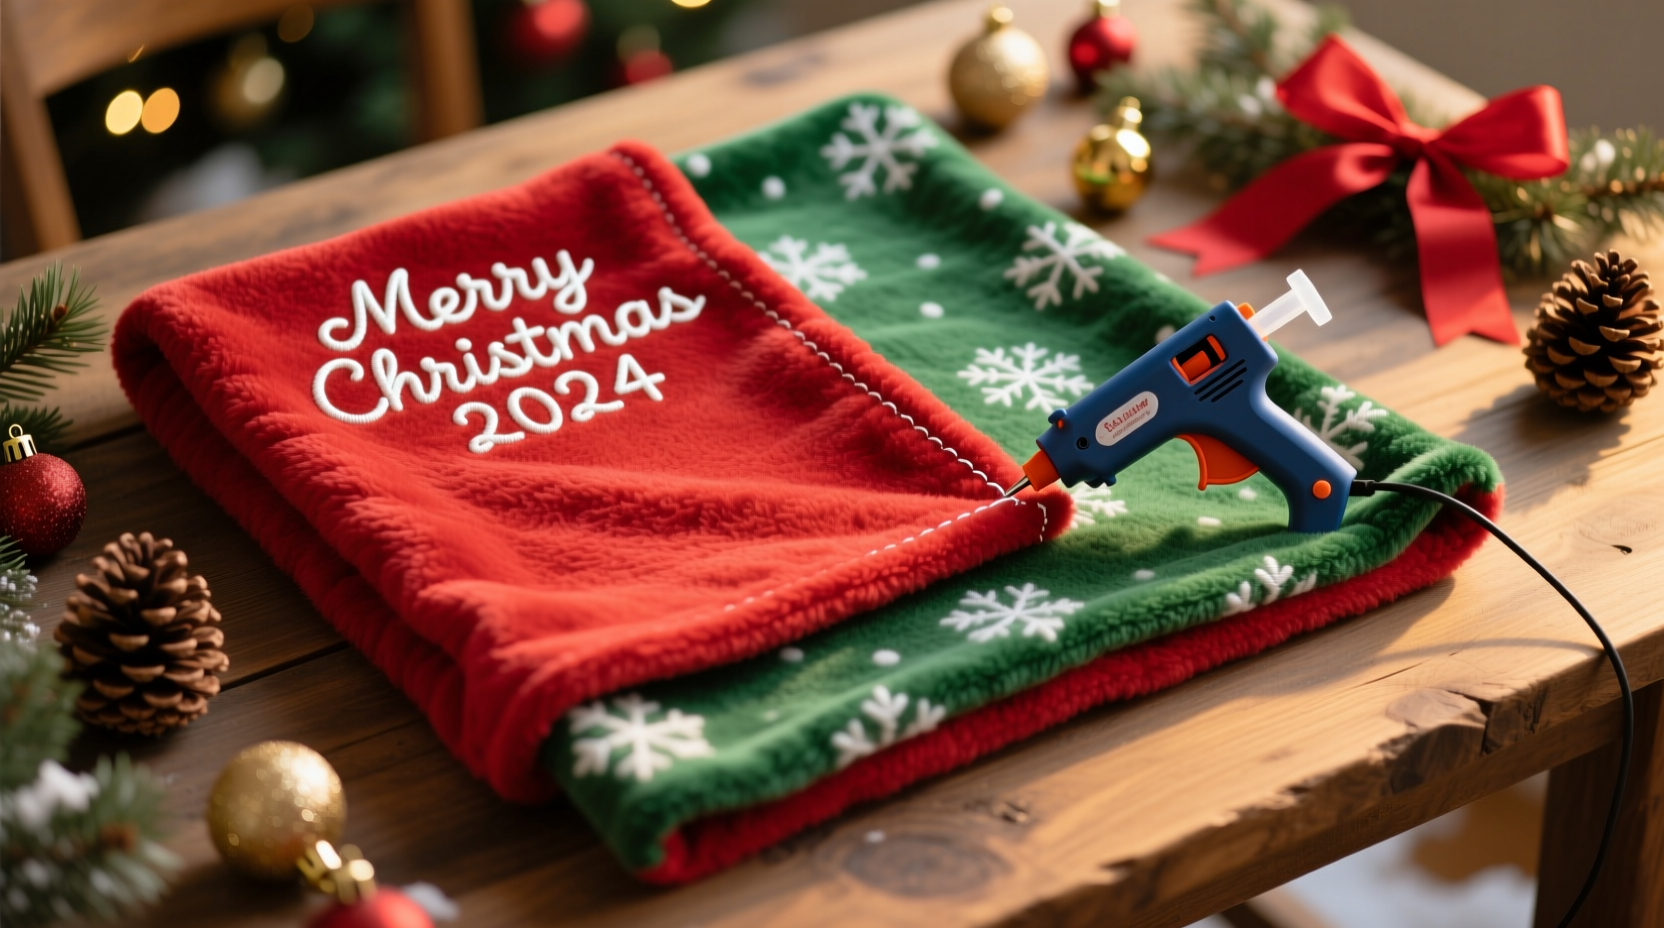
Fleece blankets made without sewing have gained popularity for good reason. They’re accessible to crafters of all levels, including those who’ve never touched a needle. The fringe-and-tie method creates a durable, frayed edge that mimics professionally finished seams while adding texture and charm.
Unlike traditional quilting or knitting, this project doesn’t require precision stitching or long timelines. You won’t need to worry about unraveling hems because fleece doesn’t fray easily. That makes it perfect for last-minute gifting when December rushes in.
Additionally, the tactile nature of handmade gifts carries emotional weight. In a world saturated with digital exchanges and mass-produced items, receiving something hand-tied with care speaks volumes. As craft therapist Miriam Hale notes:
“Handmade gifts activate emotional centers in the brain more than store-bought ones. The act of making becomes an extension of love.” — Miriam Hale, Art Therapy Practitioner
Materials and Tools You’ll Need
Before starting, gather everything in one place. Having all supplies ready ensures a smooth, uninterrupted process—especially important if you're making multiple blankets.
Tip: Buy extra fabric. Fleece can shrink slightly after cutting, and mistakes happen. An additional half-yard gives room for error.Essential Supplies
- Two pieces of fleece fabric – 1.5 yards each (or one 3-yard piece folded)
- Sharp fabric scissors – Regular scissors may snag or tear the material
- Ruler or measuring tape – For consistent cuts
- Chalk or washable fabric marker – To mark cutting lines
- Pins or clips – To hold layers together during cutting
- Cardboard square (3” x 3”) – For uniform fringe corners
When selecting fleece, opt for high-quality, anti-pill varieties. These resist pilling after washing and maintain their softness over time. Double-sided fleece (also called “Cuddle” fabric) adds extra plushness but isn't required.
Choosing the Right Fabric Combo
The visual impact of your blanket depends heavily on fabric choice. Consider pairing:
- A solid color with a patterned print (e.g., red with snowflakes)
- Two complementary solids (navy and cream)
- A themed print with a neutral backing (reindeer print with gray)
For children, choose bright, playful designs. For adults, subtle textures or monochrome tones often feel more refined. Always pre-wash fabric if it's not labeled “pre-shrunk,” though most fleece does not require this.
Step-by-Step Guide to Making Your Blanket
Follow this clear sequence to complete your no-sew fleece blanket efficiently. Each step builds on the last, ensuring accuracy and minimizing frustration.
- Lay both pieces of fleece flat, aligning them perfectly. Place the patterned side face down, then position the second piece (solid or contrasting) on top, right side up. Smooth out wrinkles using your hands or a brayer.
- Pin or clip edges every 6 inches to prevent shifting during cutting.
- Cut both layers to the same size. Standard dimensions are 50” x 60”, but adjust based on intended use (lap blanket vs. throw). Use a ruler and fabric marker to draw straight lines.
- Cut off the selvage edges (the tightly woven borders), which can cause uneven fringes.
- Create corner templates. Cut a 3” x 3” square from cardboard. Position it in each corner and trace a 3-inch square. Cut out these squares from both layers—this allows you to tie the corners later.
- Mark fringe strips around the perimeter. Using a ruler and chalk, measure and mark 1-inch-wide vertical strips along all four edges. Make them 3 inches long (from outer edge inward).
- Cut the fringe. Cut along the marked lines through both layers. Be precise—uneven cuts affect the final look.
- Tie corresponding strips together. Take one strip from the top layer and one directly beneath from the bottom layer. Tie them in a double knot. Pull snugly, but not so tight that it distorts the fabric.
- Work your way around the blanket, tying every pair of strips. Maintain consistency in knot tightness for a polished appearance.
- Inspect your work. Trim any loose threads and re-tighten loose knots.
Time-saving tip: While tying, sit comfortably with the blanket in your lap and rotate it slowly. This prevents strain and keeps tension even.
Customization Ideas for Personalized Gifting
A generic blanket is nice, but a personalized one is unforgettable. Here are creative ways to elevate your gift:
- Add names or initials using iron-on vinyl letters applied to a corner.
- Incorporate family colors—ideal for college grads or sports fans.
- Use photo-printed fleece for one side, turning memories into warmth.
- Select seasonal themes: snowmen, trees, reindeer, or winter animals.
- Include a handwritten note tied to a corner with ribbon: “Made with love for you.”
For caregivers or hospital visits, consider smaller lap-sized blankets (30” x 40”) that fit over chairs. Lightweight yet warm, they’re appreciated by patients and loved ones alike.
Tip: If giving to a pet owner, make a mini version sized for dogs or cats. Use animal-friendly prints and include a tag: “Cozy for [Pet’s Name].”Do’s and Don’ts When Making Fleece Blankets
| Do | Don’t |
|---|---|
| Use sharp, dedicated fabric scissors | Use dull office scissors that crush fibers |
| Pre-wash fabric if unsure about shrinkage | Assume all fleece behaves the same |
| Double-knot each fringe tie for durability | Use single knots that may loosen over time |
| Press fabric lightly with cool iron if wrinkled | Apply high heat, which can melt synthetic fibers |
| Store finished blankets folded in cotton bags | Leave them exposed to dust or sunlight long-term |
Mini Case Study: Sarah’s Holiday Gift Success
Sarah, a working mom from Portland, wanted to give meaningful gifts to her child’s preschool teachers, her sister, and three close friends. With only five free evenings before Christmas, she knew elaborate projects were out of reach.
She ordered six yards of festive fleece online—two yards each in snowflake, plaid, and velvet textures. Over two weekend evenings, she cut and tied six blankets: 50” x 60” for adults, 36” x 48” for the teachers. She added iron-on labels with names and baked matching shortbread cookies.
Total cost per blanket: under $12. Total time invested: 90 minutes each. Every recipient sent heartfelt messages, with one teacher saying, “This is the nicest gift I’ve ever received.” Sarah now plans to start earlier next year—and involve her kids.
Her success proves that speed and sentiment aren’t mutually exclusive. Thoughtful design and efficient execution deliver results that resonate.
Checklist: Make a No-Sew Fleece Blanket in One Evening
Use this checklist to stay organized and complete your blanket quickly:
- ☐ Purchase 1.5–2 yards of two coordinating fleece fabrics
- ☐ Gather scissors, ruler, pins, chalk, and cardboard template
- ☐ Lay and pin fabric layers together
- ☐ Trim to desired size and remove selvage edges
- ☐ Cut 3” x 3” squares from all four corners
- ☐ Mark 1-inch wide, 3-inch long fringe strips around edges
- ☐ Cut fringe through both layers
- ☐ Tie each pair of top-and-bottom strips with a double knot
- ☐ Inspect and tighten loose knots
- ☐ Fold neatly and attach a gift tag or note
Frequently Asked Questions
Can I wash a no-sew fleece blanket?
Yes. Machine wash in cold water on gentle cycle. Avoid bleach and fabric softeners, which degrade fibers over time. Tumble dry on low or air dry to preserve softness and prevent pilling.
How long does it take to make one blanket?
For beginners, plan 1.5 to 2 hours. With practice, you can reduce this to 60–75 minutes. Cutting takes the longest; tying goes faster once you find a rhythm.
What if I run out of fabric or make a cutting mistake?
If edges are misaligned, trim both layers evenly to correct. If you cut too short, embrace asymmetry or repurpose the piece into a pillow cover. Small errors rarely detract from overall appeal—recipients focus on the gesture, not perfection.
Final Tips for Gifting Success
Wrap your blanket creatively. Roll it like a scroll and secure with twine and a pine sprig. Or place it in a clear cellophane bag tied with a red bow—simple, festive, and protective.
Pair it with a small companion gift: hot cocoa mix, a paperback novel, or a candle. This enhances perceived value without increasing effort.
Label it thoughtfully. Instead of “To: ______,” write “Wrapped with warmth for you this Christmas.” Language shapes perception, and a few words can deepen emotional impact.
“The best gifts aren’t measured in price, but in presence—the time we give, the attention we show.” — Clara Nguyen, Author of *The Art of Simple Giving*
Conclusion: Start Tying Today
Making a no-sew fleece blanket as a Christmas gift isn’t just fast—it’s fulfilling. In less time than a holiday movie marathon, you can create something that will be used, cherished, and remembered. Whether you’re crafting for a niece, neighbor, or nursing home resident, your effort translates into comfort and connection.
This season, skip the crowded stores and endless scrolling. Pick up some fleece, grab your scissors, and begin tying warmth into existence. One knot at a time, you’re not just making a blanket—you’re weaving kindness into fabric form.
💬 Ready to spread cozy cheer? Make your first no-sew fleece blanket this week and share your story in the comments—what patterns will you choose?