The magic of the Christmas tree is undeniable—a glowing centerpiece that brings warmth, nostalgia, and excitement into the home. But when young children enter the equation, that same enchanting tree can quickly become a hazard zone. Ornaments shatter, lights tangle, and tree stands tip under curious hands. Rather than resigning yourself to a plastic baby-gate barricade or skipping the real tree altogether, consider a smarter solution: designing a kid-proof Christmas tree zone through strategic decoration placement. This approach balances safety, aesthetics, and child development, allowing both parents and little ones to enjoy the season without constant vigilance.
Understanding the Risks: Why Tree Safety Matters for Young Children
Children between the ages of 6 months and 4 years are naturally drawn to bright, shiny objects—exactly what a decorated Christmas tree offers. Their developing motor skills drive them to touch, pull, and explore, often without understanding consequences. According to the U.S. Consumer Product Safety Commission, thousands of children are treated in emergency rooms each year due to Christmas tree-related incidents, including falls, cuts from broken ornaments, and electrical hazards.
Beyond physical dangers, frequent scolding can create negative associations with holiday traditions. A better strategy isn’t restriction—it’s thoughtful design. By organizing the tree and surrounding area with developmental awareness and spatial planning, you create an environment where curiosity is respected, risks are minimized, and festive enjoyment remains intact.
“Childproofing isn’t about eliminating exploration—it’s about guiding it safely. A well-planned tree zone supports both safety and sensory development.” — Dr. Lena Torres, Pediatric Developmental Specialist
Strategic Decoration Placement: The Core Principles
Kid-proofing begins long before the first ornament is hung. It starts with a deliberate layout that considers height, weight distribution, visual appeal, and accessibility. The goal is not to hide the tree but to make it resilient to interaction while preserving its beauty.
1. Zone-Based Ornament Distribution
Divide your tree into three vertical zones based on reach and risk:
- Lower Zone (0–24 inches): Within easy reach of toddlers and crawling infants. Avoid glass, small parts, or breakable items.
- Middle Zone (24–48 inches): Accessible when children stand or climb. Use lightweight, soft, or unbreakable decorations.
- Upper Zone (48+ inches): Safely out of reach. Reserve for fragile heirlooms, delicate lighting, and sentimental pieces.
2. Anchoring and Weight Management
A top-heavy or loosely anchored tree is a tipping hazard. Always secure the tree to a wall using a sturdy bracket or tension rod, especially if your child is learning to pull up or climb. For freestanding trees, choose a heavy base filled with water (for real trees) or sand (for artificial ones) to increase stability.
Place heavier ornaments higher up to counterbalance any upward pulling force. This creates a center of gravity that resists tipping even if the lower branches are tugged.
3. Lighting Layout for Safety and Visibility
Use LED lights—they run cooler than incandescent bulbs, reducing burn risk. Run cords along the backside of the tree, tucked behind branches, and anchor them to the trunk with twist ties or reusable clips. Never allow exposed cords on the floor where they can be pulled or chewed.
Plug the tree into a surge protector with an automatic shut-off feature. Position the outlet away from high-traffic areas and cover unused sockets with safety caps.
Creating a Physical Boundary: More Than Just a Fence
A boundary around the tree does more than block access—it defines the space as special. Instead of treating it like a restricted zone, frame it as part of the holiday experience.
Designing the Perimeter
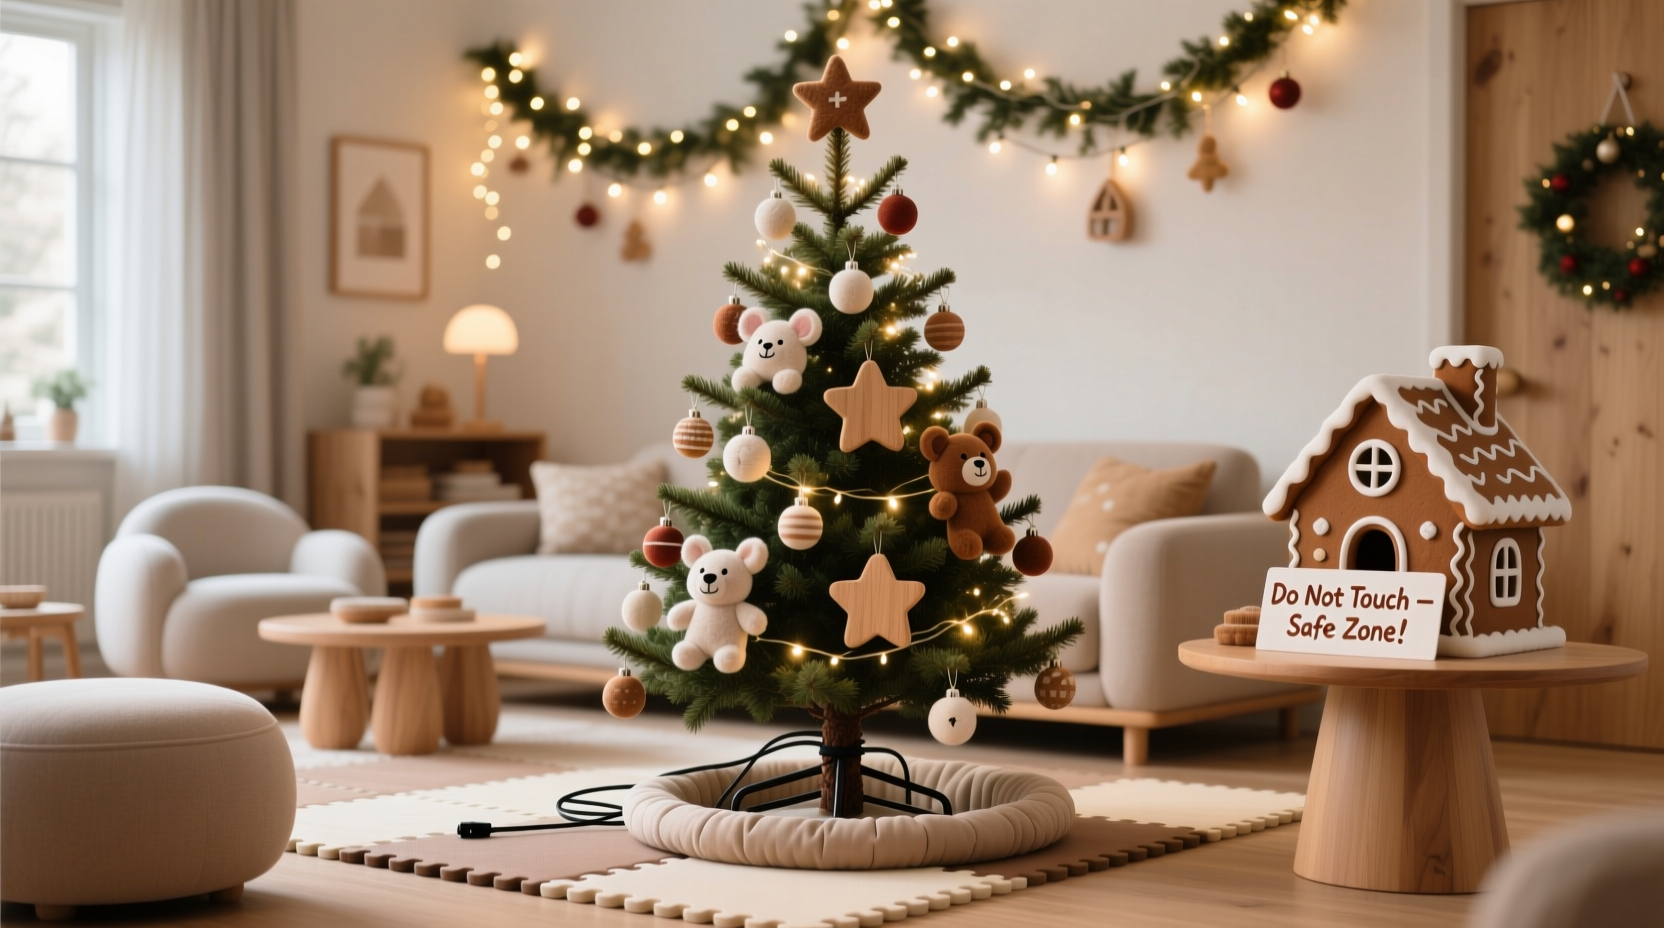
Use low, stable barriers such as a playpen gate, a decorative bench, or a row of large gift boxes wrapped in neutral paper. These act as subtle cues: “This area is for looking, not touching.” If using a gate, ensure it latches securely and doesn’t wobble when bumped.
Consider placing soft rugs or mats around the tree to cushion potential falls and reduce noise from dropped toys nearby. Choose non-slip backing to prevent sliding.
Incorporating Child-Friendly Elements
Include one or two interactive decorations within safe reach. Examples include:
- A felt stocking with the child’s name
- A soft plush ornament they can touch
- A “touch-friendly” branch with pinecones or ribbon loops
This satisfies tactile curiosity while redirecting attention away from fragile areas. It also fosters inclusion—children feel part of the tradition rather than excluded from it.
Material Selection: Choosing Decorations That Survive Real Life
Not all ornaments are created equal when kids are involved. Prioritize durability, non-toxicity, and ease of cleaning. Below is a comparison of common ornament types and their suitability for homes with young children.
| Type of Ornament | Kid-Safe? | Pros | Cons |
|---|---|---|---|
| Glass Ball | No | Classic look, reflective | Fragile, sharp shards if broken |
| Plastic Shatterproof | Yes | Durable, lightweight, affordable | Less elegant, may discolor over time |
| Felt or Fabric | Yes | Soft, washable, customizable | Can attract dust or pet hair |
| Wooden | Yes (if sanded) | Natural, sturdy, eco-friendly | Heavier, may splinter if unfinished |
| Edible (popcorn, pretzels) | No | Traditional, biodegradable | Attracts pests, can spoil, choking hazard |
Step-by-Step Guide: Building Your Kid-Proof Tree Zone
Follow this timeline to assemble a safe, beautiful tree zone before the holidays begin.
- Week 1: Plan and Prepare
Select your tree location—away from foot traffic, furniture that can be climbed, and heat sources. Measure the space and sketch a simple layout including tree, stand, power cord path, and barrier. - Week 2: Gather Materials
Collect kid-safe ornaments, secure mounting hardware (wall brackets, zip ties), non-slip mats, and barrier elements. Test lights for flickering or exposed wires. - Week 3: Set Up the Tree
Assemble the tree and secure it to the wall. Fill the base and let it settle for 24 hours. String lights from top to bottom, securing strands every 8–10 inches. - Week 4: Decorate Strategically
Begin with upper-zone heirlooms, then middle, then lower. Place all breakable items above 5 feet. Add interactive elements at child level. - Final Touch: Install Boundaries
Set up gates or natural barriers. Conceal cords. Do a “toddler crawl-through” inspection to view the setup from their perspective.
Real Example: The Martinez Family’s Solution
The Martinez family in Portland, Oregon, has twin 2-year-olds who discovered the Christmas tree during their first holiday at home. Last year, their Douglas fir toppled after one child used it to stand up, scattering glass ornaments across the living room.
This year, they redesigned their setup. They chose a pre-lit artificial tree with built-in LED lights to minimize cords. They secured it with a ceiling-mounted hook system recommended by a pediatric occupational therapist. The lower third of the tree features only fabric stars, knitted animals, and a personalized wooden initial. A low bookshelf wrapped in red paper acts as a semi-circle barrier, displaying children’s holiday books and soft toys.
The result? The twins point excitedly at “their” ornaments every morning. They’ve learned which parts are “for us” and which are “for looking.” No incidents have occurred—and the parents report less stress and more genuine holiday joy.
Frequently Asked Questions
Can I still use my heirloom glass ornaments?
Yes—but place them exclusively in the upper third of the tree, above 5 feet, and ensure they’re wired securely. Consider taking photos of them to display nearby, so children can learn their stories without handling the originals.
What if my child has already started climbing?
For active climbers, reinforce anchoring with multiple support points. Use motion-detecting alarms clipped to the tree stand that emit a soft chime if movement is detected. Redirect climbing energy with a designated play structure elsewhere in the room.
Are there any safe edible decorations?
Traditional popcorn strings and gingerbread ornaments pose choking and pest risks. If you want edible elements, hang sealed, cellophane-wrapped treats labeled as gifts. Avoid anything small or crumbly.
Checklist: Kid-Proof Christmas Tree Setup
- ✅ Choose a stable tree stand and fill it appropriately
- ✅ Secure the tree to the wall or ceiling with brackets
- ✅ Use cool-running LED lights with no exposed wires
- ✅ Place breakable ornaments above 5 feet
- ✅ Use soft, durable decorations below 4 feet
- ✅ Install a physical boundary (gate, furniture, rug)
- ✅ Include one or two touch-safe ornaments for kids
- ✅ Conceal and anchor all electrical cords
- ✅ Perform a floor-level inspection to spot hazards
- ✅ Educate caregivers and visitors about the setup
Conclusion: Celebrate Safely, Not Sacrificially
A kid-proof Christmas tree zone isn’t about giving up tradition—it’s about adapting it thoughtfully. With strategic decoration placement, smart anchoring, and inclusive design, you can protect your tree, safeguard your child, and preserve the wonder of the season. The goal isn’t a perfect, untouched tree, but a joyful, shared experience where everyone feels included and safe.
💬 Have a clever kid-proofing hack or story from your holiday setup? Share it in the comments and inspire other families to celebrate safely and creatively!