Transform your holiday decor with a glowing centerpiece that requires no greenery, no mess, and minimal effort. A hanging Christmas wreath made from string lights is an elegant, modern twist on a classic decoration. Whether you're decorating a front door, a living room wall, or a mantelpiece, this DIY project delivers maximum visual impact with surprisingly little work. The best part? You can store it flat, reuse it year after year, and customize the color scheme to match any theme.
This guide walks through a reliable, tested method for crafting a durable, luminous wreath using only basic materials. No prior crafting experience is needed—just patience, attention to detail, and a few hours of time. By following these five steps, you’ll create a professional-looking piece that appears store-bought but carries the pride of handmade charm.
Why Choose a String Light Wreath?
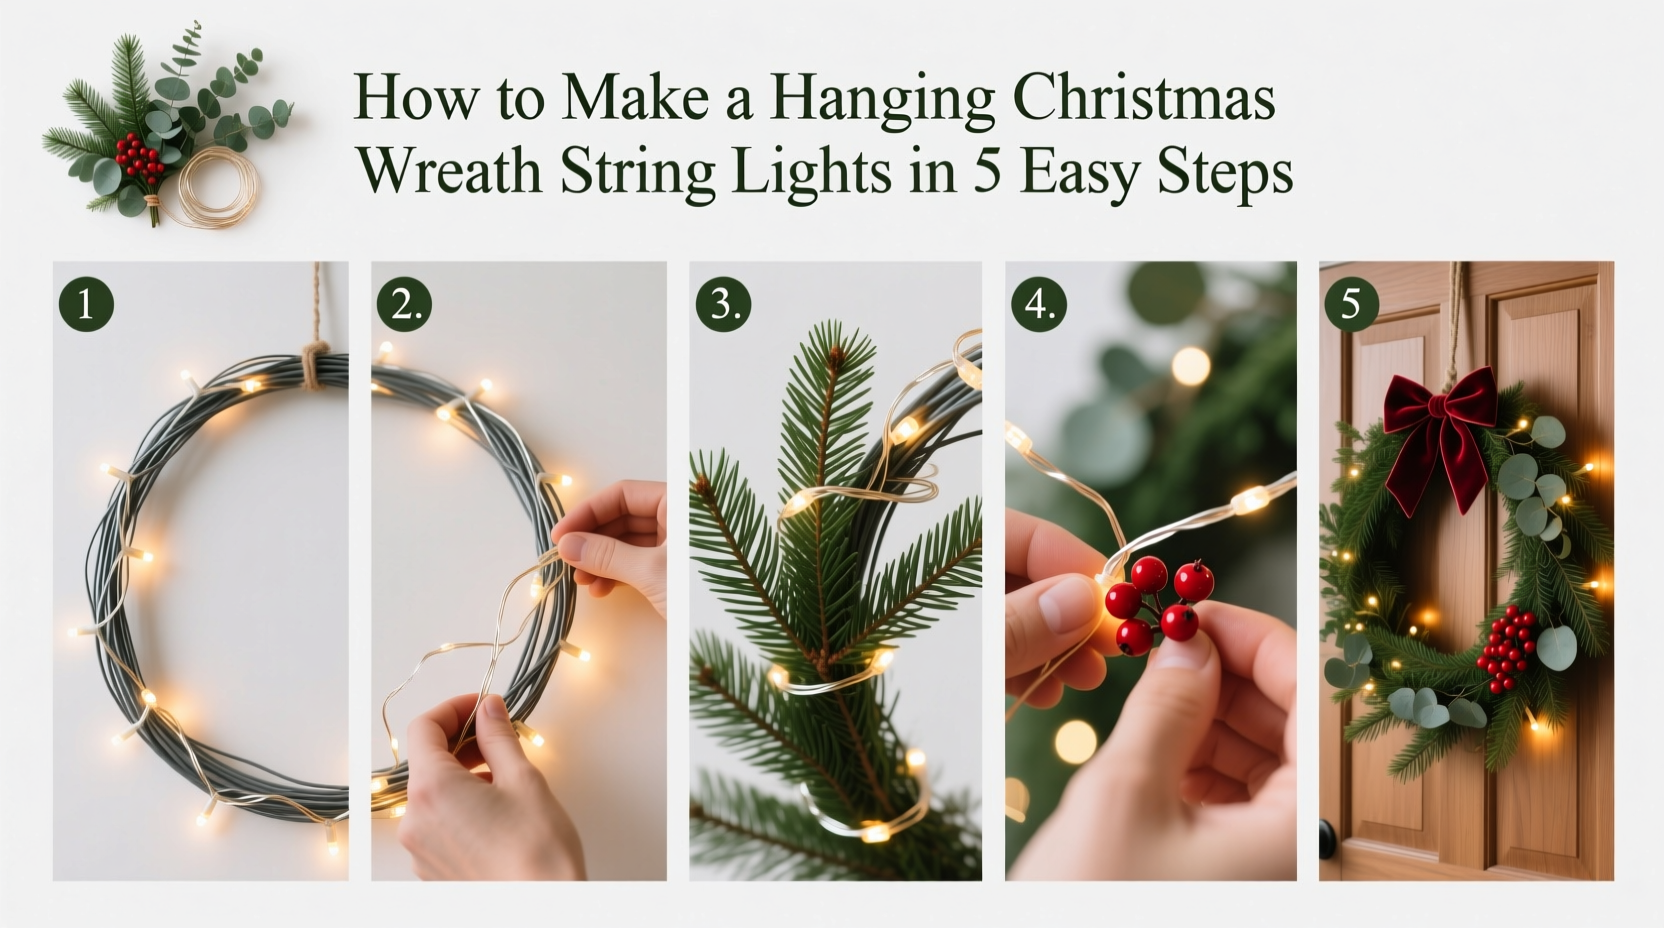
Traditional wreaths rely on evergreen branches, pinecones, and floral wire. While beautiful, they come with drawbacks: seasonal decay, shedding needles, weight, and limited reusability. A string light alternative eliminates these issues while adding dynamic brightness and versatility.
LED string lights are energy-efficient, cool to the touch, and available in warm white, multicolor, or programmable RGB options. When formed into a circular display, they mimic the shape and symbolism of a wreath—representing eternity and celebration—without the upkeep.
“Light-based wreaths are becoming a staple in modern holiday design because they merge tradition with innovation. They’re not replacements—they’re evolutions.” — Lila Monroe, Interior Stylist & Holiday Design ConsultantTip: Use battery-operated string lights for flexible placement—no need to be near an outlet.
Materials You’ll Need
Gathering the right supplies ensures smooth progress and a polished final product. Most items are affordable and reusable across future projects.
- String lights – 100–200 LED mini lights (preferably warm white or soft gold for a classic look)
- Wire wreath frame – 12” to 18” diameter metal ring with grid pattern (available at craft stores)
- Floral wire or thin-gauge craft wire – For securing light strands
- Wire cutters – To trim excess wire
- Scissors
- Battery pack or plug adapter – Depending on your power source preference
- Optional embellishments – Ribbon, faux berries, or small ornaments for added flair
Avoid using thick rope lights or heavy-duty outdoor strings unless building a large-scale version. Miniature fairy lights provide better flexibility and tighter wrapping control.
Step-by-Step Guide: Building Your Wreath
The key to success lies in consistency and tension. Wrap each loop with even spacing and secure frequently to prevent sagging or slippage.
- Prepare the Frame and Lights
Unpack and test your string lights before beginning. Ensure all bulbs function and there are no dead sections. Lay the wire wreath frame flat on a clean surface. If using a new frame, gently bend it into a perfect circle if it arrived slightly oval-shaped. This helps maintain symmetry during wrapping. - Anchor the First End
Locate the end of the string opposite the plug or battery case. Thread about 6 inches of floral wire through the last bulb socket or the wire just behind it. Loop the floral wire around the outer edge of the metal frame and twist tightly at the back to secure. Leave the tail long enough to wrap twice and ensure a firm hold. This anchor prevents unraveling later. - Begin Wrapping in a Spiral Pattern
Start coiling the string lights around the frame, moving inward toward the center. Keep each loop adjacent to the previous one, maintaining consistent spacing—about 1 to 1.5 inches apart depending on light density. As you wrap, use short lengths of floral wire every 3–4 inches to fasten the strand to the frame. Simply thread the wire through the light’s wire casing and twist it around the frame beneath.
Tip: Work clockwise or counterclockwise consistently—switching directions mid-way creates uneven tension and gaps.
- Complete the Inner Coil and Reverse Direction
Once you’ve spiraled fully into the center of the ring, you’ll reach the innermost point. Now, reverse direction and begin wrapping outward, following the same spiral path but in the opposite flow. This double-layer technique ensures full coverage and eliminates visible gaps. Continue securing every few inches with floral wire as you go. - Secure the Final End and Conceal Wiring
When nearing the end of the strand (within 6–8 inches of the plug or battery pack), stop wrapping and fasten the last section firmly with floral wire. Tuck any excess light wire neatly behind the coil to avoid dangling. Trim protruding floral wires carefully with wire cutters. Position the battery pack discreetly behind the frame or attach it with a small Velcro dot for easy access.
If desired, add a satin ribbon bow at the bottom or top of the wreath. Attach using hot glue (if allowed) or additional floral wire. Avoid overloading the frame with heavy decorations, which may distort the shape.
Do’s and Don’ts: Common Pitfalls to Avoid
| Do’s | Don’ts |
|---|---|
| Test lights before assembly | Start wrapping without checking for dead bulbs |
| Use consistent tension when coiling | Pull too tightly and deform the light wire |
| Secure every 3–4 inches with wire | Rely solely on friction to hold lights in place |
| Choose a frame with crossbars for grip | Use a smooth PVC ring that offers no traction |
| Store flat in a padded container | Crumple or twist the wreath when packing away |
One frequent error is underestimating the length of lights required. A 12-inch frame typically needs at least 100 bulbs; an 18-inch frame benefits from 150–200. Measure your frame’s circumference and multiply by the number of wraps you expect—usually 8 to 12 turns per layer—to estimate total linear footage needed.
Real Example: A Porch Makeover in Under Two Hours
Sarah Kim, a homeowner in Portland, Oregon, wanted to refresh her entryway for Christmas without cluttering her small porch. She had old string lights stored in her attic—unused for years due to tangled cords and missing bulbs. After replacing the strand with a new set of 150-count warm white LEDs, she followed this method on a Saturday afternoon.
Using a 16-inch wire wreath frame from a local craft shop, Sarah spent 15 minutes anchoring and testing, then about 45 minutes wrapping and securing. She reversed direction at the center flawlessly and finished with a red velvet ribbon. Total build time: 78 minutes. She hung it on her black front door using a simple over-the-door hook, powered by a weatherproof battery pack.
Neighbors immediately noticed. “It looks like something from a boutique,” one commented. Sarah now plans to make matching smaller versions for windows and indoor walls next year.
Storage and Reuse Tips
One of the greatest advantages of a string light wreath is its longevity. With proper care, it can last five to ten holiday seasons or more.
- After the holidays, gently remove any embellishments.
- Photograph the current state for reference next year.
- Store flat in a rigid container—like a shallow storage bin or picture box.
- Wrap the power cord separately to prevent strain on the base connection.
- Keep in a dry, temperature-stable location—avoid attics or garages with extreme fluctuations.
Frequently Asked Questions
Can I use solar-powered string lights for this project?
Yes, but with limitations. Solar-powered lights often have lower lumen output and require daily sun exposure to recharge. For an indoor hanging wreath, this isn’t practical. Outdoors, it can work—but only if the wreath is mounted where direct sunlight reaches the panel daily. Battery-operated or plug-in sets offer more reliability and consistent brightness.
What if my lights develop a dead section over time?
Some LED strings are designed with shunt technology, allowing the rest of the strand to stay lit even if one bulb fails. However, if an entire segment goes dark, check for loose connections or damaged wires. Many manufacturers offer replacement bulbs or repair clips. Alternatively, consider repurposing the working half into a smaller decorative piece, like a garland runner.
Is it safe to leave the wreath plugged in overnight?
Modern LED string lights generate very little heat and are generally safe for extended use, especially indoors. Always choose lights certified by UL, ETL, or another recognized safety laboratory. Never leave non-certified or damaged strands unattended. For peace of mind, use a timer to limit operation to 6–8 hours per night.
Final Checklist Before Hanging
- ✅ Lights tested and fully functional
- All bulbs illuminate; no flickering or dark zones.
- ✅ Frame securely wrapped with no gaps
- Double-layer spiral complete and evenly spaced.
- ✅ All attachment points reinforced
- Floral wire used every 3–4 inches; no reliance on friction alone.
- ✅ Power source accessible and stable
- Battery pack charged or cord routed safely to outlet.
- ✅ Embellishments safely attached (if used)
- No risk of falling parts or fire hazards near bulbs.
- ✅ Hanging mechanism ready
- Strong wire, ribbon, or hook capable of supporting weight.
Conclusion: Illuminate Your Holidays with Confidence
A handmade hanging Christmas wreath from string lights blends craftsmanship with convenience. It’s a project that rewards attention to detail but doesn’t demand advanced skills. Once completed, it becomes a signature piece—welcoming guests with warmth and radiance.
More than just a decoration, it represents intentionality. In a season often defined by rush and repetition, taking time to build something beautiful reminds us of the value of slow, meaningful creation. And when December arrives again, you won’t need to start from scratch. Just pull it from storage, power it up, and watch the glow return—brighter each year with memory.
💬 Have you tried making a light-based wreath? Share your setup, color choices, or customization tips in the comments—your insight could inspire someone else’s holiday masterpiece.