
Outdoor lighting, holiday decorations, garden tools, and patio appliances often rely on extension cords. But exposed cords create trip risks, detract from your landscape’s appearance, and are vulnerable to sun, rain, and foot traffic. Leaving them out in the open isn’t just unsightly—it’s a safety hazard. The good news is that with thoughtful planning and the right techniques, you can conceal extension cords effectively while protecting them from environmental wear and ensuring they remain accessible when needed.
The goal isn’t just aesthetics—it’s durability, safety, and long-term functionality. Whether you're setting up seasonal lights or powering an outdoor kitchen, properly managing cords keeps your space inviting and accident-free. This guide walks through proven strategies used by electricians, landscapers, and homeowners who maintain polished outdoor environments year-round.
Why hiding outdoor cords matters
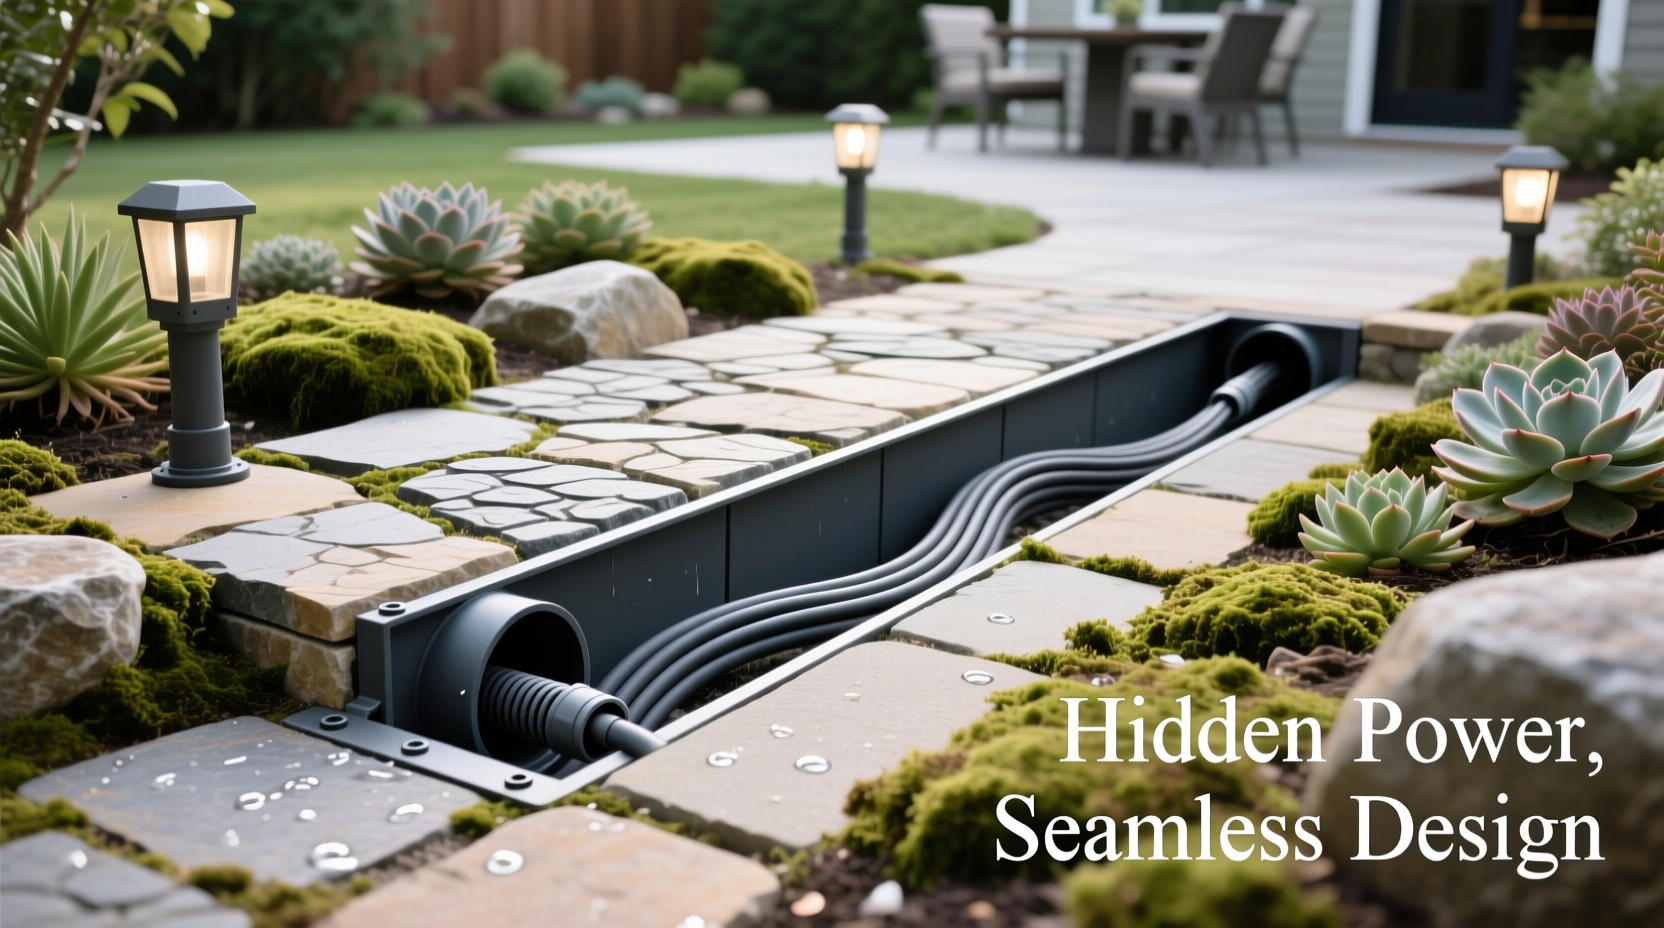
Extension cords left visible across walkways, decks, or lawns pose real dangers. According to the National Fire Protection Association (NFPA), damaged or improperly used extension cords contribute to over 3,300 home fires annually. Outdoors, these risks multiply due to moisture exposure, UV degradation, and physical stress from lawn mowers, foot traffic, and pets.
Beyond safety, visible cords disrupt the visual harmony of your yard or patio. A neatly concealed cord system enhances curb appeal and allows design elements—like string lights, fountains, or outdoor speakers—to take center stage without distraction.
Tip: Always use cords rated for outdoor use—look for jackets marked “W-A” or “W” indicating weather resistance.Step-by-step: How to safely route and hide outdoor extension cords
Hiding cords begins with smart planning. Follow this sequence to ensure both safety and effectiveness.
- Map your power needs: Identify where devices will be placed and determine the shortest viable path from the outlet to each endpoint. Avoid unnecessary loops or excess length.
- Choose the right cord: Use heavy-duty, grounded (three-prong) cords rated for outdoor conditions. For permanent installations, consider low-voltage wiring instead.
- Select concealment method: Based on terrain, usage frequency, and visibility, pick one or more of the methods outlined below.
- Install with clearance: Never staple or nail cords directly into surfaces. Allow slack at connection points to prevent strain.
- Test and inspect: Plug in devices to confirm full operation. Check for heat buildup after 15 minutes of use.
- Maintain seasonally: Inspect every few months for cracking, fraying, or moisture intrusion—especially before and after winter.
Best locations for routing hidden cords
- Along fence bases or behind shrubbery
- Under deck edges using cord clips
- Through garden beds beneath mulch (only if protected in conduit)
- Inside PVC or flexible plastic raceways mounted to walls
- Behind downspouts or structural trim pieces
Effective methods for concealing outdoor cords
No single solution fits all scenarios. Consider your climate, landscape layout, and how long the cord will remain installed.
1. Cord covers and surface raceways
Rigid plastic channels—often called cord covers or wire mold systems—snap over cords and mount directly to walls, decks, or patios. These protect against impact, moisture, and UV rays while keeping cords flush with the surface.
Available in gray, brown, or paintable finishes, they blend well with outdoor materials. Some models come with removable lids for easy access during maintenance.
Tip: Secure raceways with stainless steel screws or UV-resistant plastic anchors—not regular nails, which loosen over time.2. Buried conduit systems (for semi-permanent setups)
If you regularly use the same outdoor circuits—such as for landscape lighting or pond pumps—installing buried electrical conduit offers a long-term fix.
Use Schedule 40 PVC pipe (rated for direct burial) to encase wires. Dig a trench at least 6 inches deep (12 inches if under footpaths), lay the conduit, pull the wires through, then backfill carefully. Top with warning tape before covering completely.
“Conduit isn’t just protection—it’s future-proofing. You can replace or upgrade wires without digging again.” — Marcus Lin, Licensed Electrician & Outdoor Wiring Specialist
Note: If running new permanent lines, consult local codes. Many areas require permits and GFCI protection for outdoor circuits.
3. Landscaping integration
Strategically place cords along natural barriers. Examples include:
- Running cords behind dense hedges or ornamental grasses
- Routing along rock borders or retaining walls
- Using hollowed logs or faux bamboo tubes as decorative sleeves
Cover only cords inside protective tubing. Never bury bare cords under soil or mulch—even if labeled “outdoor-rated.” Moisture seepage leads to corrosion and short circuits.
4. Deck and railing solutions
For multi-level decks or elevated patios, run cords underneath floorboards or inside hollow rail posts. Drill small entry/exit holes at corners and use grommets to prevent abrasion.
Alternatively, install magnetic or clip-on cord organizers under handrails. These hold cords snugly and allow quick removal for cleaning or storage.
Do’s and Don’ts of outdoor cord management
| Do | Don't |
|---|---|
| Use UV-resistant, grounded extension cords labeled for outdoor use | Use indoor-only cords outside, even temporarily |
| Elevate cords off wet surfaces using risers or clips | Let cords sit in puddles or under sprinkler spray zones |
| Secure loose sections with soft ties or Velcro straps | Tie cords tightly with wire or zip ties that cut into insulation |
| Inspect monthly for cracks, brittleness, or exposed wires | Leave cords out year-round in harsh climates without inspection |
| Label ends clearly if multiple cords are used | Daisy-chain multiple extension cords together |
Real-world example: Holiday lighting setup without clutter
Every December, Sarah Thompson decorates her two-story colonial with rooftop lights, pathway markers, and porch wreaths. In past years, tangled cords ran across sidewalks and stairs—her toddler once tripped, and a neighbor’s dog chewed through a section near the front gate.
Last fall, she redesigned her approach. She mapped outlets and planned routes to minimize ground crossings. Along walkways, she installed brown surface-mounted raceways secured with corrosion-resistant fasteners. Up the siding, she used adhesive-backed cord clips spaced every 18 inches, guiding wires to eaves. At roof level, she tucked cords behind gutters using insulated guides.
For the front steps, she routed the cord under the edge of a stone landing via a short PVC sleeve. All connections plug into GFCI outlets, and she added timers to reduce runtime.
The result? A festive display with zero visible cords and no safety concerns. Neighbors asked how she achieved such a clean look—and several adopted similar methods.
Checklist: Outdoor cord concealment prep
Before installing any system, complete this checklist:
- ☐ Confirm all cords are UL-listed for outdoor use
- ☐ Verify outlet has GFCI protection (test monthly)
- ☐ Measure total cord length needed + 10% extra for slack
- ☐ Choose concealment method based on location and duration
- ☐ Gather tools: drill, conduit bender (if needed), fish tape, cable ties
- ☐ Mark underground utility lines (call 811 before digging)
- ☐ Plan seasonal removal or storage process
Weatherproofing for longevity
Even hidden cords face environmental stress. Sunlight degrades rubber insulation; rain promotes corrosion at connections; temperature swings cause expansion and contraction that loosens fittings.
To extend cord life:
- Use dielectric grease on male/female connectors to repel moisture
- Position plugs upward or under cover so water doesn’t pool in sockets
- Wrap connections with self-amalgamating tape (not duct tape)
- Install a weatherproof outlet cover with a hinged lid
- Unplug during storms or prolonged non-use
In coastal or high-humidity areas, consider upgrading to marine-grade cords with tinned copper wiring and thicker jacketing.
Frequently Asked Questions
Can I bury an extension cord directly in the ground?
No. Even outdoor-rated extension cords are not designed for direct burial. They lack the insulation thickness and chemical resistance required. Always use UF (underground feeder) cable or THWN wires inside approved conduit for buried runs.
What’s the safest way to cross a driveway with an extension cord?
Use a rubber or polyurethane cord ramp—these flat covers protect the cord from vehicle weight while allowing tires to pass safely. Alternatively, install a shallow trench (6+ inches deep) with buried conduit entering/exiting on either side.
How often should I replace outdoor extension cords?
Inspect quarterly. Replace immediately if you notice cracked insulation, bent prongs, overheating, or stiff/brittle sections. As a rule of thumb, replace cords used seasonally every 3–5 years, even if they appear intact.
Conclusion: Safety and style go hand-in-hand
Hiding outdoor extension cords isn’t about shortcuts—it’s about creating a space that’s both beautiful and secure. With careful planning, durable materials, and respect for electrical safety, you can eliminate tripping hazards and protect your investment from the elements.
Start small: tackle one zone at a time. Upgrade a single pathway, conceal a patio circuit, or re-route holiday lights using one of the methods above. Over time, these improvements add up to a cleaner, safer, and more enjoyable outdoor environment.
💬 Have a clever cord-hiding trick you swear by? Share your tip in the comments and help others keep their yards safe and stylish!