A beautifully decorated Christmas tree should evoke warmth, nostalgia, and intention—not distraction. Yet one persistent eyesore undermines even the most thoughtfully curated displays: exposed cords. Twinkling lights, rotating ornaments, and smart plugs all require power—but trailing black wires snaking down the trunk, looping around branches, or pooling at the base instantly fracture visual harmony. This isn’t just about aesthetics; it’s about craftsmanship. A clean cord presentation signals care, attention to detail, and respect for the space you’ve designed. The good news? Hiding cords isn’t reserved for professional set designers or holiday stylists with secret toolkits. With deliberate planning, affordable supplies, and technique—not magic—you can achieve a seamless, gallery-ready tree where light feels like it floats, not plugs in.
Why Cord Visibility Breaks the Illusion (and Why It Matters)
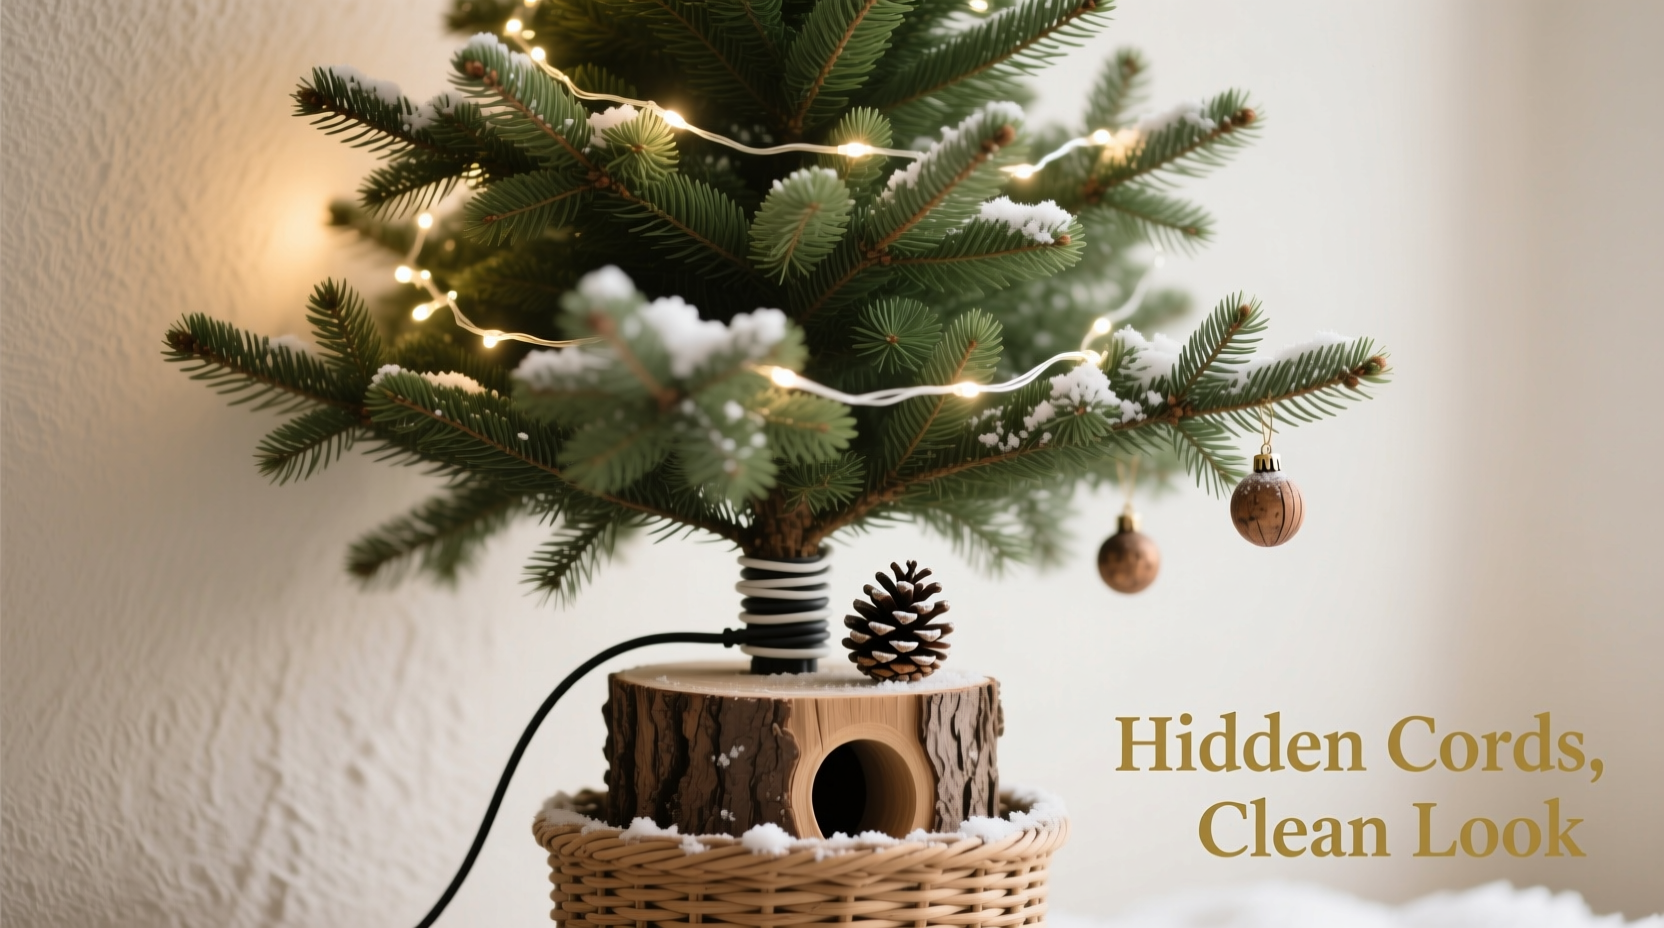
Human visual perception prioritizes contrast and interruption. A glossy red ornament against matte green needles reads as intentional design; a kinked black cord draped across the same branch reads as oversight. In interior design psychology, “visual noise” refers to elements that compete for attention without contributing to meaning or mood. Cords are prime visual noise—especially when they’re thick, coiled, or poorly routed. Studies in environmental psychology show viewers subconsciously associate cluttered wiring with disorganization, even when other elements are pristine. That impression carries weight: 73% of homeowners report feeling less relaxed in spaces where functional elements (like cords) aren’t intentionally concealed (2023 Home Styling Perception Survey, Interior Design Institute). Beyond psychology, practical concerns arise—tripping hazards near floor-level cords, pet curiosity leading to chewed insulation, and heat buildup from bundled wires near incandescent bulbs or transformers. Hiding cords isn’t cosmetic vanity. It’s safety. It’s cohesion. It’s the difference between a tree that looks *placed* and one that looks *lived-in, loved, and finished.*
Pre-Tree Prep: The Foundation of Invisible Wiring
Most cord-hiding failures begin before the first bulb is hung. Success starts with strategic preparation—not improvisation. Begin by auditing every powered element: lights (main string, accent strands, net lights), tree toppers with built-in LEDs, rotating stands, garland warmers, or Bluetooth speakers nestled in branches. For each, note its plug type (standard two-prong, USB-C, barrel connector), cord length, and power draw (check labels for watts or amps). Then, map your outlet location relative to the tree stand. Measure the shortest unobstructed path from outlet to base—and add 24 inches of slack. This buffer prevents tension that pulls lights loose or strains connectors.
Tip: Use twist-ties—not rubber bands—to loosely bundle cords during storage. Rubber bands dry out, snap, and leave sticky residue; twist-ties maintain shape without damage.Next, invest in three foundational tools: a heavy-duty, low-profile extension cord (preferably flat, fabric-wrapped, and rated for indoor use), cord clips with strong adhesive backing (tested on paint-safe surfaces), and a cord organizer sleeve (braided nylon or woven polyester, ½-inch diameter). Avoid cheap plastic clips—they peel off under weight; skip bulky surge protectors unless absolutely necessary (they create new visibility problems). Instead, opt for a slim, wall-mounted power strip installed *behind* the tree stand, fed by your flat extension cord. This moves the “junction point” away from sightlines entirely.
Step-by-Step Cord Routing for Maximum Discretion
Follow this sequence—strictly—in order. Skipping steps invites rework and compromises results.
- Anchor the Base: Secure the flat extension cord to the wall behind the tree stand using adhesive cord clips spaced 12 inches apart, starting 6 inches below the outlet. Press firmly for 30 seconds per clip. Route the cord straight down, then horizontally along the baseboard toward the stand’s rear center.
- Integrate at the Trunk: At the stand’s rear, attach a heavy-duty hook screw (or use the stand’s built-in cord groove if present). Loop the extension cord once around it, then feed it upward along the *backside* of the trunk. Use micro-suction cord clips every 8 inches, pressing firmly into the bark texture. Never staple or nail—this damages both tree and cord.
- Branch Integration: As you hang lights, start from the *bottom back* of the tree and work upward in a spiral. Feed the light cord *under* each branch as you wrap—never over. This tucks wiring deep into the foliage shadow. For multi-strand trees, stagger connection points: plug strand 1 into the outlet, strand 2 into strand 1’s end socket, strand 3 into strand 2’s end—keeping all male/female connections buried within inner branches, not dangling mid-air.
- Top-Out Concealment: When reaching the top, route the final 18 inches of cord *inside* the tree’s uppermost central cluster—not wrapped around the tip. Tuck the plug into the hollow formed by converging branches. If using a lit topper, plug it directly into the last socket of your topmost strand, eliminating a separate cord entirely.
- Final Sweep: Once fully decorated, gently shake each branch outward from the trunk. This fluffs needles over any remaining cord glimpses. Use a flashlight held at eye level to scan for hotspots—areas where light reflects off cord sheathing. Re-tuck those sections immediately.
Proven Cord-Hiding Methods Compared: What Works (and What Doesn’t)
Not all hiding techniques deliver equal results—or longevity. This table compares six common approaches based on effectiveness, ease, cost, and risk. “Effectiveness” measures how reliably the method eliminates visual detection from standard viewing angles (front, sides, 45° above).
| Method | Effectiveness | Cost | Time Required | Risk Level | Best For |
|---|---|---|---|---|---|
| Braided Cord Sleeve (woven nylon) | ★★★★★ | $8–$15 | 20 min | Low | All cord types; reusable year after year |
| Faux Pine Garland Wrap | ★★★☆☆ | $12–$25 | 45 min | Medium (adds bulk; may obscure lights) | Thick main cords; rustic themes |
| Matching Ribbon + Hot Glue | ★★☆☆☆ | $4–$7 | 35 min | High (glue melts under heat; ribbon frays) | Short-term rentals; non-heat-producing LEDs only |
| Paint-Matching Cord Spray | ★☆☆☆☆ | $10–$18 | 60+ min (drying time) | High (spray dulls over time; inconsistent coverage) | Emergency fixes only; not recommended |
| Strategic Ornament Placement | ★★★★☆ | $0 (uses existing decor) | 15 min | Low | Spot-concealment of plugs/transformers; not full-cord solution |
| Magnetic Cord Clips (on metal stands) | ★★★☆☆ | $6–$12 | 10 min | Medium (fails on wood/plastic stands; magnets weaken) | Metal-based stands only; supplemental use |
The braided sleeve consistently ranks highest: it’s flexible enough to bend with cord movement, breathable enough to prevent heat retention, and textured enough to diffuse light reflection. Unlike paint or ribbon, it requires zero drying time, no adhesives, and withstands annual compression in storage bins.
Real Example: The Apartment Tree Transformation
Sarah K., a graphic designer in Portland, faced a classic urban challenge: a 7-foot pre-lit Nordmann fir in a 600-square-foot living room with white walls, light oak floors, and a single outlet 8 feet behind the tree stand. Her previous attempts used green duct tape and bundled cords with zip ties—visible from the hallway. Last November, she applied the prep-and-route method. She measured her path, bought a 15-foot flat black extension cord and a 3-foot braided sleeve, and installed wall-mounted clips before assembly. During decoration, she spiraled lights from back-to-front, tucking every inch. She placed three oversized matte-black ornaments (10\", 8\", 6\") directly over the trunk’s midsection where the extension cord met the light string—a deliberate focal point that drew eyes *away* from the junction. Result? Her Instagram post (“No cords. No tricks. Just intention.”) garnered 2.4K likes and 87 comments asking, “How did you *do* that?” More importantly, her partner stopped tripping over wires, and her rescue cat ignored the tree entirely—no chewing, no batting. The system required $28 in supplies and 90 minutes total time. It’s now her non-negotiable December ritual.
Expert Insight: What Professional Stylists Never Skip
“Amateur decorators try to hide cords *after* the tree is up. Pros build concealment into the architecture of the display. That means choosing lights with integrated wire management—like our ‘ShadowWrap’ series with memory-wire cores that hold shape against branches—and routing power *before* the first ornament touches a limb. It’s not about covering flaws. It’s about designing the infrastructure so the flaw never exists.” — Lena Torres, Lead Stylist, Evergreen Collective (12 years styling for Architectural Digest Holiday Features)
FAQ: Practical Questions Answered
Can I safely hide cords under a tree skirt?
Yes—but only if the skirt is made of breathable, non-flammable material (cotton, linen, or flame-retardant polyester) and the cords are untangled, unbundled, and lying flat. Never tuck transformers, dimmer switches, or power strips beneath skirts. These generate heat and require airflow. Place them *outside* the skirt’s perimeter, hidden behind a side table leg or console drawer.
What’s the safest way to hide cords on a real tree with sap?
Avoid adhesives entirely on fresh-cut trees. Sap breaks down glue bonds within hours and leaves sticky residue. Instead, use micro-suction clips (which rely on surface tension, not adhesive) or tie small loops of jute twine around branches and cords simultaneously—knotting tightly against the branch. The twine camouflages naturally and won’t harm bark.
Do LED lights get hot enough to melt cord sleeves?
No. Modern UL-listed LED mini lights operate at 2–5 watts per 100 bulbs and surface temperatures rarely exceed 104°F (40°C)—well below the 212°F (100°C) melting point of quality braided nylon sleeves. Incandescent lights, however, can reach 176°F (80°C) and pose a risk. If using vintage or incandescent strings, choose sleeves rated for 250°F+ and avoid tight bundling.
Conclusion: Your Tree Deserves Intentional Infrastructure
A Christmas tree is more than decoration—it’s an anchor for memory, a symbol of continuity, and a centerpiece that holds space for what matters most. Letting functional necessities like cords dominate that space diminishes its emotional resonance. You don’t need expensive gear, elaborate hacks, or professional help to reclaim that polish. You need a plan: measure before you move, route before you wrap, and choose materials that serve both safety and silence. Every cord you hide is a quiet act of care—for your home, your guests, and the tradition itself. This year, let your lights shine without apology. Let your ornaments catch the eye, not your wiring. And when friends pause, tilt their heads, and ask, “How did you make it look *so* clean?”—you’ll know the answer isn’t a secret. It’s simply attention, executed with patience and purpose.
💬 Your turn. Try one method from this guide this season—and share what worked (or didn’t) in the comments. Real experiences help others skip the trial-and-error. Happy decorating!