Holiday lighting transforms even the smallest spaces into festive retreats, and your apartment balcony is no exception. With thoughtful planning, you can create a warm, inviting glow that celebrates the season while respecting your building’s rules and safety standards. Many renters hesitate to decorate due to concerns about damage, electrical hazards, or lease violations—but with the right approach, none of those should stop you. From selecting the proper lights to installing them without nails or drilling, this guide walks you through every step to achieve a dazzling yet responsible display.
Assess Your Balcony and Lease Agreement First
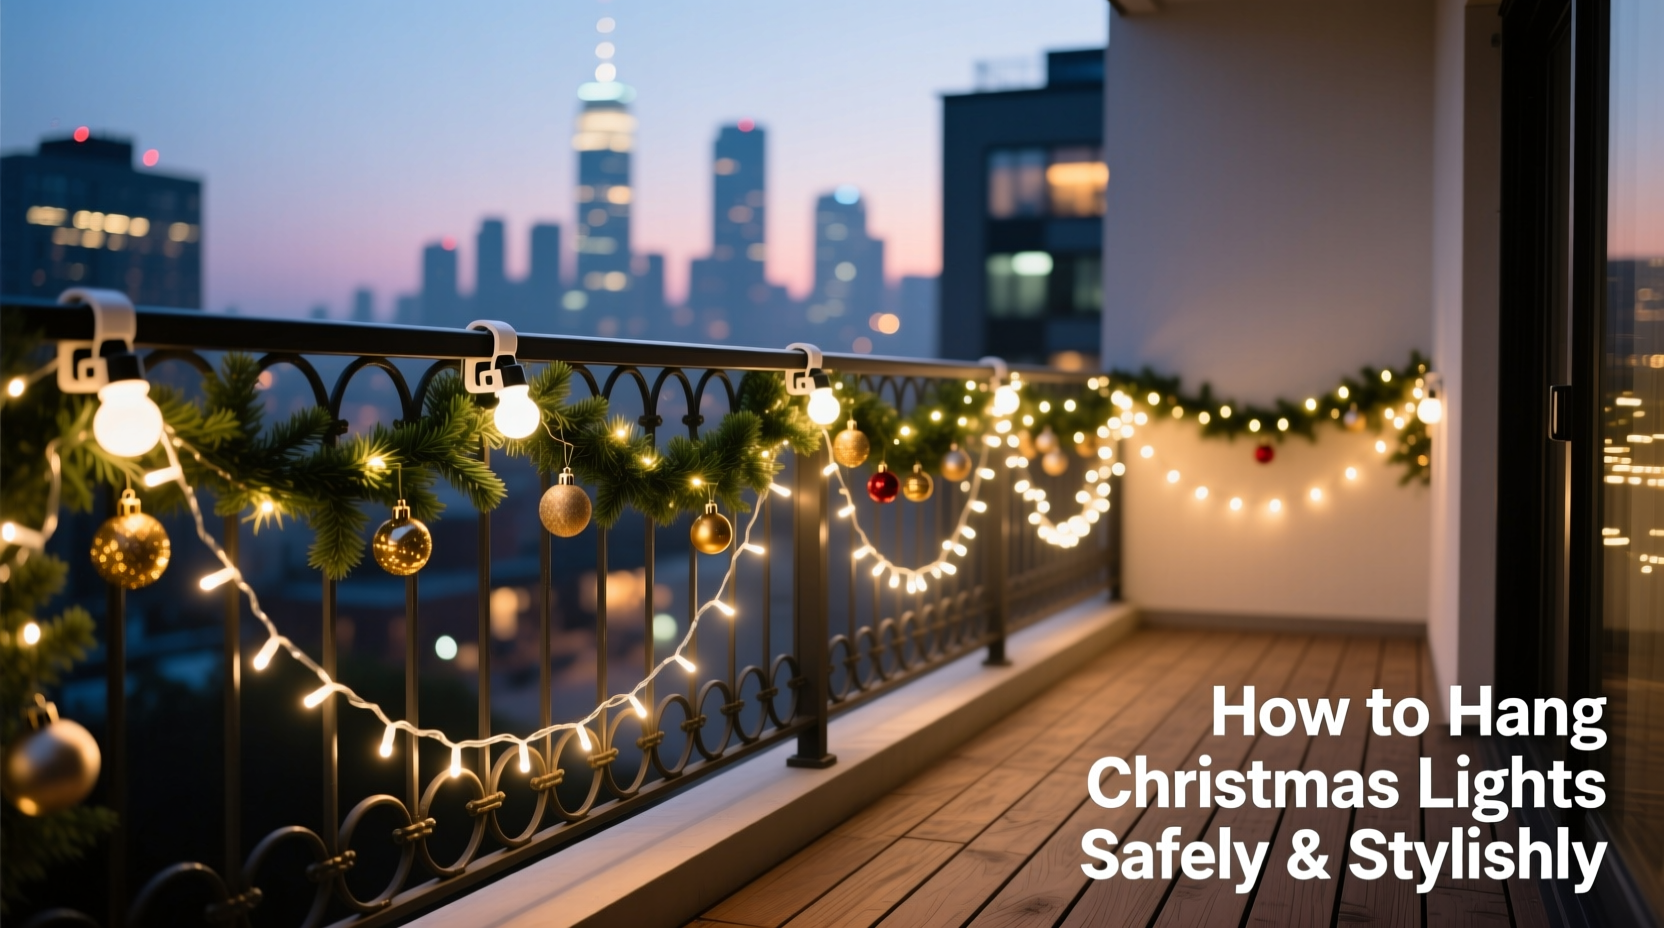
Before purchasing a single string of lights, take time to evaluate your balcony’s structure and review your rental agreement. Not all balconies are created equal—some are concrete and open-air, others are glass-enclosed or have strict fire codes. Your lease may also restrict certain types of decorations, especially if they involve permanent fixtures or outdoor electrical use.
Contact your property manager if anything in the lease is unclear. Most modern leases allow decorative lighting as long as it's temporary, low-voltage, and doesn’t alter the structure. However, some high-rises prohibit any outdoor plug-in decor due to energy load or fire safety regulations.
Tip: Take photos of your balcony from multiple angles before shopping for lights. This helps visualize coverage and identify safe mounting zones.Key Questions to Ask Yourself
- Is there an accessible outdoor outlet? If not, will an indoor extension cord be permitted?
- What materials make up the railing or walls (metal, wood, glass)?
- Are there wind or weather exposure concerns?
- Does your complex use shared electrical circuits?
Answering these honestly ensures your design aligns with both practicality and policy.
Choose the Right Lights for Safety and Style
Not all Christmas lights are suitable for outdoor balcony use. The wrong choice could lead to overheating, water damage, or tripped breakers. Prioritize LED lights—they consume less power, emit minimal heat, and last significantly longer than incandescent bulbs.
Look for strings labeled “for outdoor use” and check their IP (Ingress Protection) rating. An IP44 rating or higher means resistance to splashing water, which is essential for exposed balconies. Avoid cheap, unbranded strands sold online without safety certifications.
“LED holiday lights reduce fire risk by up to 75% compared to older models because they operate at cooler temperatures.” — National Fire Protection Association (NFPA)
Recommended Light Types for Apartments
| Type | Best For | Risk Level |
|---|---|---|
| LED Mini Lights | Railings, planters, overhead draping | Low |
| Battery-Operated String Lights | Non-electrical zones, glass railings | Very Low |
| Solar-Powered Lights | Sunny balconies with daytime exposure | Low |
| Fairy Lights in Net Form | Wall coverage without individual hooks | Low |
| Incandescent C9 Bulbs | Not recommended – high heat, energy draw | High |
If your balcony lacks an outlet, battery-powered or solar options eliminate the need for extension cords entirely. While they require more frequent maintenance (replacing batteries, recharging panels), they’re often the only compliant solution in restricted buildings.
Install Without Damage Using Rental-Friendly Methods
One of the biggest fears among renters is causing damage that leads to lost security deposits. Drilling holes, using nails, or applying strong adhesives can violate your lease. Fortunately, multiple non-invasive installation techniques deliver secure results.
Safe Mounting Alternatives
- Zip Ties (Removable): Use reusable plastic zip ties around railings. Cut them cleanly with scissors when removing; residue-free.
- Hook-and-Loop Fasteners: Adhesive-backed Velcro strips hold lightweight strands securely and come off cleanly indoors.
- Clamp Lights: Mini clamp-style lights attach to railing edges without tools—ideal for temporary setups.
- Magnetic Clips: Work well on metal railings. Simply snap lights into place.
- Over-the-Railing Hangers: Clear plastic or rubber hangers drape over rails and support string weight evenly.
Avoid These Common Mistakes
- Using duct tape or Gorilla Tape directly on painted or composite surfaces.
- Stringing lights across walkways where tripping hazards exist.
- Connecting more than three light strands end-to-end unless rated for it.
- Leaving lights on overnight or during heavy rain/snow without monitoring.
For glass-walled balconies, consider suction cup clips designed for outdoor use. Choose ones with UV protection so they don’t degrade quickly in sunlight.
Step-by-Step: Installing Balcony Lights Safely
Follow this timeline to install your lights efficiently and safely, whether you're working solo or with help.
- Day 1: Plan Layout (15 minutes)
Sketch your balcony layout on paper or use a digital app. Mark where outlets are, note obstacles, and decide on focal points like planters or corners. - Day 1: Gather Supplies (30 minutes)
Purchase lights, clips, surge protector (if needed), timer, and cleaning wipes. Confirm all components are outdoor-rated. - Day 2: Clean Installation Zones (20 minutes)
Wipe down railings and walls where clips or adhesives will go. Dust and grime reduce grip strength. - Day 2: Attach Mounting Hardware (45 minutes)
Apply Velcro pads, clip hangers, or magnetic bases. Allow adhesive to cure per manufacturer instructions (usually 24 hours). - Day 3: Hang Lights (30–60 minutes)
Weave lights through clips, avoiding tight bends. Plug into a timer-equipped surge protector indoors near the balcony door. - Ongoing: Monitor and Maintain (Weekly)
Check for flickering, loose connections, or weather damage. Replace dead bulbs promptly.
Use a programmable timer to automate lighting cycles—set to turn on at dusk and off by midnight. This conserves energy, reduces wear, and complies with quiet-hour policies in many complexes.
Create a Cohesive, Stylish Display
A well-lit balcony isn’t just about brightness—it’s about ambiance. Thoughtful placement enhances aesthetics and creates a welcoming atmosphere.
Start by defining a theme. Warm white lights offer classic elegance, while multicolor strands suit playful, family-friendly spaces. For modern minimalism, try cool white LEDs woven through potted evergreens or draped along one vertical corner.
Design Ideas by Balcony Type
- Small Concrete Balcony: Frame the perimeter with a single strand along the railing. Add battery-powered fairy lights inside lanterns or mason jars.
- Glass-Walled Enclosure: Use suction cup net lights on the interior side for a glowing wall effect without exterior visibility issues.
- Long Narrow Space: Create depth by hanging vertical light curtains from ceiling beams or overhead awnings.
- Garden-Inspired Setup: Wrap lights gently around tree trunks in large planters or coil them inside wreaths hung on the door.
Consider pairing lights with other removable decor: a holiday doormat, seasonal throw pillows, or a scented candle (used only when present). Just ensure nothing blocks exits or accumulates flammable debris.
Mini Case Study: A High-Rise Holiday Makeover
Sophia, a graphic designer living on the 18th floor of a downtown Chicago high-rise, wanted to celebrate her first holiday in the city. Her lease prohibited external modifications and plug-in outdoor decor, but she found creative solutions.
She began by choosing five sets of battery-operated LED fairy lights with remote controls. Using removable adhesive hooks, she arranged them in a cascading pattern from her glass balcony ceiling to the railing. She placed two lighted pinecone centerpieces on her bistro table and added a small artificial tree inside near the sliding door, visible from outside at night.
To stay compliant, she avoided extension cords and used no permanent fixtures. Her display earned praise from neighbors and even made it into the building newsletter. At season’s end, removal took under ten minutes—with no residue or damage.
Sophia’s success came from prioritizing flexibility, aesthetics, and adherence to rules—all achievable within tight constraints.
Essential Safety Checklist
Use this checklist before powering on your display:
- ✅ Lights are rated for outdoor use
- ✅ Extension cords (if used) are outdoor-rated and grounded (3-prong)
- ✅ Surge protector is GFCI-equipped and plugged into an indoor outlet
- ✅ No frayed wires, cracked sockets, or missing bulbs
- ✅ Lights are secured and won’t blow into common areas
- ✅ Timer is set to limit daily runtime (6–8 hours max)
- ✅ Building management has approved the setup (if required)
- ✅ Emergency exit path remains unobstructed
“Over 150 home fires per year are caused by decorative lighting. Most are preventable with simple precautions like using timers and inspecting cords.” — U.S. Consumer Product Safety Commission
Frequently Asked Questions
Can I use an extension cord from inside my apartment?
Yes, but only if it’s rated for outdoor use and properly secured. Never run a cord under a door or window that could pinch or degrade the insulation. Use a cord cover or door guard, and always plug into a surge protector—not directly into the wall.
What if my balcony doesn’t have any outlets?
Opt for battery-powered or solar string lights. Modern lithium-rechargeable options last up to 100 hours per charge and can be discreetly stored indoors when not in use.
How do I remove adhesive hooks without damaging paint?
Slowly stretch the hook parallel to the surface rather than pulling straight off. Use a hairdryer on low heat to soften stubborn adhesives, then wipe residue with rubbing alcohol on a soft cloth.
Final Thoughts: Shine Bright, Stay Smart
Your apartment balcony can become a joyful part of the holiday season without compromising safety or violating your lease. The key lies in preparation, product selection, and respect for shared environments. By choosing energy-efficient LEDs, using non-damaging installation methods, and following a clear plan, you create beauty that lasts—and that you can take down just as easily as you put it up.
More than just decoration, your lights send a message of warmth and community. In a world that often feels fast-paced and impersonal, a softly glowing balcony invites connection, wonder, and seasonal cheer.
💬 Ready to transform your balcony? Start planning today—share your setup ideas or ask questions in the comments below. Let’s inspire each other to celebrate safely and beautifully!