A beautifully decorated Christmas tree doesn’t happen by accident. It’s the result of intention—not just in color palette or theme, but in spatial awareness. Most people hang ornaments instinctively: clustering favorites near eye level, piling extras at the tips, leaving sparse gaps near the trunk or base. The difference between “festive” and “polished” lies in visual rhythm—consistent intervals, thoughtful layering, and deliberate distribution across all three dimensions of the tree. Professional decorators don’t rely on guesswork. They use repeatable systems rooted in geometry, proportion, and human perception. This guide distills those methods into actionable steps, grounded in real-world application—not theory alone.
The Geometry of Balance: Why Even Spacing Matters More Than You Think
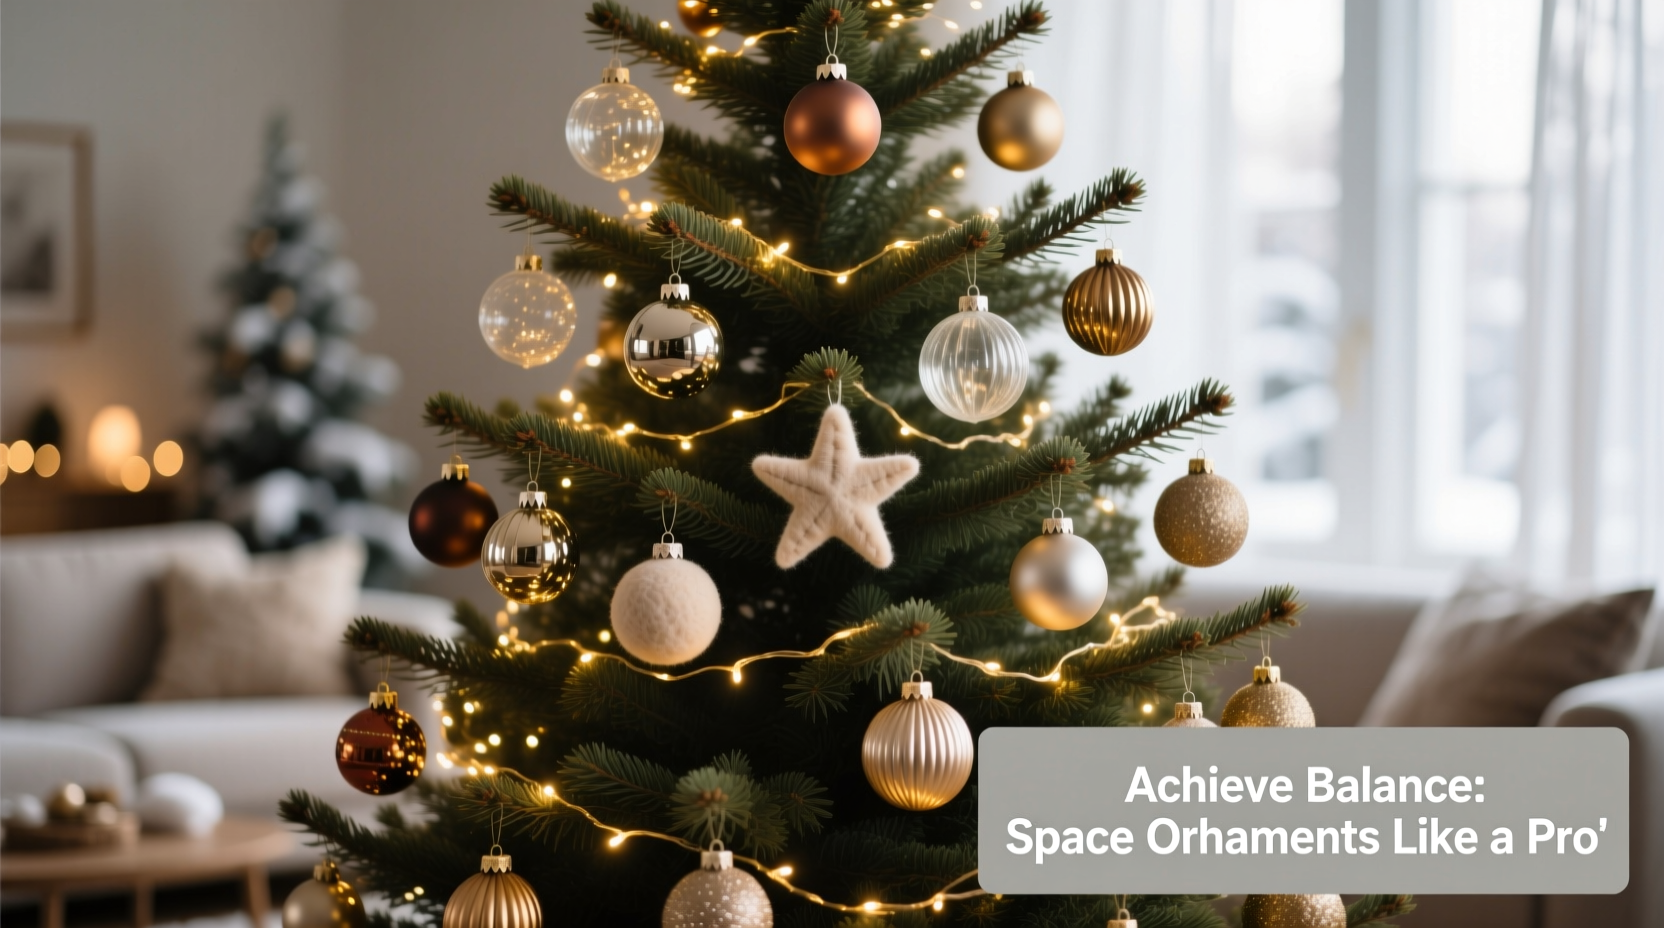
Human eyes are wired to detect pattern disruption. A single oversized ornament placed too close to a cluster of small ones creates visual tension. Gaps wider than 8–10 inches (on a standard 7-foot tree) read as “empty,” not “breathing room.” Uneven spacing triggers subconscious unease—even if viewers can’t articulate why. Research in environmental psychology confirms that symmetry and rhythmic repetition in decorative contexts increase perceived harmony and elevate emotional response. In short: even spacing isn’t about perfectionism. It’s about guiding attention, supporting the tree’s natural conical form, and making every ornament feel *intentional*.
Contrary to popular belief, “even” doesn’t mean “identical distances.” Because trees taper and branches vary in length and density, true evenness is achieved through *relative consistency*—maintaining proportional relationships between ornaments, branch tiers, and vertical zones. A 6-inch gap on a dense lower branch feels different from the same gap on a slender upper limb. The goal is perceptual balance, not mechanical uniformity.
Step-by-Step: The 5-Phase Ornament Placement System
This method has been refined over 12 holiday seasons by interior stylists working with high-end retail displays and residential clients. It prioritizes structure before decoration—and eliminates decision fatigue mid-hang.
- Assess & Zone: Stand back 6 feet. Mentally divide your tree into three horizontal zones: Base (bottom third), Midsection (middle third), and Crown (top third). Also identify four vertical “spokes”—imaginary lines running from trunk to tip at 12, 3, 6, and 9 o’clock positions. These anchor points prevent clustering.
- Anchor with Structure Ornaments: Place 3–5 large, weighty ornaments (4–6 inches) first—one at the very top (finial), one at the lowest central branch, and one midway up each of the four spokes. These serve as fixed reference points—like survey markers.
- Layer by Size & Density: Use the “Rule of Three Sizes”: For every large ornament, place two medium (2.5–3.5 inches) and three small (1–2 inches). Distribute them *within zones*, not across the whole tree. Example: In the Base zone, place 4 large anchors → then add 8 medium and 12 small, filling outward from each anchor toward the zone edges.
- Apply the 8-Inch Baseline Rule: Hold a ruler or tape measure. On any given branch, the shortest distance between ornament centers should be no less than 6 inches and no more than 10 inches. Adjust based on ornament size: subtract 1 inch for every inch over 4 inches in diameter; add 0.5 inch for every inch under 2 inches.
- Final Walkaround Calibration: Step back after each zone. Rotate slowly. Ask: “Does any area pull my eye *away* from the center?” If yes, remove one ornament from the strongest focal point and add it to the weakest visual zone. Never add without removing.
Ornament Distribution Calculator: A Practical Formula for Any Tree Height
Forget vague recommendations like “use 100 ornaments for a 6-foot tree.” Quantity alone means nothing without context. The ideal count depends on tree density, branch structure, and ornament mix. Below is a field-tested formula used by set designers for television and editorial shoots. It accounts for volume—not just height.
| Tree Height (ft) | Recommended Total Ornaments | Large (4–6\") | Medium (2.5–3.5\") | Small (1–2\") | Spacing Baseline (inches) |
|---|---|---|---|---|---|
| 5.5–6.5 | 75–95 | 8–12 | 25–35 | 42–48 | 7–8 |
| 7–7.5 | 95–120 | 10–14 | 35–45 | 50–61 | 8–9 |
| 8–9 | 120–160 | 14–18 | 45–60 | 61–82 | 9–10 |
Note: These numbers assume a full, healthy fir or spruce. For sparse or artificial trees with fewer branch tips, reduce totals by 15%. For ultra-dense firs (e.g., Fraser), increase small-ornament count by 10% to fill micro-gaps. Always round down—not up—if your count falls between ranges. Under-decorating reads as intentional; over-decorating reads as chaotic.
Real-World Application: How a St. Paul Home Stylized a 7.5-Foot Noble Fir
In December 2023, stylist Lena Rios was hired to refresh a historic Craftsman home’s living room for a holiday photoshoot. The client owned a stunning 7.5-foot Noble Fir—but its lower branches were thick and horizontal, while upper limbs were delicate and upward-sweeping. Previous years’ decorations looked “heavy at the bottom, bare at the top.”
Rios began by identifying 11 structural anchor points: the finial, trunk base, and nine additional nodes where major branches emerged from the trunk—three in each zone. She hung matte-black glass balls (5\") at all anchors first. Then, using painter’s tape, she marked 8-inch intervals along each primary branch—measuring from anchor outward—not end-to-end. At each tape mark, she attached a small clip, then hung ornaments only where clips existed. For the sparse upper zone, she doubled small ornaments per clip (two 1.5\" baubles wired together) to create visual weight without bulk. Result: a tree that read as cohesive from every angle—including tight shots for social media. The client reported guests repeatedly commenting, “It looks like it belongs in a magazine.”
“Amateur decorators focus on *what* to hang. Professionals focus on *where*—and *why that spot matters*. Spacing is choreography for the eye.” — Marcus Bell, Set Designer & Holiday Stylist for Architectural Digest
Do’s and Don’ts: The Critical Mistakes That Break Visual Flow
Even with precise math, execution missteps sabotage evenness. These are the most frequent errors observed in hundreds of client consultations and styling sessions.
| Do | Don’t |
|---|---|
| Start with lights *before* ornaments—ensure even bulb distribution first. Lights establish the tree’s luminous skeleton. | Hang ornaments before stringing lights. You’ll inevitably cover bulbs or create dark voids. |
| Use ornament hangers with 3–4 inch stems for medium/large pieces. Shorter stems force ornaments flush against branches, flattening depth. | Rely on flimsy wire hooks or bendable plastic stems that droop or twist, pulling ornaments out of alignment. |
| Rotate ornaments as you hang: alternate matte/gloss, smooth/textured, warm/cool tones *within each 12-inch radius*. | Group all red ornaments together, all gold together, etc. Color clustering creates visual “blocks” that disrupt flow. |
| Step back every 15 ornaments. Assess from left, right, and directly in front—not just your dominant eye side. | Work continuously from bottom to top without pausing. Fatigue dulls spatial judgment by 40% after 20 minutes (per 2022 Yale Design Lab study). |
FAQ: Solving Common Spacing Dilemmas
What if my tree has uneven branch density—lots of gaps on one side?
Don’t try to “fill” gaps symmetrically. Instead, embrace asymmetry intentionally. Place 2–3 larger ornaments on the denser side to act as visual counterweights, then use smaller, reflective ornaments (mirrored, mercury glass) on the sparse side—they catch light and create *perceived* fullness without physical bulk. Position them slightly farther from the trunk to draw the eye outward.
How do I space ornaments when mixing shapes (balls, stars, figurines)?
Base spacing on *footprint*, not height. Measure the widest horizontal dimension of each ornament. A 4-inch star occupies more visual real estate than a 4-inch ball because its points extend outward. Use the footprint to determine minimum center-to-center distance: multiply the largest footprint in your set by 1.5. If your largest ornament is 5 inches wide, maintain ≥7.5 inches between centers—even for smaller pieces nearby.
Can I use a template or stencil for consistent placement?
Yes—but avoid rigid grids. Cut a 12-inch cardboard circle with a 2-inch hole in the center. Hold it flat against the tree at varying heights and angles. Look through the hole: if you see more than two ornaments inside the frame, the density is too high for that zone. If you see none, add one centered in the hole. This “window test” trains your eye faster than any measuring tool.
Conclusion: Your Tree Is Ready When It Feels Like a Complete Thought
A professionally spaced Christmas tree isn’t defined by mathematical precision—it’s defined by coherence. When every ornament contributes to the whole, when no single piece competes for dominance, when light moves fluidly across the surface instead of snagging on clusters or falling into voids—that’s when craftsmanship becomes quiet confidence. You don’t need expensive ornaments or a designer’s eye to achieve this. You need a system, patience, and permission to step back. Try the 5-phase method this year—not as a rigid rulebook, but as a dialogue between your hands and the tree’s natural architecture. Notice how the rhythm changes as you move from zone to zone. Feel the satisfaction when your eye travels smoothly, not jarringly, around the form. That’s the moment decoration becomes curation.
💬 Your turn: Hang your first three ornaments using the Anchor Phase—then step back and take a photo. Share your “before spacing” snapshot in the comments. We’ll help you calibrate the next phase!