Designing a home bar is rarely just about cabinets and bottles—it’s about curating an atmosphere where conversation lingers, memories crystallize, and personal style finds its most convivial expression. Yet many homeowners stall before the first cabinet sketch, overwhelmed by competing aesthetics, budget constraints, or vague notions of “vintage” or “modern.” That’s where a thoughtfully constructed mood board becomes indispensable—not as decoration, but as a functional design compass. Unlike generic Pinterest collages, a purpose-built mood board for your home bar synthesizes spatial logic, sensory intention, and pragmatic feasibility. It transforms abstract desire into actionable decisions: the exact warmth of walnut veneer, the acoustic performance of cork-backed bar stools, the way pendant light reflects off hand-blown glassware at 8 p.m. on a Saturday. This guide walks through the deliberate process professionals use—not to mimic trends, but to anchor your bar in authenticity, function, and quiet confidence.
Why a Mood Board Is Non-Negotiable (Not Just Decorative)
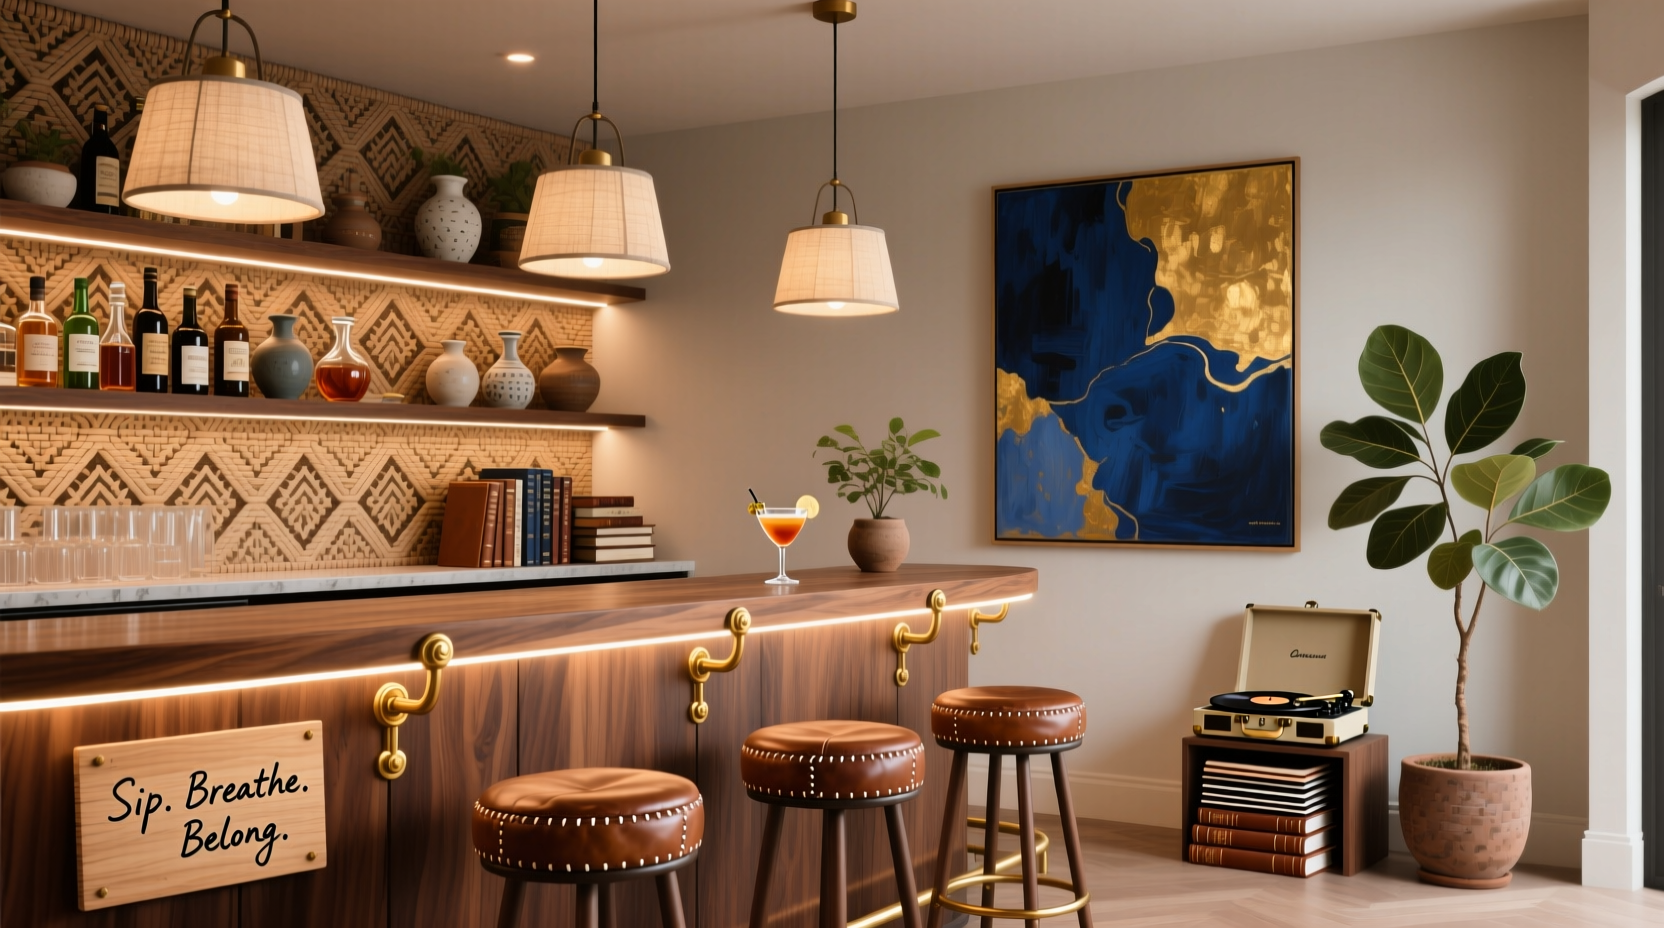
A mood board for a home bar serves three critical functions no floor plan alone can fulfill: it establishes emotional resonance, resolves material conflicts early, and prevents costly mid-project pivots. Consider this: without visual alignment, you might select a matte black faucet that clashes with brushed brass shelving brackets—or choose a high-gloss epoxy countertop that amplifies ambient noise instead of dampening it. Interior designer Lena Torres, whose firm specializes in residential entertainment spaces, puts it plainly:
“I’ve seen clients spend $4,200 on custom cabinetry only to realize—after installation—that the cool-toned gray they loved online felt sterile next to their warm oak flooring. A mood board catches that dissonance *before* the first cut is made.” — Lena Torres, Founder, Hearth StudioThe board isn’t about perfection; it’s about calibration. It forces specificity: not “rustic,” but “reclaimed Oregon pine with visible grain knots and a natural oil finish, paired with matte black iron hardware and amber-tinted glass shelf lighting.” That level of precision saves time, money, and decision fatigue.
The 5-Step Process to Build Your Bar Mood Board
Building a meaningful mood board requires structure—not randomness. Follow this sequence to ensure every element supports your bar’s core identity:
- Define the Bar’s Primary Function & Frequency: Is it a daily espresso station for two? A weekend cocktail lab for six? A year-round entertaining hub for 12+? This determines scale, durability needs, and workflow zones (e.g., dedicated ice storage vs. compact under-counter bins).
- Identify Your Anchor Element: Choose one non-negotiable item that sets the tone—this could be a vintage bar cart, a slab of fossilized limestone countertop, or even a specific bottle collection (e.g., Japanese whiskies displayed in backlit shelving). Everything else must harmonize with this anchor.
- Gather Raw Visuals with Intent: Collect *only* images that reflect real materials, textures, and lighting conditions—not stylized stock photos. Prioritize shots showing scale (e.g., a bar stool beside a standard 36-inch counter) and context (e.g., how copper ages next to concrete).
- Curate, Then Constrain: Reduce your collection to 8–12 visuals maximum. Remove anything that feels “nice” but doesn’t serve the anchor or function. If a marble backsplash photo doesn’t show grout color or veining consistency, discard it.
- Layer Contextual Notes: Annotate each visual with technical specs: “Walnut veneer, 1/8” thick, FSC-certified,” “Pendant light: 2700K CCT, 90 CRI, dimmable,” “Bar top: 2” thick honed basalt, sealed with penetrating silane.” These notes become your contractor’s brief.
Material, Color & Texture: The Sensory Triad
Your bar’s sensory impact hinges on how materials interact—not just how they look. A successful mood board balances tactile contrast, thermal response, and acoustic behavior. For example, pairing warm wood with cool metal creates visual tension but also practical benefits: wood absorbs sound, while metal conducts heat away from condensation-heavy glassware areas. Below is a comparison of common bar material pairings, evaluated across three dimensions critical to daily use:
| Material Pairing | Tactile Contrast | Thermal Response | Acoustic Dampening |
|---|---|---|---|
| Blackened Steel + White Oak | High (rough vs. smooth grain) | Steel cools quickly; oak insulates | Moderate (wood absorbs; steel reflects) |
| Honed Basalt + Cork Backing | Low (both matte, subtle texture) | Basalt stays neutral; cork insulates | High (cork absorbs 95% of mid-frequency noise) |
| Brass + Matte Black Tile | Medium (metal sheen vs. tile grit) | Brass warms to touch; tile stays cool | Low (both reflective surfaces amplify clinks) |
| Concrete + Felt-Lined Shelving | High (coarse vs. soft) | Concrete holds chill; felt adds insulation | Very High (felt absorbs high-frequency glass taps) |
Color psychology matters beyond aesthetics. Deep navy or forest green walls don’t just “feel sophisticated”—they reduce visual glare from task lighting and make amber spirits glow richer. Conversely, bright white surfaces increase eye strain during evening use and highlight dust on glassware. Your mood board should include swatches showing how colors behave under your intended lighting: a warm LED at 2700K will mute cool grays, while daylight-balanced 4000K reveals true undertones.
Real-World Execution: From Board to Build (A Case Study)
When architect Marco Chen redesigned his Brooklyn apartment’s narrow 5’ x 8’ alcove into a functional bar, he began with a mood board built around a single constraint: no plumbing access. His anchor was a 1950s Danish teak bar cart—compact, mobile, and richly grained. He knew he needed self-contained refrigeration, silent operation (for open-plan living), and storage that wouldn’t overwhelm the space.
His mood board included: a close-up of teak’s honey-brown patina; a spec sheet for a 24” undercounter wine chiller (38–65°F range, 42 dB noise rating); fabric swatches for charcoal-gray velvet bar stools (chosen for sound absorption and spill resistance); and a photo of matte black powder-coated steel brackets supporting floating shelves. Crucially, he added a note: “Shelves mounted 12” apart to accommodate tall cocktail shakers *and* low-profile decanters.”
Three weeks later, the build matched the board exactly—no revisions, no compromises. The teak cart became the base; the steel brackets held shelves aligned with the cart’s height; the velvet stools tucked neatly beneath. Most importantly, the chiller’s quiet hum blended into ambient noise, and the charcoal fabric didn’t show drink rings. “The board wasn’t about making it pretty,” Marco says. “It was about making it *work*, every single day.”
What to Avoid: Common Mood Board Pitfalls
Even experienced designers stumble when building mood boards. Here’s what derails clarity—and how to correct it:
- Prioritizing “Instagrammability” over ergonomics: A stunning marble waterfall island looks dramatic—but if your bar is 30” deep, that 12” overhang becomes a knee hazard. Always annotate dimensions and clearances.
- Ignoring lighting layers: Relying solely on overhead pendants creates harsh shadows on faces and glare on bottles. Your board must include at least three lighting types: ambient (ceiling), task (under-shelf LEDs), and accent (backlit glass display).
- Using unverified material samples: A digital image of “brushed nickel” may render as gunmetal on screen. Source physical swatches—even small 2”x2” chips—from suppliers before finalizing.
- Forgetting maintenance reality: High-gloss lacquered cabinets show fingerprints; unlacquered brass tarnishes within hours. Note cleaning frequency and methods directly on your board (“Wipe daily with microfiber + pH-neutral cleaner”).
FAQ: Practical Questions Answered
How much time should I spend building my mood board?
Allocate 8–12 focused hours across 3–4 sessions. Rushing leads to superficial choices. Spend 3 hours researching and collecting, 4 hours editing and annotating, and 2 hours testing proportions in your space. The remaining time ensures technical notes are precise.
Can I use digital tools—or is physical better?
Digital tools (like Milanote or Adobe Express) excel for remote collaboration and easy resizing, but physical boards win for spatial intuition. Print key elements (countertop swatch, hardware sample, lighting spec sheet) and pin them to foam core. You’ll spot scale mismatches instantly—something screens obscure.
What if my partner and I disagree on the direction?
Build *two* separate mood boards—one per person—using the same anchor element and functional requirements. Then compare. You’ll often find overlap in material preferences (e.g., both chose wood) or lighting tones (e.g., both selected warm white). Merge those shared elements first; negotiate the rest from there.
Conclusion: Your Bar Starts Here
Your dream home bar isn’t defined by the number of bottles it holds or the price tag on its faucet. It’s defined by how it makes you feel when you pour your first drink after a long day—whether that’s the quiet satisfaction of running your hand over perfectly sanded walnut, the crisp clarity of ice clinking in a chilled glass, or the effortless flow of conversation as guests gather within its intentional boundaries. A well-designed mood board is the first act of stewardship for that experience. It transforms aspiration into architecture, emotion into engineering, and fantasy into something you can measure, build, and live in. Don’t settle for a bar that merely fits in your space—design one that belongs to your life. Gather your swatches, pull up your chair, and start building. Your most memorable gatherings begin not with the first toast, but with the first deliberate choice.
💬 Ready to create your bar’s foundation? Share your anchor element or biggest design question in the comments—we’ll help you refine your vision.