
Every holiday season or birthday celebration begins with thoughtful packaging—and that starts with gift wrap. Yet too often, beautifully patterned rolls end up crumpled, torn, or lost under clutter. Disorganized storage not only wastes time but also money, as damaged paper must be replaced. With a few strategic systems, you can preserve the quality of your wrapping supplies, streamline access, and maintain a tidy home. Whether you're preparing for seasonal gifting or managing party supplies year-round, smart storage transforms chaos into calm.
Why Proper Gift Wrap Roll Storage Matters
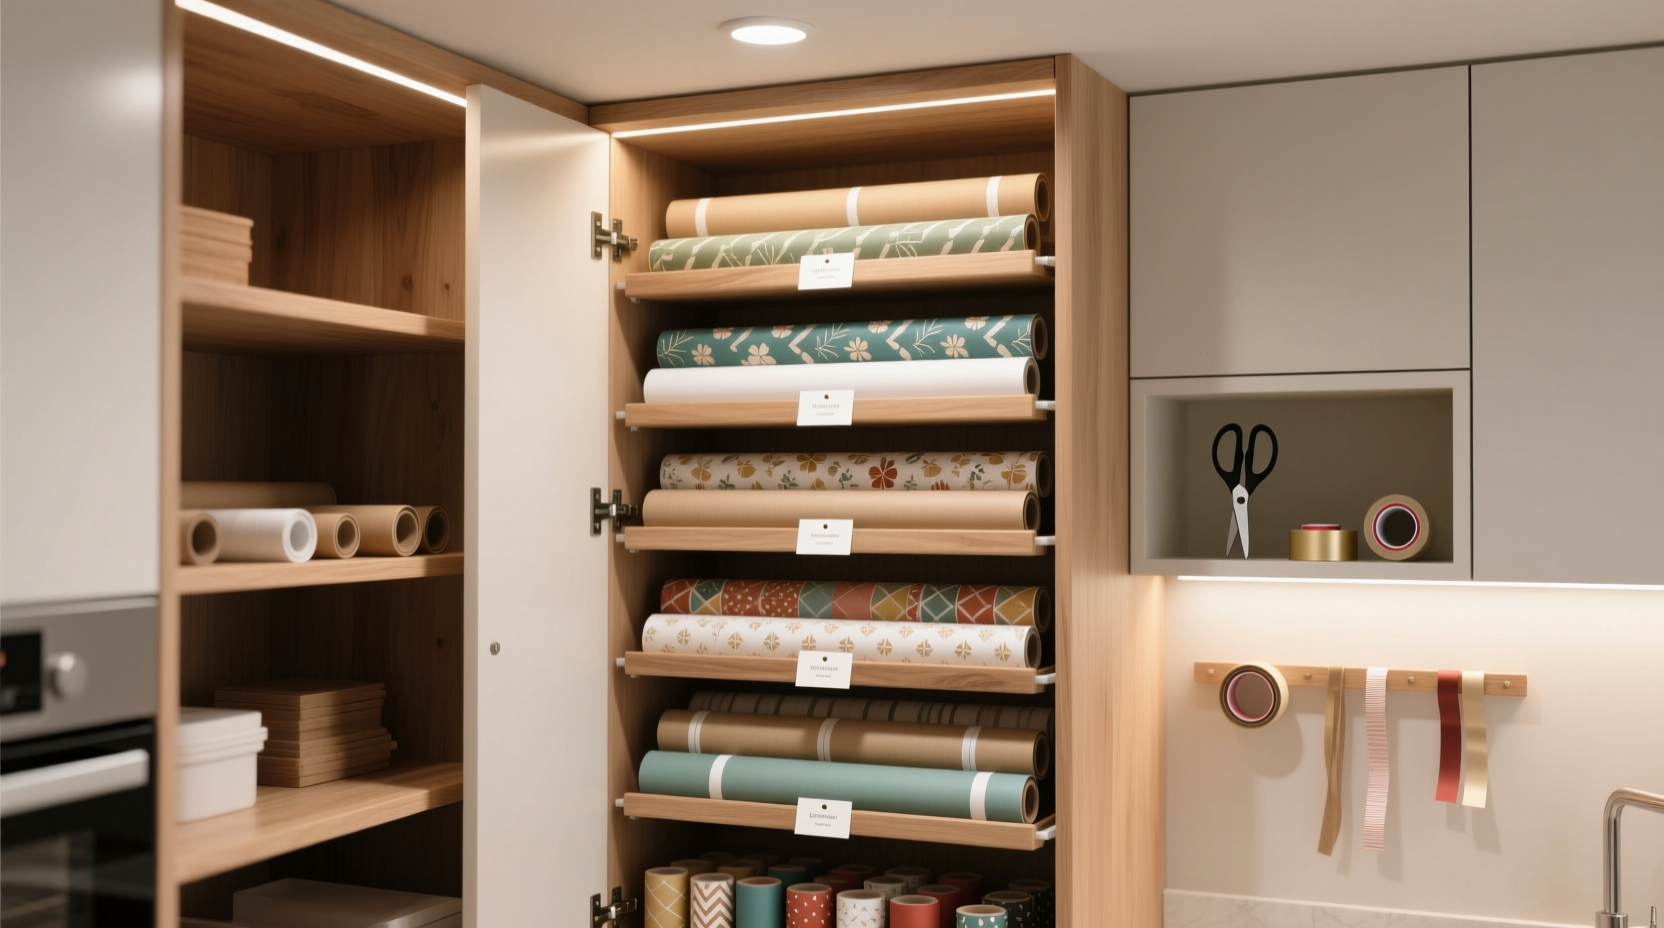
Rolls of gift wrap are bulky, fragile, and easily mismanaged. When stored improperly, they develop creases, lose adhesive, or unroll spontaneously. Over time, exposure to moisture, sunlight, or pressure can fade colors and weaken paper integrity. Beyond physical damage, disorganization leads to duplication—buying the same design twice because it couldn’t be found. A dedicated storage system prevents waste, saves time, and protects your investment in decorative materials.
Moreover, organized wrapping supplies make last-minute gifting stress-free. When tape, scissors, tags, and ribbon are grouped with matching paper, preparation becomes efficient. The right storage solution supports both functionality and aesthetics, turning a utilitarian task into a seamless part of your routine.
Tip: Always store gift wrap away from direct sunlight and humidity to prevent fading and warping.Clever Storage Solutions for Every Home
The ideal storage method depends on available space, frequency of use, and collection size. Below are five effective approaches suitable for apartments, large homes, craft rooms, or closets.
1. Vertical Paper Organizer in a Closet
Repurpose a narrow closet or pantry by installing a vertical organizer. Use sturdy PVC pipes, wooden dowels, or tension rods mounted between walls to hold rolls upright. This keeps them visible and accessible while minimizing floor space usage. Label each roll by occasion (birthday, wedding, holiday) for quick identification.
2. Under-Bed Storage with Open-Ended Tubes
For smaller spaces, utilize under-bed clearance with long, open-ended fabric or plastic tubes—similar to those used for blueprints. Slide rolls inside, label the ends, and stack horizontally. This method protects against dust and accidental unrolling while remaining out of sight.
3. Wall-Mounted Display Rack
In a craft room or laundry area, install a wall-mounted rack with horizontal pegs or metal rods. This turns your collection into functional decor. Choose a shallow shelf above the rack to hold coordinating ribbons and tags. Ensure the rack is anchored securely to support weight over time.
4. Repurposed Towel Rod in a Cabinet
Install a standard towel rod inside a deep cabinet or pantry. Slide rolls onto the rod lengthwise, grouping by theme or color. This maximizes unused vertical space and keeps everything behind closed doors. Add small bins beneath for tapes and embellishments.
5. Rolling Cart with Open Bins
A mobile cart with open-top containers allows flexibility. Store shorter rolls standing upright in bins, grouped by size or occasion. The advantage? You can wheel the entire setup to your wrapping station and return it neatly afterward. Ideal for shared spaces or multi-user households.
“Organized storage isn’t just about tidiness—it’s about reducing decision fatigue. When everything has a place, the act of giving becomes more joyful.” — Laura Simmons, Home Organization Consultant
Do’s and Don’ts of Gift Wrap Storage
| Do’s | Don’ts |
|---|---|
| Store rolls vertically to prevent warping | Lay rolls flat for long periods (can cause permanent curl) |
| Use acid-free tissue between delicate papers | Stack heavy items on top of paper rolls |
| Label each roll clearly by occasion and size | Leave rolls exposed to sunlight or damp basements |
| Group matching ribbons and tapes nearby | Store in plastic bags (can trap moisture) |
| Rotate stock—use older wraps first | Forget to check for pests in stored paper |
Step-by-Step: Creating Your Own Wrapping Station
Transform a corner of your home into a dedicated gift-wrapping hub. Follow this sequence to build a functional, lasting system.
- Assess your inventory: Gather all gift wrap, ribbons, cards, tape dispensers, and scissors. Sort by frequency of use and occasion.
- Choose a location: Pick a spot with enough light and surface area—near a closet, in a utility room, or even a garage shelf.
- Select a storage method: Based on space, choose one of the five solutions listed above. Measure dimensions before purchasing materials.
- Install mounting hardware: Secure rods, racks, or carts firmly. Test stability with full rolls.
- Organize by category: Group birthday wraps together, holiday themes separately. Use labels or color-coded tags.
- Add accessories: Include a drawer or bin for tape, stickers, scissors, and gift tags. Consider a hanging pocket organizer.
- Maintain quarterly: Every three months, inspect for damage, re-label if needed, and discard unusable paper.
Real-Life Example: The Holiday Prep Transformation
Sarah, a mother of two in Portland, used to dread gift wrapping. Every December, she’d pull crumpled rolls from a basement box, only to find tape brittle and ribbons tangled. After attending a home organization workshop, she converted a spare linen closet into a vertical roll rack using $12 in plumbing pipe fittings and a wooden base. She labeled each roll and added a pull-out tray for tools.
The result? Her wrapping time dropped from two hours to 30 minutes per event. Her kids now help pick designs, and she reuses leftover scraps for handmade cards. “It turned a chore into a family moment,” she said. “And I haven’t bought new wrapping paper in two years.”
Essential Checklist for Smart Gift Wrap Storage
- ☐ Inventory all current gift wrap rolls
- ☐ Discard damaged or outdated paper
- ☐ Measure available storage space
- ☐ Choose a primary storage method (vertical, under-bed, wall-mounted, etc.)
- ☐ Purchase necessary hardware (rods, racks, bins)
- ☐ Install system securely
- ☐ Label each roll by occasion and size
- ☐ Store coordinating supplies nearby (ribbon, tape, scissors)
- ☐ Schedule quarterly maintenance checks
- ☐ Document favorite combinations for future use
Frequently Asked Questions
Can I store gift wrap in the garage?
Only if the garage is climate-controlled. Unregulated temperatures and humidity can cause paper to become brittle or moldy. If storing there is unavoidable, keep rolls sealed in breathable fabric sleeves and elevated off the floor.
How do I prevent gift wrap from unrolling on its own?
Use rubber bands or Velcro straps around each roll. Alternatively, store them in open-ended tubes or within bins that snugly fit their diameter. Avoid overly tight bindings that may crush the cardboard core.
What should I do with leftover partial rolls?
Transfer small remnants to a designated “scraps” container. These are perfect for small gifts, tags, or crafts. Label the container clearly and store it below your main roll rack for easy access.
Final Thoughts: Turn Chaos into Celebration
Gift wrap is more than paper—it’s the first impression of a thoughtful gesture. Protecting its quality through intelligent storage honors the spirit of giving. By investing a few hours in setting up a reliable system, you eliminate frustration, reduce waste, and create space for creativity. Whether you opt for a sleek wall display or a hidden under-bed solution, consistency and clarity are key. Start small, use what you have, and refine over time.
💬 Ready to transform your wrapping routine? Share your storage setup or tag us in your organized corner—we’d love to see how you keep the joy of giving beautifully wrapped!