A well-designed home bar is more than a place to pour drinks—it’s a reflection of personality, passion, and craft. Among the most evocative upgrades you can make is a custom neon sign that spotlights your signature spirit: whether it’s the smoky allure of aged bourbon, the crisp precision of premium gin, or the sun-drenched vibrancy of añejo tequila. Unlike mass-produced decor, a thoughtfully built DIY neon sign adds warmth, intention, and narrative. It signals to guests—and to yourself—that this space matters. But neon isn’t just about aesthetics; it’s about atmosphere engineering. The soft glow interacts with glassware, wood grain, and ambient light in ways LEDs alone can’t replicate. And while professional neon fabrication remains an art form requiring glass-bending expertise and high-voltage transformers, modern alternatives—especially flexible LED neon rope lights—make authentic-looking, safe, and highly customizable signage accessible to confident DIYers.
Why Spirit-Specific Neon Adds Meaning (Not Just Light)
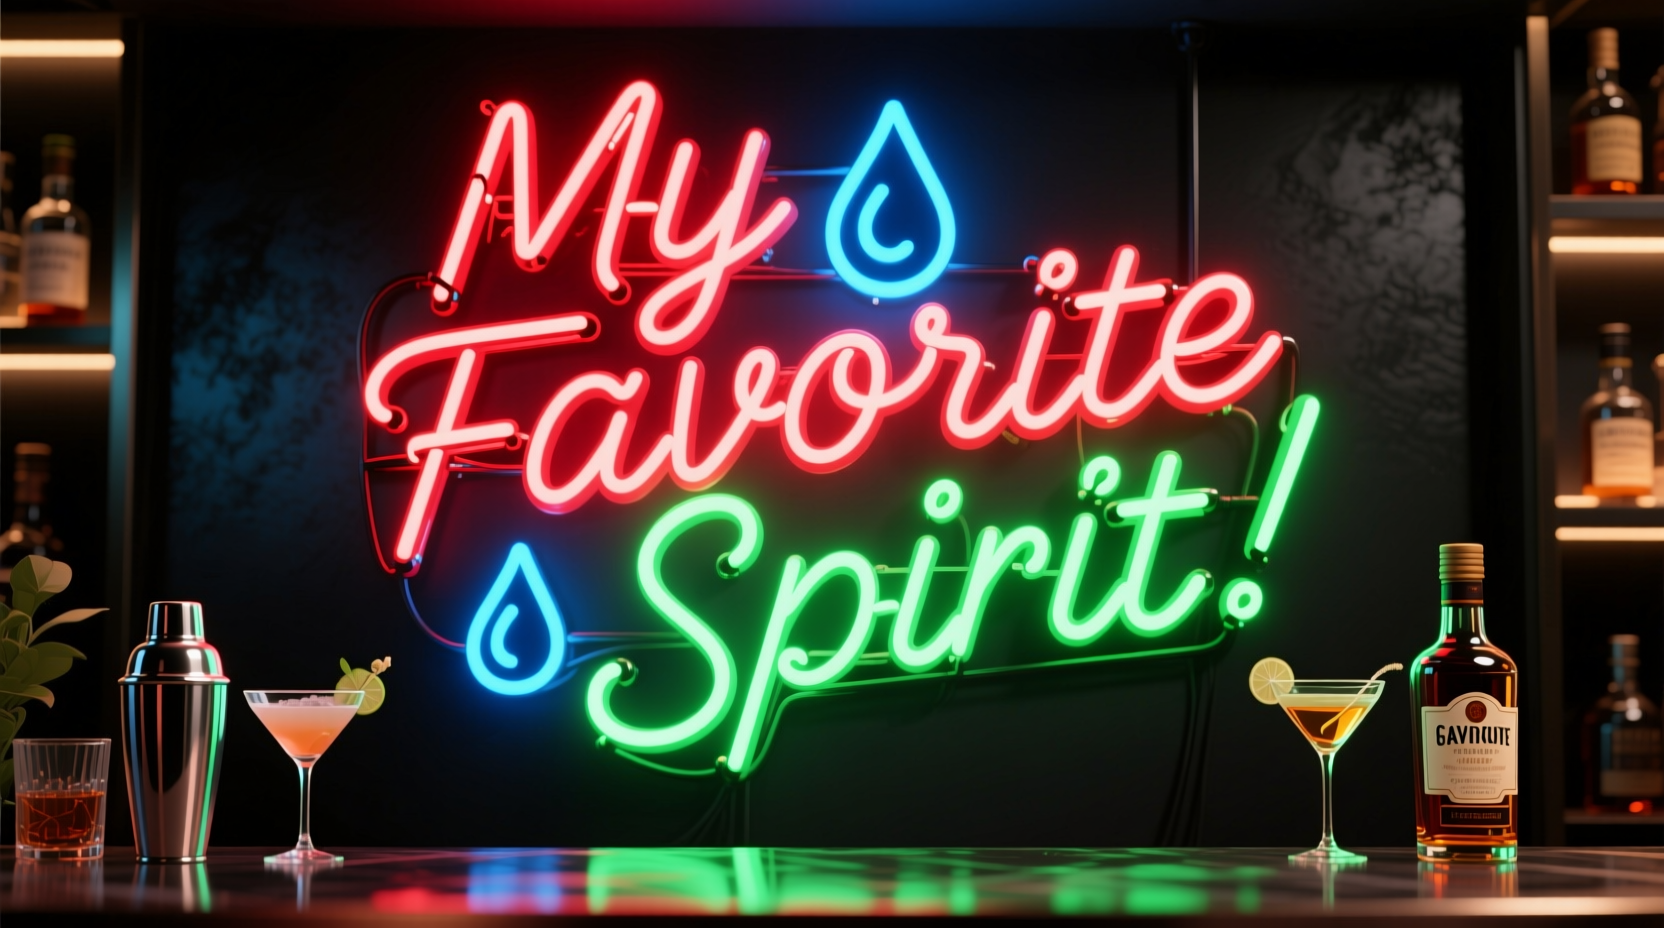
Neon signs in home bars succeed when they do more than illuminate—they tell a story. A “Rye & Reason” sign above a whiskey shelf communicates taste and tradition. “Gin & Tonic Hour” beside a juniper-forward cocktail station sets a mood before the first pour. This specificity transforms functional lighting into emotional infrastructure. Research in environmental psychology confirms that personalized visual cues reinforce identity and memory formation: seeing your chosen spirit’s name in warm, radiant light primes anticipation and enhances perceived value of the experience. It also subtly guides attention—drawing eyes toward curated bottles, encouraging conversation, and reinforcing brand affinity without advertising language.
Importantly, spirit-specific neon avoids generic clichés (“Cheers,” “Open Bar”) that dilute character. Instead, it anchors the bar in authenticity. When guests ask, “What’s your go-to?” and point to the glowing “Mezcal Mornings” sign, the answer becomes part of the ritual—not just a preference, but a shared moment.
Choosing Your Neon Alternative: Real Neon vs. LED Rope Lights
True hand-blown neon tubing requires skilled artisans, mercury or argon gas, and 2,000–15,000-volt transformers—making it impractical and potentially hazardous for most DIY projects. Fortunately, high-fidelity LED neon rope lights deliver 95% of the visual impact with none of the complexity. These silicone-encased strips house densely packed, low-voltage (12V or 24V) LEDs that mimic the uniform, diffused glow of traditional neon—even at close range.
| Feature | Traditional Glass Neon | LED Neon Rope Light | DIY Viability |
|---|---|---|---|
| Voltage & Safety | High-voltage (≥2kV); risk of shock, glass breakage | Low-voltage (12–24V); UL-listed, cool to touch | ✅ Safe for home use |
| Customization | Requires glass benders; lead times of 4–8 weeks | Cuttable every 1–2 inches; bendable by hand around curves ≥2\" radius | ✅ Full control over shape/size |
| Lifespan | 8–15 years (with transformer maintenance) | 30,000–50,000 hours (≈10–15 years continuous use) | ✅ Longer-lasting, no gas degradation |
| Color Options | Limited by gas mixtures & phosphor coatings (e.g., red = neon gas, blue = argon + mercury) | RGBW options available; single-color variants in 12+ hues including true amber, deep cobalt, and vintage pink | ✅ Match spirit branding precisely |
| Installation | Mounting brackets, high-voltage wiring, certified electrician required | Adhesive backing + optional aluminum channel; plug-and-play power supply | ✅ No permits or professional help needed |
For home bar applications, LED neon rope lights are the unequivocal choice—offering safety, longevity, flexibility, and aesthetic fidelity without compromising on craftsmanship.
Your Step-by-Step Build Guide (From Sketch to Glow)
Building a spirit-themed neon sign takes under 6 hours across two sessions. Follow this precise sequence:
- Define your message and dimensions. Keep it concise: 1–3 words maximum (e.g., “Bourbon,” “Oaxaca,” “Old Fashioned”). Measure your mounting surface—allow 2\" clearance on all sides. Ideal width: 24–48\".
- Select color intentionally. Amber (2700K) evokes aged spirits and wood barrels. Deep blue suggests gin’s botanical coolness. Vibrant green nods to absinthe or chartreuse. Avoid pure white—it reads clinical, not celebratory.
- Sketch your layout on paper or digitally. Use a monoline sans-serif font (e.g., Montserrat Thin, Orbitron) for clean readability. Avoid serifs or script fonts—they lose clarity at small scale and complicate bending.
- Order materials. You’ll need: LED neon rope light (cut-to-length), 12V DC power supply (wattage = length in meters × 7W/m), aluminum mounting channel (for rigidity and heat dissipation), heavy-duty double-sided tape or screws, wire cutters, and a soldering iron (if connecting multiple segments).
- Prepare the substrate. Mount on painted plywood, reclaimed wood, or matte black acrylic. Sand rough edges; wipe clean. Mark centerline and alignment points lightly in pencil.
- Bend and secure the rope light. Warm the silicone gently with a hair dryer (do not overheat) for pliability. Bend slowly along your sketch, using masking tape to hold curves in place temporarily. Secure with adhesive backing or screws through channel holes.
- Wire and test. Strip ¼\" of insulation from rope ends. Solder to power supply leads (red = positive, black = negative). Use heat-shrink tubing for insulation. Plug in—verify even illumination before final mounting.
- Mount permanently. Attach aluminum channel to substrate first using screws (not just tape). Then press rope light firmly into channel. Conceal wires behind the bar or within a routed groove.
Design Principles That Honor Your Spirit
A great spirit-themed sign balances reverence and restraint. Consider these principles:
- Typography as terroir. A bold, condensed font like “Bebas Neue” suits rye’s assertive character; a delicate, geometric typeface like “Rajdhani” reflects gin’s precision. Avoid novelty fonts—“Western” for tequila or “cursive” for champagne feels reductive, not evocative.
- Color psychology, not cliché. Tequila doesn’t require green—many premium expressions are aged in oak, so warm amber or burnt sienna better represents reposado or añejo. Likewise, mezcal’s smokiness reads more authentically in charcoal gray than electric blue.
- Contextual integration. If your bar features walnut shelving and copper accents, choose a bronze-tinted amber neon (2200K) that harmonizes with both. If your space is minimalist concrete and steel, a cool 4000K white with sharp letterforms reinforces cohesion.
- Scale with purpose. A 36\"-wide “Scotch” sign dominates a 60\" bar—ideal. A 12\" version gets lost. Letter height should be ≥3\" for legibility at 6 feet.
“The strongest bar signs don’t shout the spirit name—they whisper its essence through form, light, and placement. When someone pauses to read ‘Cognac’ in slow-burn amber, lit only by its own glow against dark mahogany, they’re already tasting the first sip.” — Javier Mendez, Bar Design Consultant & Former Head Bartender, Atelier Crenn
Real-World Example: The “Hibiki Moment” Sign
When Sarah Chen renovated her San Francisco apartment bar, she wanted to honor her collection of Japanese whiskies—particularly Hibiki 17 Year. Rather than default to “Whiskey” or “Japan,” she designed a 30\"-wide sign reading “HIBIKI” in all caps, using a custom-modified version of the Hiragino Sans font with softened terminals to echo the bottle’s curved label. She chose a soft, rosy gold (2400K) LED neon—matching the hue of aged Japanese oak casks—and mounted it flush within a matte black aluminum channel. Crucially, she positioned it not above the shelf, but angled downward at 15°, projecting light directly onto the necks of her Hibiki bottles. The result? A daily ritual: at dusk, she flips the switch, and the golden letters cast elongated shadows across the amber liquid inside each bottle—transforming storage into theater. Guests consistently comment that the sign makes them *feel* the harmony Hibiki promises before the first drop hits the glass.
Essential Safety & Maintenance Checklist
Even low-voltage neon requires mindful handling. Verify these before powering on:
- ✅ All wire connections are soldered (not twisted) and insulated with heat-shrink tubing
- ✅ Power supply is rated for continuous indoor use and has overload protection
- ✅ Neon rope is fully seated in aluminum channel—no exposed sections near flammable surfaces
- ✅ Mounting surface is stable, level, and supports weight (a 36\" sign weighs ~1.2 lbs)
- ✅ No sharp bends (<2\" radius) or kinks in the rope—these cause dark spots or LED failure
- ✅ Ventilation gaps exist behind power supply (never enclose in cabinet without airflow)
- ✅ GFCI outlet used if bar is near sink or wet area
Frequently Asked Questions
Can I use my neon sign outdoors on a covered patio bar?
Only if explicitly rated IP65 or higher. Most indoor LED neon ropes are not weather-resistant—the silicone jacket degrades under UV exposure, and moisture ingress causes flickering or failure. For outdoor use, select marine-grade rope with UV-stabilized silicone and a waterproof power supply housed in a NEMA 4 enclosure.
How do I dim my neon sign without flicker or color shift?
Use a PWM (pulse-width modulation) dimmer compatible with your power supply’s voltage and wattage—not a standard wall dimmer. Look for models labeled “12V DC LED Dimmer” with smooth, linear control. Avoid trailing-edge dimmers—they cause audible buzzing and inconsistent brightness.
My sign flickers after 3 months. What’s wrong?
Flickering almost always indicates a loose connection at the power supply terminals or a damaged solder joint. Unplug the unit, inspect all connections under magnification, re-solder any frayed or cold joints, and ensure the power supply fan (if present) is dust-free. If flickering persists across multiple power supplies, the rope light itself may have a manufacturing defect—contact the vendor for warranty replacement.
Conclusion: Light the Ritual, Not Just the Room
A DIY neon sign for your home bar is never merely decoration. It’s the punctuation mark at the end of your personal beverage narrative—the visual exclamation point that says, “This is what I value, how I unwind, who I am when the world slows down.” When you build one yourself—measuring, bending, wiring, and mounting—you invest meaning into the glow. You transform electricity into ambiance, material into memory. And when your favorite spirit catches that warm, steady light—whether it’s the caramel glint of bourbon in a rocks glass or the translucent gold of aged rum swirling in a tumbler—you haven’t just illuminated a shelf. You’ve honored a craft, celebrated a tradition, and created a threshold where ordinary moments become intentional rituals.
Start simple: choose one spirit. Sketch one word. Select one color that resonates deeper than aesthetics. Then follow the steps—not as instructions, but as invitations to presence. Your bar isn’t waiting for perfection. It’s waiting for your light.
💬 Share your spirit-inspired sign story. Did “Campari” in crimson change how you host? Did “Pisco” in sunset orange deepen your appreciation? Comment below—we’ll feature standout builds in our next community spotlight.