Transform your holiday decor with shimmering, eye-catching ornaments that catch the light like magic—all without spending a fortune or leaving the house. Holographic effects, once reserved for high-end décor or specialty craft stores, can now be achieved using everyday items already in your kitchen drawer or recycling bin. From reflective CDs to iridescent plastic wrap, common household materials offer surprising potential for creating dazzling, prismatic decorations that elevate your tree, mantle, or window displays.
These projects are not only budget-friendly but also sustainable, giving new life to discarded packaging and forgotten tech accessories. Whether you're crafting with kids, hosting a holiday workshop, or simply looking to add a modern twist to traditional decor, these DIY ideas blend creativity with accessibility. With minimal prep and no specialized skills, you can produce professional-looking ornaments that sparkle under lights and camera flashes alike.
Why go holographic? The science and style of iridescence
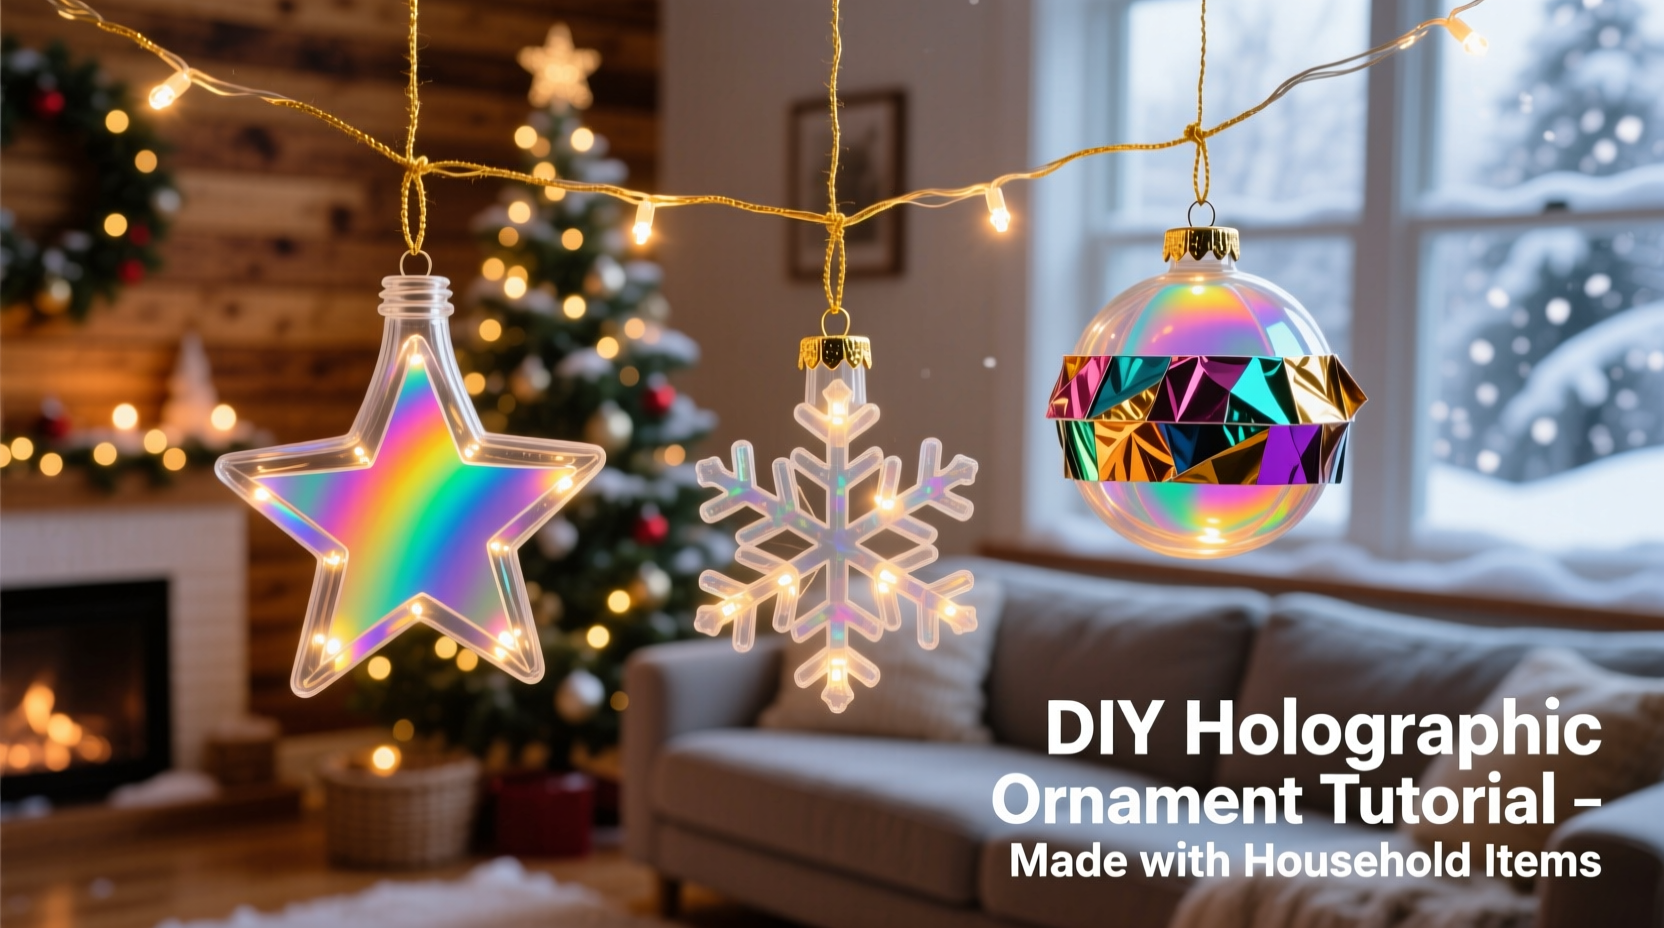
Holographic surfaces reflect light at varying wavelengths due to microscopic grooves or layered films, creating a rainbow-like effect known as iridescence. This phenomenon occurs naturally in butterfly wings and peacock feathers, but it's also engineered into materials like CDs, Mylar balloons, and certain plastic wraps. When used in ornament design, these materials catch ambient light from multiple angles, making them appear dynamic and alive.
Unlike static glitter or solid metallic paint, holographic finishes shift in color depending on viewing angle—transitioning from gold to violet, blue to copper, or green to silver. This movement adds depth and excitement to holiday displays, especially when paired with warm white or multicolored string lights.
“Holographic elements bring dimension and surprise to seasonal decor. They mimic natural light-play, which is inherently festive.” — Lila Monroe, Textile Artist & Holiday Designer
Essential materials and safety tips
The beauty of these DIYs lies in their simplicity: most require only scissors, glue, and one or two base materials. However, working with reflective plastics and sharp-edged discs demands caution, especially when children are involved.
Tip: Always supervise children when cutting CDs or handling adhesives. Use child-safe glue and pre-cut pieces when possible.Below is a checklist of commonly used household materials and their best applications:
Material Checklist
- Old CDs or DVDs – Ideal for mirror-like, rotating ornaments
- Iridescent gift wrap or packaging film – Lightweight and easy to shape
- Mylar balloon scraps – Highly reflective and pliable
- Clear plastic containers (e.g., deli lids) – Great for molded shapes
- Aluminum foil + clear tape – A quick alternative for faux-holo effect
- Glue (craft or hot glue gun) – For bonding non-porous surfaces
- String, ribbon, or fishing line – For hanging
- Scissors or craft knife – Precision cutting tools
Avoid using materials that degrade quickly, such as cheap vinyl stickers or water-soluble foils. These may lose luster within days, especially near heat sources like fireplaces or Christmas lights.
5 creative holographic ornament ideas using household items
Each of the following projects uses accessible materials and requires less than 30 minutes per ornament. All are customizable in size, color tone, and display method.
1. CD Slice Snowflakes
Repurpose old audio or data discs into radiant snowflake ornaments. The spiral groove pattern of a CD naturally diffracts light, producing a rainbow halo when hung near windows or lights.
- Clean the CD with soapy water and dry thoroughly.
- Using a craft knife or strong scissors, cut the CD into six equal wedge-shaped slices.
- Arrange three slices in a starburst pattern, gluing them together at the center to form a snowflake.
- Add a dab of glue where the points meet for stability.
- Attach a ribbon loop to the back for hanging.
2. Iridescent Plastic Wrap Orbs
Turn crinkled holographic gift wrap or blister packaging into lightweight spherical ornaments. This technique mimics expensive glass baubles at nearly zero cost.
- Inflate a small balloon to the size of a tennis ball.
- Cut iridescent plastic into thin strips (about 1 inch wide).
- Brush each strip lightly with white glue and wrap around the balloon in crisscross layers.
- Allow to dry completely (4–6 hours).
- Puncture the balloon and remove it, leaving a hollow orb.
- Trim any uneven edges and attach a hanging cord.
For extra durability, apply a final coat of decoupage medium over the surface.
3. Foil-Lined Clear Baubles
If you have spare plastic Christmas balls, transform them into holographic showpieces using aluminum foil and iridescent tape.
- Open the bauble at its seam.
- Crumple small pieces of aluminum foil and press them inside, shiny side out.
- Weave narrow strips of holographic gift ribbon through the gaps for added color shift.
- Reassemble the bauble and secure with a drop of glue.
- Insert a decorative tassel or looped ribbon through the top cap.
This method works especially well with matte-clear or frosted plastic balls, which diffuse the reflection softly.
4. Mylar Balloon Geometric Stars
Silver or rainbow Mylar balloons retain their shine for years, making them perfect for heirloom-quality ornaments. Cut into geometric patterns for a modern look.
- Deflate and clean a used Mylar balloon with a damp cloth.
- Print or draw a five-pointed star template (2–4 inches wide).
- Trace and cut two identical stars from the balloon material.
- Glue the edges together, leaving one side open.
- Stuff lightly with tissue paper for structure, then seal.
- Add a ribbon hanger through the top point.
These stars flutter slightly in air currents, creating gentle motion and light play.
5. Recycled Lid Suncatchers
Clear plastic food container lids (from butter, yogurt, or takeout) can be turned into flat, stained-glass-style suncatchers with holographic accents.
- Cut the lid into circular or snowflake shapes.
- Apply small pieces of holographic tape, CD fragments, or iridescent stickers in mosaic patterns.
- Seal both sides with clear packing tape to protect against moisture.
- Punch a hole and thread with fishing line.
Hang in windows or from porch railings to create dancing rainbows indoors.
Do’s and Don’ts of DIY holographic decor
To ensure your ornaments last through the season—and possibly beyond—follow these best practices.
| Do | Don’t |
|---|---|
| Use UV-resistant tape or sealant to prevent fading | Leave ornaments in direct sunlight for extended periods |
| Test adhesives on a small area first | Use water-based glue on non-porous plastics without primer |
| Store finished ornaments in tissue paper between uses | Stack heavy items on top of delicate holographic pieces |
| Pair holographic pieces with matte textures for balance | Overcrowd your tree with reflective items—limit to 20–30% of total decor |
| Involve kids in safe steps like gluing or decorating | Allow unsupervised use of sharp tools or hot glue guns |
A family holiday project: Real example
The Thompson family in Portland, Oregon, began a new tradition in 2022 after their local craft store raised ornament prices by 40%. With two young children and a tight budget, they decided to make all their tree decorations from recycled materials.
Using old birthday Mylar balloons, broken CDs, and leftover gift wrap, they created a “rainbow forest” theme centered on holographic animals—foxes, owls, and deer—cut from mirrored plastic. Each child designed their own piece, tracing templates onto CD slices and gluing them onto cardboard backs.
“It was messy, but magical,” said parent Maria Thompson. “Our tree looked more professional than ever, and the kids felt proud knowing every sparkle came from something we reused.”
Their ornaments survived three seasons thanks to careful storage in divided boxes lined with acid-free tissue. The project has since inspired a school workshop and a neighborhood ornament swap.
Frequently asked questions
Can I wash holographic ornaments?
Yes, but gently. Wipe surfaces with a dry microfiber cloth or slightly dampened sponge. Avoid soaking, especially for layered or glued designs, as water can weaken adhesive bonds and cloud plastic.
Are these ornaments safe for outdoor use?
Short-term exposure (e.g., on a covered porch for a few days) is usually fine. However, prolonged moisture, wind, and temperature changes can damage glued seams and cause warping. For outdoor durability, seal with weatherproof spray and use UV-resistant materials.
What if I don’t have holographic materials at home?
You likely do—check for iridescent elements in packaging, cosmetic bags, festival wristbands, or even old phone cases. Alternatives include applying pearlescent nail polish to clear plastic or layering transparent tape over rainbow duct tape for a makeshift holo effect.
Final thoughts and inspiration to begin
Creating holographic Christmas ornaments from household materials proves that elegance doesn’t require expense. It requires observation, imagination, and a willingness to see potential in the ordinary. That scratched CD, deflated party balloon, or crumpled wrapping sheet isn’t waste—it’s waiting to become part of your holiday story.
Start small: pick one idea, gather what you have, and spend an hour turning clutter into charm. Share the process with someone you love. Let imperfections add character. And when the lights come on and the colors dance across your walls, remember—you made that magic happen with nothing but ingenuity and intention.
💬 Try one of these ideas this weekend! Share your creation in the comments or tag a friend who loves creative recycling. Let’s spread shimmer and sustainability—one homemade ornament at a time.