A cluttered desk doesn’t just look unprofessional—it slows you down. Every time you search for a pen, dig through crumpled sticky notes, or lose a USB drive under stacks of paper, you’re sacrificing focus and momentum. The solution doesn’t always require expensive storage systems or a complete workspace overhaul. Sometimes, the most effective organizational tools are already in your home: an empty tissue box.
Repurposing a tissue box as a desk organizer is not only eco-friendly but also highly customizable. Lightweight, easy to cut, and available in various sizes, cardboard tissue boxes offer a blank canvas for transforming chaotic workspaces into streamlined productivity zones. With a little creativity and minimal supplies, you can turn this humble container into a multi-functional organizer that supports both form and function.
Why a Tissue Box Organizer Works
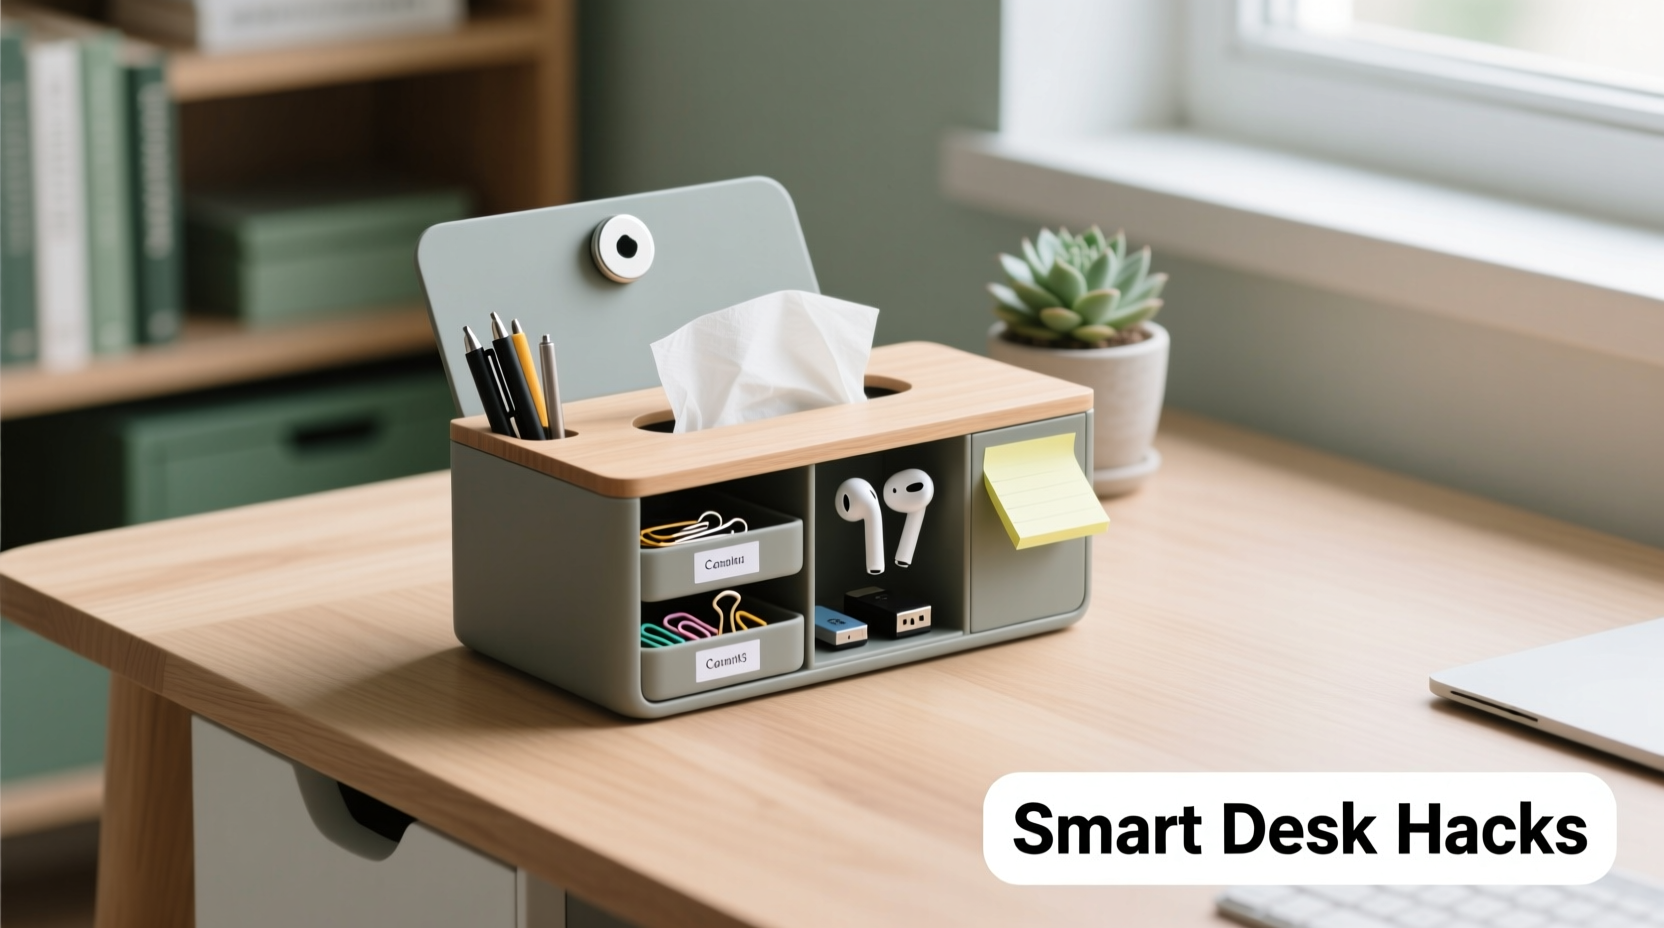
The strength of the tissue box as an organizational tool lies in its structure. Its rectangular shape provides stable vertical compartments, ideal for sorting small items by category. Unlike plastic trays, tissue boxes are easy to modify—cut, fold, tape, or decorate them without special tools. They’re also disposable or recyclable, making them perfect for temporary setups or seasonal reorganizations.
Designers and productivity experts often emphasize “micro-zoning” — dividing a workspace into small, dedicated areas for specific tasks or tools. A tissue box naturally lends itself to this principle. By cutting it horizontally or vertically, you can create separate slots for pens, notepads, tech accessories, or even mail.
“Small organizational wins compound into major productivity gains. Repurposing everyday items like tissue boxes reduces clutter without adding cost.” — Lena Torres, Workplace Efficiency Consultant
Step-by-Step Guide: Transforming a Tissue Box into a Desk Organizer
Creating your own custom organizer takes less than 15 minutes and requires only basic supplies. Follow this simple process to build a functional, personalized system.
- Gather materials: Empty tissue box, scissors or utility knife, ruler, glue or tape, decorative paper or fabric (optional).
- Clean the box: Remove any remaining tissues and wipe down the interior with a dry cloth.
- Decide on compartment layout: Choose whether to divide the box vertically (for tall items like pens) or horizontally (for flat items like sticky notes).
- Cut the dividers: Use a ruler to measure equal sections. For vertical dividers, slice downward from the top at intervals (e.g., every 2 inches). For horizontal trays, make parallel cuts across the shorter side to create stacked shelves.
- Reinforce edges: Tape seams or corners for durability, especially if holding heavier items.
- Decorate (optional): Wrap the exterior with washi tape, contact paper, or fabric to match your desk aesthetic.
- Label compartments: Use sticky labels or a marker to identify contents for quick access.
Creative Uses for Your DIY Tissue Box Organizer
Don’t limit yourself to holding pens. The versatility of the tissue box allows for innovative applications across different desk needs.
1. Cable Management Station
Cut wide vertical slits along one side of the box to feed charging cables through. Store adapters inside and label each slit (“Phone,” “Tablet,” “Headphones”). This keeps cords tangle-free and ready to grab.
2. Task Queue Tray
Create horizontal layers to form a mini inbox/outbox system. Top tier: “To Do Today.” Middle: “In Progress.” Bottom: “Completed.” Slide sticky notes or task cards into each level to visualize workflow.
3. Supply Carousel for Crafters
Cut multiple vertical compartments to sort embroidery floss, beads, or paintbrushes. Arrange several tissue box organizers in a circle around your desk lamp base for a rotating supply hub.
4. Digital Accessories Hub
Dedicate one box to USB drives, SD cards, earbuds, and styluses. Use smaller internal dividers made from folded cardboard to prevent tiny items from clumping together.
5. Mail & Document Sorter
Turn the box on its side and use it to hold incoming bills, outgoing letters, and important documents. Add labels to each slot for instant categorization.
Do’s and Don’ts of Tissue Box Organization
| Do’s | Don’ts |
|---|---|
| Use double-sided tape for clean, invisible reinforcement | Overload the box with heavy metal tools |
| Customize size by combining two boxes side-by-side | Place near liquids or humid areas (cardboard warps easily) |
| Update labels weekly to reflect changing priorities | Forget to recycle or replace worn-out boxes |
| Add non-slip pads underneath to prevent sliding | Use glossy tape that peels and leaves residue |
Real Example: From Cluttered to Clear in One Evening
Sarah, a freelance graphic designer in Portland, struggled with a constantly messy desk. Her pens rolled off surfaces, client files piled up, and her tablet stylus disappeared daily. After reading about upcycled organizers, she spent one evening converting three tissue boxes into a coordinated system.
She cut one box into four vertical pen holders, wrapped it in navy kraft paper, and labeled each section: “Markers,” “Fine Tip,” “Highlighters,” “Spares.” A second box became a horizontal document sorter for “Active Projects,” “Pending Approval,” and “Completed.” The third was transformed into a cable station with slits for her iPad, phone, and headphones.
Within a week, Sarah reported spending 20% less time searching for tools and feeling more in control during client calls. “It’s not just about looks,” she said. “Now I know exactly where everything is. That mental clarity makes a real difference in my output.”
Checklist: Build Your Ultimate Tissue Box Organizer System
- ☐ Collect 2–3 clean, empty tissue boxes
- ☐ Identify your top 3 desk clutter problems
- ☐ Sketch a layout for each box based on item size and frequency of use
- ☐ Cut and assemble compartments using precise measurements
- ☐ Reinforce weak joints with tape or glue
- ☐ Decorate to match your workspace vibe (optional)
- ☐ Label all sections clearly
- ☐ Place organizers strategically within arm’s reach
- ☐ Review and adjust after one week of use
Frequently Asked Questions
Can I make the tissue box water-resistant?
Yes. Apply a light coat of clear Mod Podge or decoupage glue to the interior and exterior. Let it dry completely before use. Avoid submerging, but this treatment helps resist minor spills and moisture.
How long does a cardboard organizer last?
With moderate use and proper care, a reinforced tissue box organizer lasts 3–6 months. Replace it when corners weaken or surfaces become frayed to maintain a tidy appearance.
Are there eco-friendly alternatives to decorating?
Absolutely. Use scrap fabric, old magazine pages, or recycled wrapping paper instead of plastic-based tapes. Natural twine or jute can be wrapped around edges for a rustic finish.
Maximize Efficiency, Minimize Waste
Efficient desk organization doesn’t require investment in costly containers or complex systems. Often, the best solutions are the simplest—and the most sustainable. By repurposing a tissue box, you not only declutter your workspace but also reduce waste and spark creativity.
The true value of this approach lies in its adaptability. As your work evolves, so can your organizers. Change layouts monthly. Reassign compartments. Recycle and rebuild. This flexibility fosters a dynamic, responsive workspace that grows with you.
💬 Ready to transform your desk? Grab an empty tissue box today and create your first custom organizer. Share your design ideas or photos in the comments—your solution might inspire someone else to clear their clutter too.