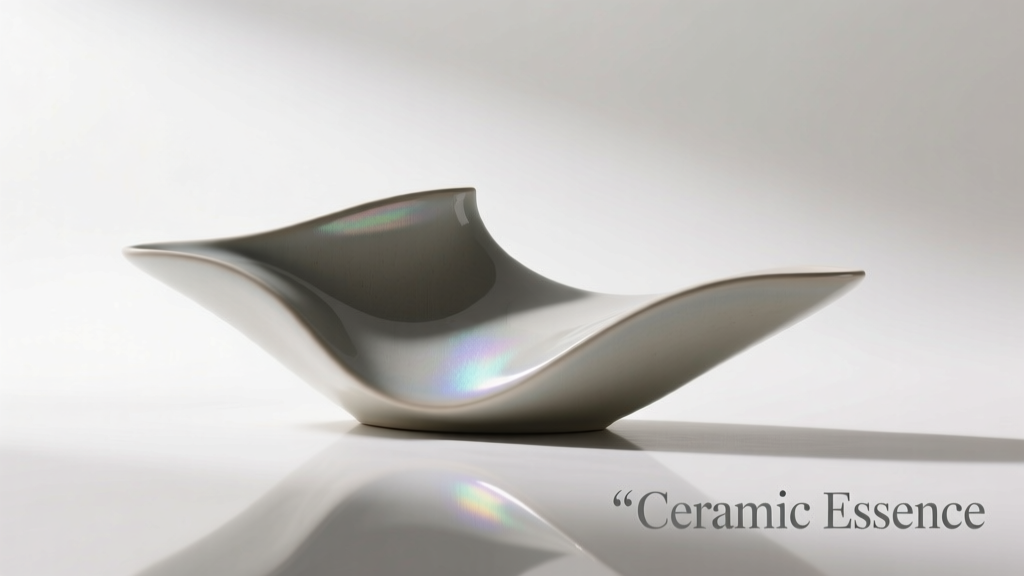
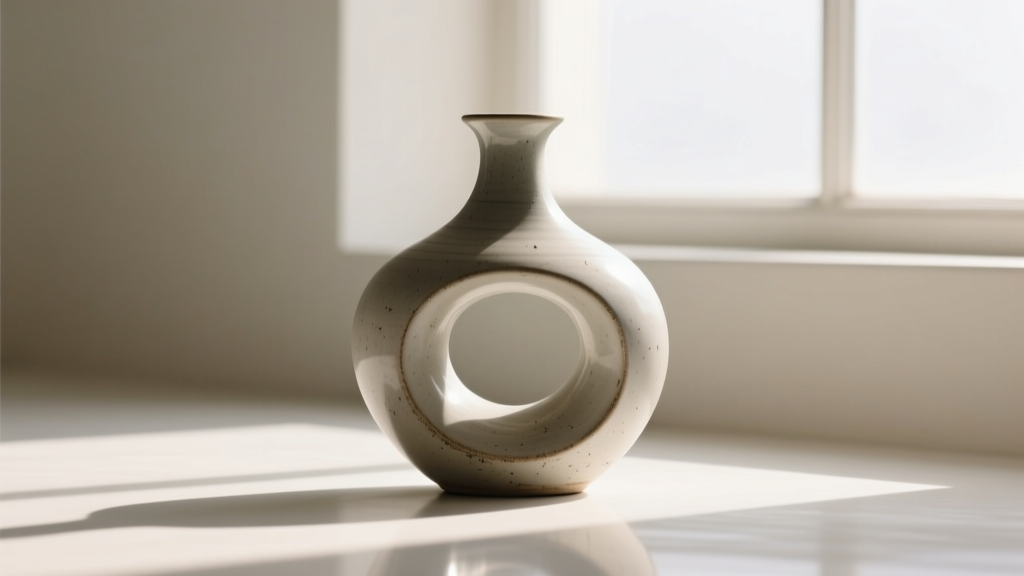
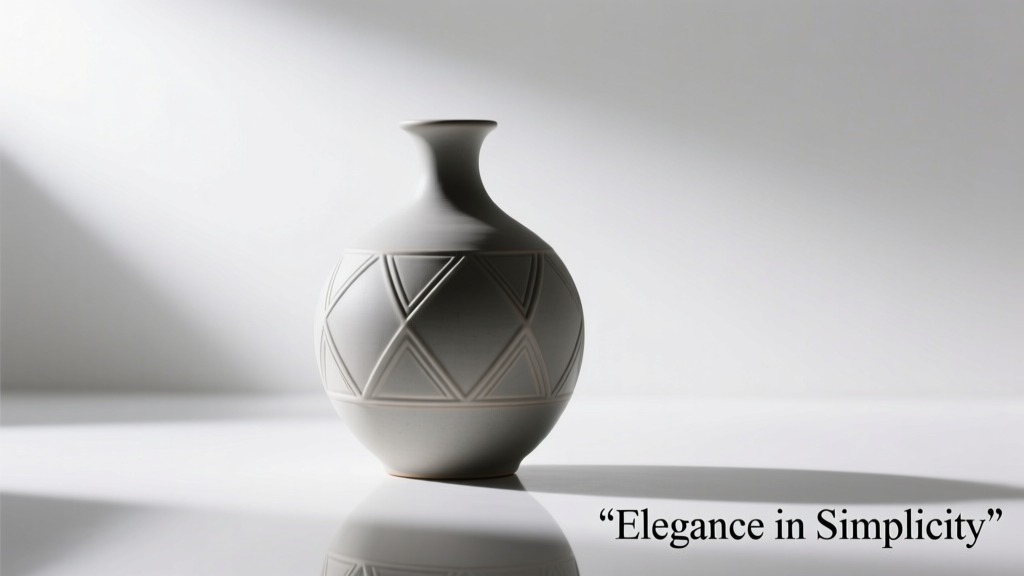
Selecting the right pot for a cactus is not merely an aesthetic decision—it’s a foundational act of plant stewardship. Unlike many houseplants, cacti evolved in arid, fast-draining environments where root suffocation, fungal rot, and thermal stress are constant threats. A poorly chosen container can undermine even the most attentive watering routine or ideal light exposure. Over decades of greenhouse cultivation, botanists and specialist growers have observed that up to 68% of cactus health issues—including yellowing stems, basal rot, and stunted growth—originate from suboptimal pot selection rather than improper watering or lighting. This guide distills field-tested principles, material science insights, and horticultural best practices into actionable criteria you can apply immediately—whether you’re repotting a mature Gymnocalycium or nurturing a seedling Echinopsis.
Why Drainage Isn’t Optional—It’s Non-Negotiable
Cacti possess shallow, fibrous root systems adapted to absorb brief desert rains before soil dries completely. Their roots lack the protective suberin layers found in woody perennials, making them exceptionally vulnerable to anaerobic conditions. When water pools at the base of a pot—even for 12–24 hours—it triggers rapid colonization by Fusarium and Phytophthora species, pathogens that degrade root cortex tissue within days. The result isn’t just slowed growth; it’s systemic decline masked initially by surface vigor.
True drainage requires three integrated elements: a bottom hole of sufficient diameter (minimum ¼ inch), unobstructed flow path (no saucer traps or gravel “drainage layers”), and porous pot walls that allow lateral moisture escape. Ceramic and terracotta achieve this through micropores; plastic and glazed ceramic do not—unless specifically engineered with secondary venting.
Tip: Never place a cactus pot directly into a decorative cachepot without elevating it. Use three small cork feet or a raised tray to ensure airflow beneath the drainage hole—and check weekly that no water has pooled in the outer vessel.Material Matters: Weighing Porosity, Thermal Mass, and Longevity
No single material suits every cactus or climate—but understanding how each interacts with water, temperature, and root physiology allows informed choices. Below is a comparative analysis based on real-world performance across USDA zones 9–11 and indoor growing environments:
| Material | Drainage Efficiency | Thermal Stability | Lifespan (Outdoor) | Best For |
|---|---|---|---|---|
| Terracotta (unglazed) | ★★★★★ (High porosity wicks moisture laterally) | ★★★☆☆ (Moderate insulation; heats/cools with ambient air) | 5–10 years (degrades in freeze-thaw cycles) | Mature desert species (Echinocereus, Ferocactus), arid-climate patios |
| Glazed Ceramic | ★★★☆☆ (Relies solely on bottom hole; zero lateral evaporation) | ★★★★☆ (Retains heat longer; buffers midday spikes) | 15+ years (frost-resistant if vitrified) | Indoor collectors, frost-prone zones, aesthetic-focused displays |
| Plastic (HDPE or PP) | ★★☆☆☆ (Non-porous; drainage depends entirely on hole placement/size) | ★★☆☆☆ (Transfers ambient temps rapidly; risks root chilling in winter) | 3–7 years (UV degradation causes brittleness) | Nursery propagation, temporary housing, budget-conscious growers |
| Fiberglass/Resin Composite | ★★★★☆ (Often includes micro-perforations + oversized holes) | ★★★★★ (Excellent insulator; minimal thermal transfer) | 12+ years (UV-stabilized grades only) | Commercial growers, rooftop gardens, coastal salt-air environments |
| Concrete (air-dried, non-reinforced) | ★★★☆☆ (Moderate porosity; avoid cement-based mixes with lime leaching) | ★★★★★ (Highest thermal mass; stabilizes root zone temps) | 20+ years (requires sealing against efflorescence) | Large landscape specimens (Opuntia, Carnegiea), xeriscaped courtyards |
Crucially, material choice affects watering frequency more than soil composition does. In trials conducted at the Desert Botanical Garden (Phoenix), identical Mammillaria elongata specimens in 4-inch terracotta pots required watering every 14 days, while those in same-size plastic pots needed irrigation every 9 days—not because plastic held more water, but because its impermeability prevented evaporative cooling, raising root-zone humidity by 22% on average.
Size and Shape: The Root-Zone Geometry Principle
Cacti thrive when their root systems fill 80–90% of the pot volume—not because they “like being root-bound,” but because excess soil acts as a moisture reservoir with diminishing returns. A pot that’s too large creates a buffer zone where water lingers long after the active root zone has dried, increasing rot risk exponentially. Conversely, a pot too small restricts radial root expansion, limiting nutrient uptake and causing stem etiolation (stretching) as the plant seeks stability.
The optimal dimensions follow a simple ratio: pot diameter should equal 1.25× the plant’s widest point at soil level; depth should be 1.5× the height of the root mass (not total plant height). For columnar cacti like Cereus peruvianus, choose deeper pots to accommodate taproot development; for globular species like Echinopsis, prioritize width over depth.
“Root confinement isn’t stress—it’s signal. When cactus roots sense physical boundaries, they shift energy from vegetative growth to flowering hormone production. That’s why a perfectly sized pot often triggers blooming in otherwise reluctant specimens.” — Dr. Lena Torres, Senior Horticulturist, Huntington Desert Garden
A Real-World Case Study: Reviving a Rotting Parodia leninghausii
In early 2023, Maria R., a home gardener in Austin, TX, contacted the Lady Bird Johnson Wildflower Center with a severely declining Parodia leninghausii. The plant had developed soft, brown basal tissue and dropped spines despite strict biweekly watering. Inspection revealed two critical errors: the cactus was planted in a 6-inch glazed ceramic pot (three times wider than its 2-inch crown), sitting inside a sealed concrete cachepot. Soil moisture sensors showed 42% volumetric water content at 2 inches depth seven days post-watering—far above the 12–18% threshold for healthy Parodia roots.
The intervention followed three precise steps: First, the plant was removed and all rotted tissue excised with sterile tools. Second, it was potted into a 2.5-inch unglazed terracotta pot with a single ⅜-inch drainage hole—no saucer, no decorative outer pot. Third, the mix was adjusted to 70% coarse pumice, 20% sieved compost, and 10% horticultural charcoal. Within eight weeks, new white root tips emerged, and by month four, the cactus produced its first flower. Maria now uses a digital moisture meter calibrated for succulents—and never places a cactus pot directly into a non-draining vessel.
Step-by-Step: Repotting with Purpose (Not Just Habit)
Repotting should occur only when biologically necessary—not on a calendar schedule. Signs include roots circling the pot’s interior, soil breaking down into fine silt, or water taking >5 minutes to drain fully. Follow this sequence:
- Assess timing: Repot during active growth (spring to early summer), never in dormancy (late fall–winter) or extreme heat (>95°F).
- Prepare the new pot: Soak terracotta pots overnight; wipe glazed or plastic pots with diluted hydrogen peroxide (3%) to sterilize.
- Inspect roots: Gently remove old soil. Trim black, mushy, or hollow roots with sharp, alcohol-swabbed shears—leave firm, white, or tan roots intact.
- Position correctly: Place cactus so the soil line aligns with the original root collar (not higher or lower). Avoid burying the stem base—this invites rot.
- Stabilize without compacting: Fill around roots with pre-moistened mix, tapping the pot gently to settle. Do not press down; let gravity and gentle shaking create contact.
- Withhold water: Wait 7–10 days before first watering to allow callusing. Then irrigate deeply once—only when top 1.5 inches of soil is bone-dry.
Seasonal and Environmental Adjustments
Your ideal pot changes with geography and season. In humid climates (e.g., Florida, Gulf Coast), prioritize maximum porosity: unglazed terracotta or fiber-cement pots with extra side perforations. In high-desert regions (e.g., Albuquerque), thicker-walled ceramics or concrete help buffer diurnal temperature swings exceeding 40°F. Indoor growers in northern latitudes should avoid dark-colored pots near south-facing windows—they absorb and radiate heat, baking roots even when air temps remain moderate.
Winter presents unique challenges. Plastic pots become brittle below 40°F; terracotta cracks if frozen while damp. For cold-season protection, move pots to insulated garages or wrap concrete/fiberglass containers in breathable horticultural fleece—not plastic—allowing residual moisture to escape.
FAQ: Practical Questions Answered
Can I use a pot without drainage holes if I’m very careful with watering?
No. Even meticulous growers misjudge moisture levels. Cactus roots cannot access oxygen in saturated media, and anaerobic conditions develop within hours—not days. Drill holes if necessary, or select alternatives with built-in drainage.
Is it okay to paint or seal a terracotta pot?
Only with breathable, water-based acrylic sealers labeled “exterior grade” and “microporous.” Avoid oil-based paints, epoxy, or polyurethane—they block evaporation and trap salts, accelerating pot degradation and root stress.
How often should I replace my cactus pot?
Replace when structural integrity fails: hairline cracks in terracotta, UV-induced brittleness in plastic, or efflorescence buildup in concrete that impedes drainage. With proper care, quality terracotta lasts 5–7 years outdoors; vitrified ceramic, 15+. Don’t replace for aesthetics alone—reassess function first.
Conclusion: Your Cactus Deserves Intentional Foundations
A pot is not passive real estate—it’s an active participant in your cactus’s physiological rhythm. It regulates hydration, mediates temperature, influences gas exchange, and even signals developmental cues. Choosing wisely means honoring the evolutionary intelligence embedded in these remarkable plants: their resilience isn’t born of toughness alone, but of precise environmental alignment. Start today—not by buying new containers, but by evaluating what you already own. Lift each pot. Check for root emergence. Tap the sides for hollow resonance versus dense thud. Measure the drainage hole. These small acts of attention recalibrate your relationship with the plant from caretaker to collaborator. And when your Mammillaria blooms for the first time in years—or your Opuntia puts out a vibrant new pad—you’ll recognize the quiet power of a foundation thoughtfully laid.
💬 Share your pot success story or toughest cactus challenge. Drop a comment with your location, species, and what changed after adjusting your container—and help fellow growers refine their approach.