Types and Designs of Microdermal Tools
A microdermal tool, commonly referred to as a microdermal piercing or simply a "dermal," is a type of single-point surface piercing embedded beneath the skin with an externally visible top. Unlike traditional piercings that pass through tissue, microdermals consist of an anchor implanted under the skin and a removable decorative top that can be changed based on style, occasion, or personal preference. These versatile accessories are popular in body art and fashion, offering endless customization in terms of shape, material, and design.
Microdermal tops are available in a wide range of styles, from minimalist geometric forms to luxurious gemstone embellishments. They are typically made from biocompatible materials such as surgical steel, titanium, gold, and silver to ensure safety and reduce the risk of allergic reactions. Whether you're drawn to subtle elegance or bold fashion statements, there's a microdermal design to suit every aesthetic.
Circular Dermal Tops
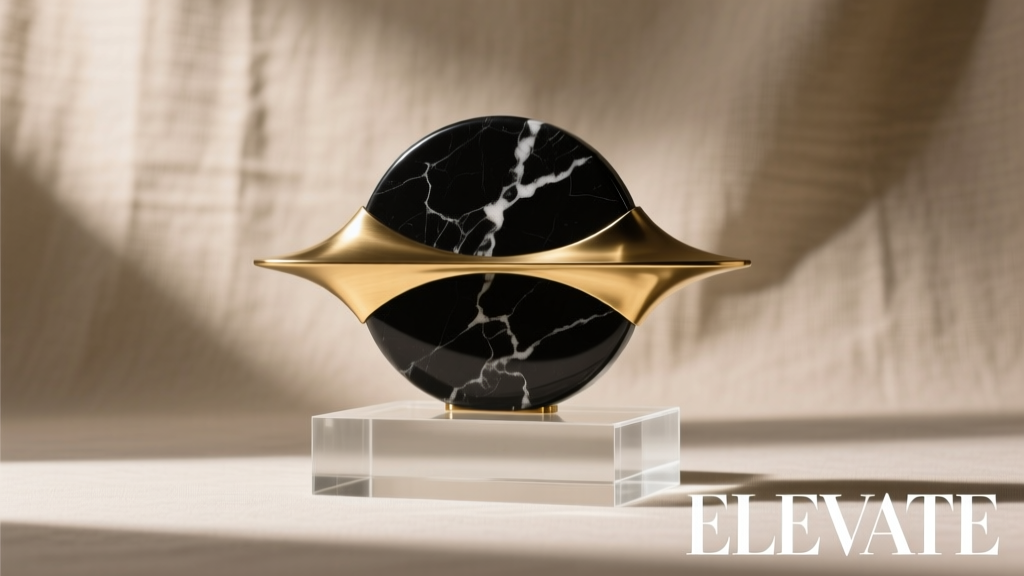
These are among the most widely used microdermal designs, featuring a round, disc-like appearance with a central ball or cap that may rotate. Their symmetrical shape provides a clean, classic look that blends seamlessly with the skin.
Advantages
- Smooth, low-profile design ideal for sensitive areas
- Easy to install and remove
- Available in multiple finishes (polished, matte, colored)
- Rotating cap reduces friction and irritation
Limitations
- Less visually striking than ornate designs
- May be less secure during high-activity use
- Limited customization in shape
Best for: Everyday wear, facial placements, minimalist aesthetics
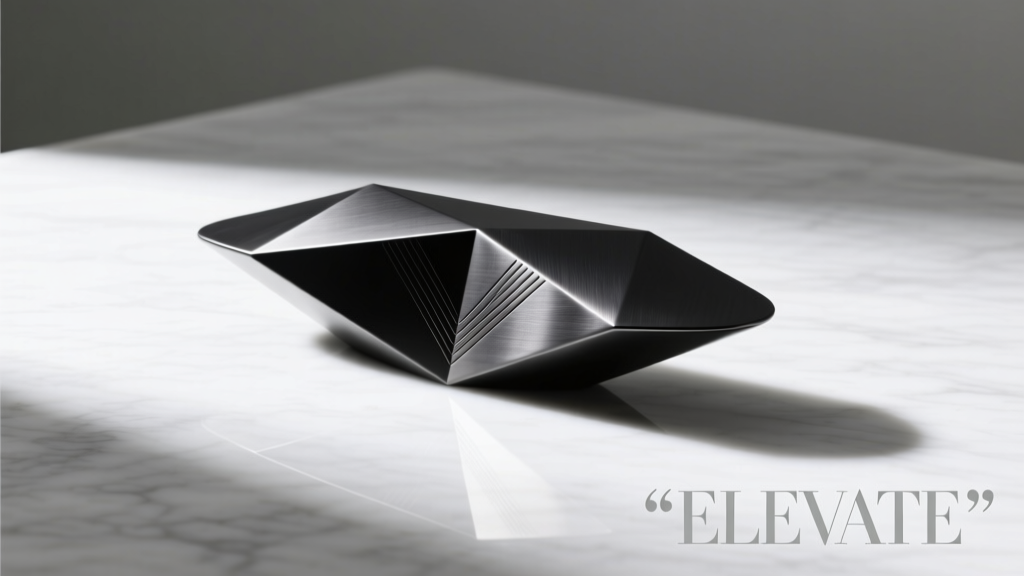
Geometric Dermal Tops
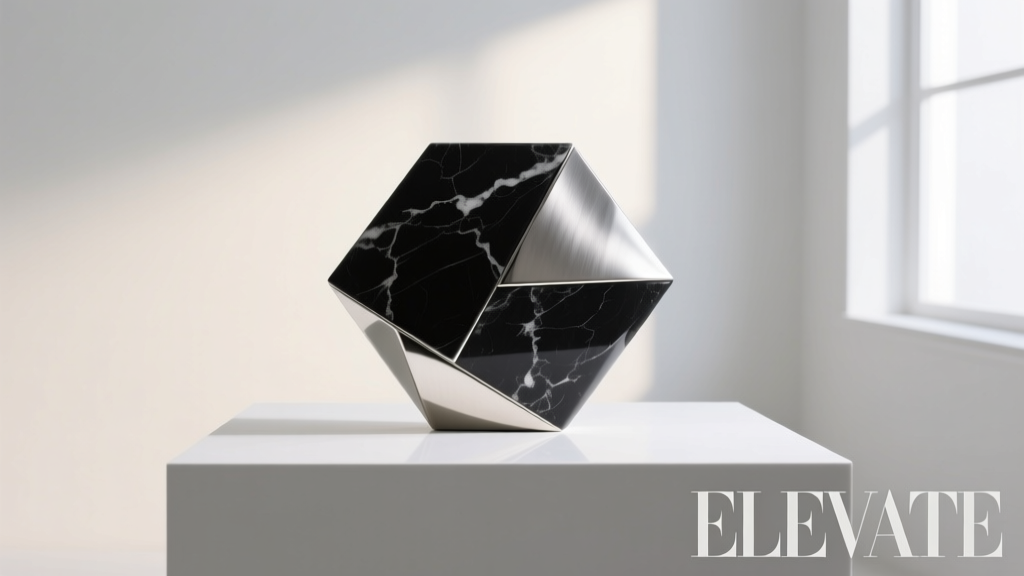
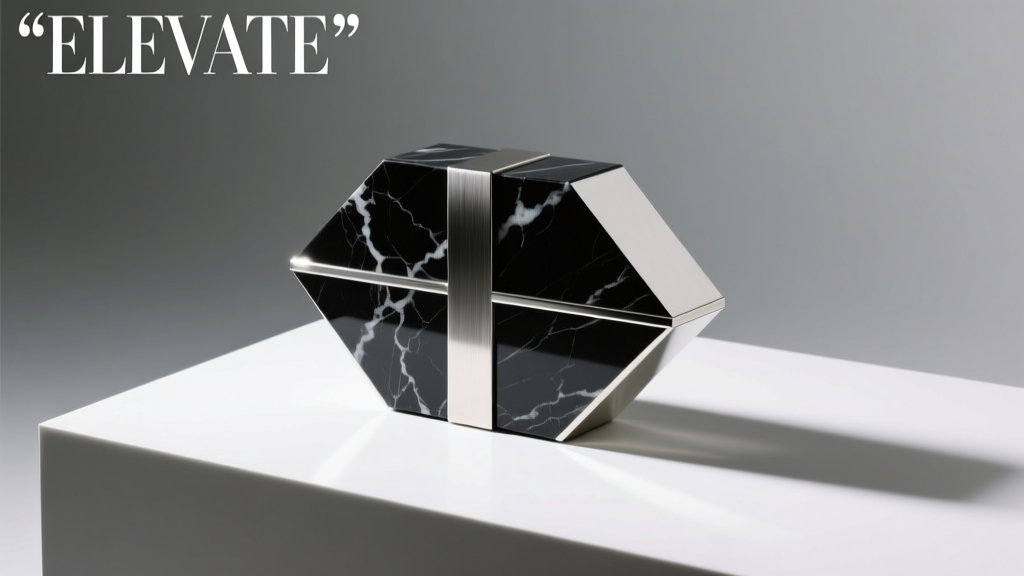
These fixed, non-rotating tops are crafted into precise shapes such as squares, triangles, hexagons, and stars. Their angular design appeals to those who favor modern, architectural styles in body jewelry.
Advantages
- Unique, eye-catching appearance
- Strong structural integrity
- Ideal for expressing individuality and artistic flair
- Available in premium metals like titanium and 14k gold
Limitations
- Sharp edges may cause minor skin irritation over time
- Not suitable for high-friction areas
- Fewer replacement options compared to circular styles
Best for: Statement pieces, artistic body modification, fashion-forward individuals
Stone or Gem Dermal Tops
These elegant tops feature small crystals, gemstones, or synthetic stones, either mounted in metal settings or worn as bare stones. They add a touch of luxury and sophistication to any dermal piercing.
Advantages
- Highly decorative and visually stunning
- Available in a rainbow of colors and cuts (round, princess, emerald)
- Perfect for special occasions and formal wear
- Can be customized with birthstones or favorite hues
Limitations
- More fragile than metal-only designs
- Higher cost due to material quality
- Requires careful handling to avoid chipping or loosening
Best for: Elegant looks, evening wear, celebratory piercings
Designer Dermal Tops
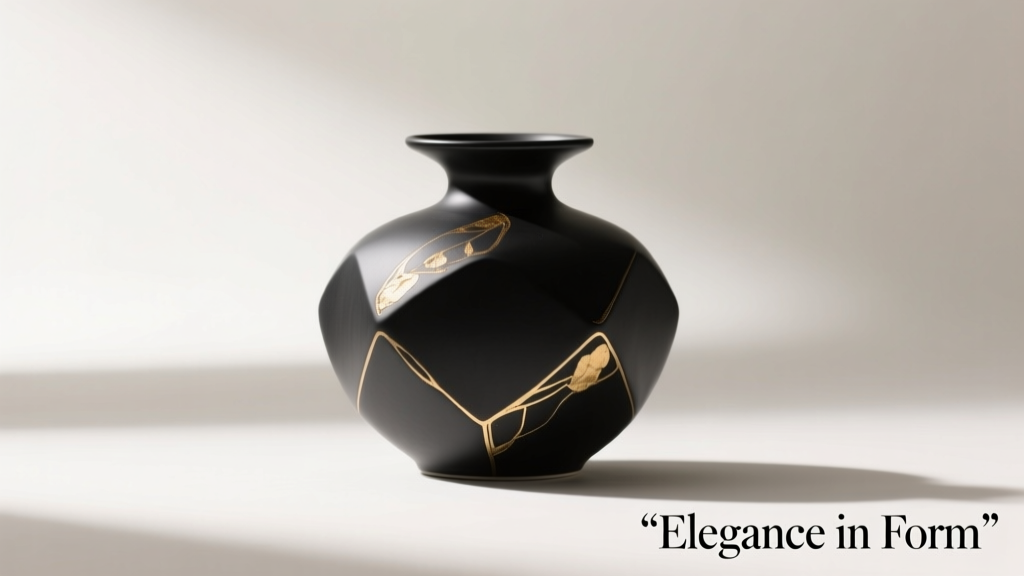
These premium tops are engraved or laser-printed with brand logos, luxury insignias, or artistic motifs. Often made from high-grade metals and sometimes adorned with micro-pavé stones, they cater to fashion enthusiasts and luxury jewelry lovers.
Advantages
- Prestigious and exclusive appearance
- Perfect for high-fashion and runway aesthetics
- High craftsmanship and attention to detail
- Collectible and often limited edition
Limitations
- Significantly higher price point
- May be harder to source or replace
- Risk of counterfeit products in the market
Best for: Luxury fashion, brand expression, collectors and trendsetters
Circular Dermal Anchors
The foundation of every microdermal piercing, circular dermal anchors are implanted beneath the skin and feature a central hole that secures the external top. These anchors are typically disc-shaped with perforated centers, allowing for screw-in attachment of various tops.
Advantages
- Universal compatibility with most dermal tops
- Stable and secure hold under the skin
- Available in biocompatible materials (titanium, surgical steel)
- Can be customized with colored coatings or embedded micro-stones
Limitations
- Requires professional implantation by a trained piercer
- Healing period of 6–8 weeks needed before changing tops
- Potential for rejection if not properly placed or cared for
Best for: All microdermal applications, long-term wear, interchangeable top systems
| Design Type | Material Options | Style Profile | Durability | Ideal For |
|---|---|---|---|---|
| Circular Tops | Stainless steel, titanium, gold, PVD-coated | Minimalist, classic | High | Daily wear, facial piercings |
| Geometric Tops | Titanium, surgical steel, sterling silver | Modern, edgy | Medium-High | Artistic expression, fashion statements |
| Stone/Gem Tops | Swarovski crystals, CZ, sapphire, ruby settings | Elegant, luxurious | Medium | Special events, decorative wear |
| Designer Tops | 14k gold, platinum, laser-engraved steel | Premium, branded | High (with care) | Luxury fashion, collectors |
| Circular Anchors | Titanium (most common), surgical steel | Functional, foundational | Very High | All dermal piercings, long-term use |
Expert Tip: Always ensure your microdermal tools are made from implant-grade materials (such as ASTM F136 titanium) to minimize the risk of infection, rejection, or allergic reactions. Consult a licensed professional piercer before choosing or changing your dermal tops.
How to Choose a Microdermal Tool: A Complete Guide for Professionals
Microdermal tools have surged in popularity across the beauty and body modification industries, especially as demand for permanent aesthetic enhancements grows. With an increasing number of suppliers offering wholesale options, it's essential for business owners, estheticians, and piercing professionals to make informed decisions when selecting high-quality microdermal tools. Choosing the right tools impacts not only client satisfaction but also safety, healing time, and long-term reputation of your practice.
Material Quality: The Foundation of Safety and Biocompatibility
The materials used in microdermal implants and tools play a critical role in preventing adverse reactions such as irritation, inflammation, or allergic responses. Since these tools are used for semi-permanent or permanent skin embedding, biocompatibility is non-negotiable.
Titanium (Grade 23 or ASTM F136)
Widely regarded as the gold standard, titanium is lightweight, corrosion-resistant, and highly hypoallergenic. Medical-grade titanium is ideal for sensitive skin and minimizes the risk of rejection or infection.
Surgical Stainless Steel (316L or Implant Grade)
This material offers excellent durability and resistance to bodily fluids. While generally safe, some individuals may react to nickel content, so it's best suited for clients with no known metal sensitivities.
Precious Metals (14K+ Gold, Sterling Silver)
Used primarily for visible dermal tops, gold and silver provide aesthetic appeal. However, they must be solid (not plated) and used only for the external portion of the implant to avoid tissue reactivity.
Bioplastics (PTFE, PEEK, or Biocompatible Polymers)
These are ideal for clients with extreme metal sensitivities. Bioplast materials are non-conductive, lightweight, and reduce MRI interference, making them a smart choice for medical compatibility.
Caution: Avoid tools made with low-grade alloys, nickel-plated metals, or unverified materials. These can lead to chronic inflammation, granulomas, or implant rejection.
Needle Size and Gauge: Matching Tool to Skin Type
Selecting the correct needle gauge is crucial for clean insertion, minimal trauma, and optimal healing. Needles are measured in French (F) or B gauge, with lower numbers indicating thicker needles. Using the wrong size can result in excessive bleeding, poor anchor placement, or migration.
| Needle Gauge | Skin Type | Ideal For | Diameter (mm) |
|---|---|---|---|
| 14F – 11F | Thin/Delicate Skin | Facial placements, ears, décolletage (common in female clients) | 0.47 – 0.64 mm |
| Unisexual 7R (≈10F) | Medium Skin | Neck, shoulders, arms – versatile for most clients | ~0.70 mm |
| 9F – 6F | Thick/Resilient Skin | Back, chest, or areas with dense dermal layers | 0.80 – 1.20 mm |
Pro Tip: Always assess your client’s skin thickness, elasticity, and previous healing history before selecting a needle. When in doubt, start with a mid-range gauge like 7R for balanced precision and safety.
Sterility and Packaging: Ensuring Infection Control
Microdermal procedures are minimally invasive but still breach the skin barrier, making sterility a top priority. Non-sterile tools pose serious risks including bacterial infections, sepsis, and transmission of bloodborne pathogens.
Branding and Certification: Trust Through Transparency
With a flood of generic and unbranded microdermal tools in the wholesale market, choosing certified, reputable manufacturers is essential for professional credibility and client safety.
Recognized Certifications
Look for brands that comply with ISO 13485 (medical device quality management), CE Marking, and US FDA registration. These indicate adherence to international safety and manufacturing standards.
Reputable Brands to Consider
Established names like DermaPlast, Biomet, Neuroderm, and Implant Grade Solutions offer traceable, lab-tested products. They often provide batch numbers, material certifications, and customer support.
Avoid off-brand suppliers on e-commerce platforms that lack verifiable credentials. Request material data sheets (MSDS) and sterilization reports before placing bulk orders.
Important: Your choice of microdermal tools directly impacts client health and legal liability. Always source from suppliers who provide full documentation, comply with health regulations, and support professional training. Investing in high-quality, certified tools may cost more upfront but reduces complications, returns, and reputational damage in the long run.
Benefits of Using Microdermal Tools
Microdermal tools have revolutionized the world of body modification by offering a safe, stylish, and semi-permanent way to enhance personal aesthetics. These innovative implants provide a unique alternative to traditional piercings, combining the elegance of jewelry with the flexibility of customizable placement. When performed by trained professionals using sterile equipment, microdermals deliver impressive results with minimal risk.
Non-Invasive with Long-Lasting Results
Microdermal implants are inserted just beneath the top layer of skin, making them significantly less invasive than traditional body piercings that pass entirely through tissue. Despite their shallow placement, they offer a durable and visually striking effect that can last for years with proper care.
- Implants integrate naturally with the skin over time, creating a seamless appearance
- Fully removable without scarring when done correctly by a professional
- Ideal for individuals seeking a semi-permanent enhancement without surgical procedures
Key benefit: Combines the convenience of temporary jewelry with the lasting appeal of permanent body art
Immediate Visual Impact
One of the most appealing aspects of microdermals is the instant transformation they provide. From the moment the jewelry is attached post-insertion, the wearer enjoys a striking aesthetic enhancement.
- Visible results immediately after healing begins (typically within days)
- Enhances facial or body symmetry and draws attention to desired features
- Popular for accentuating cheekbones, collarbones, or other prominent areas
Pro tip: Choose strategic placements that complement natural facial or body contours for maximum visual impact
Minimal Side Effects & High Safety Profile
When performed under sterile conditions by experienced practitioners, microdermal implantation carries a low risk of complications. The procedure avoids major blood vessels and nerves, reducing the chance of serious issues.
- Swelling and minor redness typically resolve within a few days
- Risk of infection is minimal when using medical-grade tools and proper aftercare
- Allergic reactions are rare, especially with titanium-based anchors (biocompatible material)
- Rejection rates are low compared to other surface piercings
Critical note: Always verify that tools are single-use, sterilized, and handled in a clean environment
Versatile Placement Options
Unlike traditional piercings limited to specific anatomical sites, microdermals can be placed on nearly any flat area of the body, offering unparalleled creative freedom.
- Common locations: cheeks, hips, sternum, shoulders, back, and hands
- Suitable for both symmetrical designs (e.g., dual cheek microdermals) and unique solo placements
- Can be integrated into existing tattoo designs or body art themes
- Ideal for areas where standard piercings are not possible due to anatomy
Creative possibility: Design custom patterns or constellations using multiple microdermals
Extensive Jewelry Customization
One of the standout advantages of microdermals is the ability to change and customize the visible jewelry top at any time, allowing for evolving personal expression.
- Available in diverse styles: gemstone accents, circular discs, geometric shapes, designer motifs, and artistic forms
- Made from materials like surgical steel, titanium, gold, and bio-plastic for hypoallergenic options
- Easily interchangeable—simply unscrew the top and replace with a new design
- Perfect for matching outfits, occasions, or seasonal aesthetics
Fashion tip: Maintain a collection of different tops to suit various moods and events
Enhanced Safety Over Traditional Piercings
Microdermal tools and techniques have been engineered to improve upon the risks associated with older piercing methods, particularly in sensitive areas.
- Uses precision-insertion tools that minimize tissue trauma
- Eliminates the need for long, thin needles used in some traditional piercings
- Anchors are designed to reduce migration and rejection risks
- Lower risk of nerve damage compared to deep or complex piercings
Important clarification: While safer than poorly performed traditional piercings, success depends on practitioner skill and aftercare diligence
Professional Recommendation: For first-time users, start with a single microdermal in a low-movement area (like the collarbone or shoulder) to assess healing response and personal satisfaction. Always choose a certified body modification artist who follows strict hygiene protocols and uses high-quality, implant-grade materials. Discuss your lifestyle and aesthetic goals to determine the best placement and jewelry type.
| Feature | Benefit | Best For | Lifespan |
|---|---|---|---|
| Single-point insertion | Less tissue damage, faster healing | Facial and sensitive areas | 2–5 years (with care) |
| Removable design | No permanent scarring upon removal | Temporary aesthetic enhancement | As desired |
| Interchangeable jewelry | Style flexibility and personalization | Fashion-conscious individuals | Lifetime of anchor |
| Titanium base | Biocompatible, hypoallergenic | Sensitive skin types | Long-term wear |
Additional Considerations
- Healing Time: Typically 6–8 weeks; requires gentle cleaning and avoidance of pressure on the site
- Cost-Effectiveness: Higher initial cost than standard piercings but offers long-term value through customization
- Maintenance: Regular cleaning and periodic tightening of jewelry tops ensure longevity
- Skin Type Compatibility: Works well on most skin types, though thicker skin may retain anchors more securely
- Trend Versatility: Easily adapted to changing fashion trends thanks to swappable jewelry tops
How to Use a Microdermal Tool: A Complete Step-by-Step Guide
Microdermal implants, also known as dermal anchors or single-point piercings, are a popular form of body modification that allow for discreet and versatile jewelry placement. Proper use of a microdermal tool is essential for safe, hygienic, and successful implantation. This guide provides a detailed walkthrough of the entire process—from preparation to aftercare—ensuring both practitioners and clients understand the importance of precision, sterility, and technique.
Safety Warning: Microdermal procedures should only be performed by licensed professionals in a sterile environment. Attempting this procedure without proper training, certification, and sterilized equipment can lead to serious infections, scarring, or rejection. Always follow local health regulations and use single-use, medical-grade tools.
1. Thorough Cleaning of the Area
Proper sanitation is the foundation of any successful microdermal procedure. Contamination at this stage can lead to infection, delayed healing, or implant rejection.
- Clean the target skin area with a high-quality antiseptic solution such as 70% isopropyl alcohol or chlorhexidine wipes.
- Wipe in a circular motion starting from the center and moving outward to avoid reintroducing contaminants.
- Allow the area to air dry completely—do not blow on it or touch it with bare hands.
- Ensure all tools, gloves, and surfaces are sterile before proceeding.
Expert Tip: Avoid using hydrogen peroxide or iodine-based solutions, as they can irritate the skin and delay healing. Stick to medical-grade disinfectants approved for skin preparation.
2. Mark the Area with a Dermal Marker
Accurate placement is crucial for both aesthetic appeal and long-term stability of the microdermal anchor.
- Use a surgical-grade dermal marking pen to precisely indicate the insertion point on clean, dry skin.
- Double-check symmetry and positioning, especially for visible areas like the face, collarbone, or hands.
- Once marked, disinfect the area again with an alcohol swab to eliminate any residue from the marker.
- Do not touch or adjust the mark with ungloved fingers after disinfection.
3. Placement of the Base
The base of the microdermal implant must be securely embedded beneath the skin to serve as a stable anchor for the jewelry top.
- Align the microdermal tool with the marked point, ensuring the angle matches the intended depth and direction.
- Gently press the tool against the skin and activate the punch mechanism to insert the base just below the dermal layer.
- Some practitioners use a twisting motion to help seat the base flush with the subdermal tissue, while others prefer a straight press-in method—both are acceptable depending on technique and tool design.
- The base should sit flat under the skin with minimal tension or puckering.
4. Insert the Dermal Needle
The needle component facilitates the precise delivery of the implant and must be handled with care.
- The microdermal tool contains an elongated needle plate that carries the dermal fixture (F&D) into the skin.
- After the base is seated, the needle is advanced through the marked point, embedding the fixture into the prepared channel.
- Slowly retract the needle while keeping the base stable, ensuring the fixture remains securely anchored in place.
- Inspect the site immediately to confirm the base is flush and there is no excessive bleeding or displacement.
5. Finishing Up
The final step involves securing the visible jewelry top to complete the aesthetic result.
- Once the needle is fully withdrawn, the base should rest flat against the underside of the skin.
- Screw or snap the decorative top onto the exposed post of the base. Most tops are hand-tightened using clean fingers or a non-metallic tool to avoid scratching.
- Avoid over-tightening, which can cause pressure, irritation, or migration.
- Apply a thin layer of antimicrobial ointment if recommended, then cover with a breathable bandage or tegaderm dressing.
| Procedure Stage | Key Objectives | Critical Safety Checks | Recommended Tools |
|---|---|---|---|
| Cleaning | Eliminate bacteria and contaminants | Use sterile wipes; avoid recontamination | Alcohol swabs, chlorhexidine, disposable gloves |
| Marking | Ensure precise, symmetrical placement | Double-check position before piercing | Surgical dermal marker, mirror, ruler |
| Base Insertion | Secure anchor beneath dermal layer | No skin puckering or misalignment | Sterile microdermal tool, base fixture |
| Needle Use | Accurate delivery and clean extraction | No bleeding or base displacement | Single-use needle plate, F&D implant |
| Final Assembly | Attach top securely without pressure | Top sits flush; no over-tightening | Jewelry top, clean fingers or plastic tool |
6. Aftercare Instructions
Proper aftercare is vital to prevent infection, reduce inflammation, and promote successful integration of the microdermal implant.
- Clean the area twice daily with saline solution or mild antibacterial soap for 4–6 weeks.
- Avoid submerging the piercing in pools, hot tubs, or baths during initial healing.
- Do not rotate or remove the jewelry top during healing, as this can disrupt tissue integration.
- Wear loose, non-abrasive clothing to prevent snagging or friction.
- Monitor for signs of rejection (movement, thinning skin, redness) or infection (pus, swelling, heat).
- Treat microdermal jewelry with care—avoid harsh chemicals, lotions, or excessive pulling. Even high-quality pieces can lose luster or become damaged if mishandled.
Healing Tip: Full integration typically takes 6–8 weeks. During this time, avoid changing the top unless absolutely necessary. When ready, opt for lightweight, biocompatible materials like titanium or surgical steel to minimize stress on the anchor.
Remember: Microdermal implants are semi-permanent and require professional removal if complications arise. Always document the procedure, provide clients with written aftercare instructions, and encourage follow-up consultations. When performed correctly and maintained properly, microdermals offer a stunning and long-lasting form of body art.
Frequently Asked Questions About Microdermal Jewelry
Q1. Are microdermals safe, and do they have side effects?Microdermals are generally considered a safe and less invasive alternative to traditional piercings, especially when compared to earrings that require sharp needles to puncture through cartilage or earlobes. Unlike standard piercings, microdermals use a single-point anchoring system that sits beneath the skin, minimizing trauma and reducing healing time.
However, like any body modification, microdermals are not without potential side effects. If proper hygiene and aftercare are neglected, complications may arise, including:
- Skin Rejection: The body may gradually push the anchor out, especially if placed in areas with high movement or thin skin.
- Granulomas or Skin Thickening: Excess tissue can form around the base due to irritation or improper placement.
- Infection: Bacterial buildup can occur if the site isn't cleaned regularly or if unsterilized tools are used during placement.
- Allergic Reactions: Some individuals may react to certain metals; surgical-grade titanium is recommended to minimize this risk.
To maximize safety, always choose a licensed and experienced practitioner who follows strict sterilization protocols and uses high-quality, biocompatible materials.
Q2. Where are microdermals commonly placed, and how long do they last?Microdermals are highly versatile and can be placed on nearly any flat surface of the body where the skin is stable and not subject to constant friction. Popular placement areas include:
- Face: Cheeks, temples, and beside the eyes for subtle, decorative accents.
- Neck and Collarbone: Elegant placements that enhance natural contours.
- Fingers and Hands: A trendy option for those seeking unique, visible body art.
- Chest and Abdomen: Often used symmetrically or as part of larger body jewelry designs.
- Shoulders and Back: Ideal for more discreet or artistic arrangements.
With proper care and ideal placement, microdermals can last anywhere from several years to over a decade. Longevity depends on factors such as the individual’s skin type, lifestyle, jewelry quality, and adherence to aftercare routines. Some people experience longer retention, while others may see rejection within a few months—especially in high-motion areas.
Q3. What should users avoid to increase the life span of their microdermals?To ensure your microdermal jewelry lasts as long as possible and heals properly, it's crucial to avoid certain behaviors and environmental exposures:
- Touching or Fiddling: Constantly touching the jewelry introduces bacteria and can irritate the healing tissue, increasing the risk of infection or rejection.
- Frequent Top Changes: While one of the benefits of microdermals is interchangeable tops, changing them too often—especially during the initial healing phase (6–12 weeks)—can disrupt healing and loosen the anchor.
- Swimming in Pools or Hot Tubs: Chlorine and other chemicals can irritate the site and delay healing. Saltwater and natural bodies of water carry bacteria that may lead to infection.
- Vigorous Physical Activity: Repetitive motion or friction (e.g., from tight clothing, gym workouts, or manual labor) can stress the anchor and increase the chance of migration or rejection.
- Using Harsh Skincare Products: Avoid applying exfoliants, alcohol-based cleansers, or makeup directly on the jewelry site during healing.
Following your practitioner’s aftercare instructions closely—such as cleaning with saline solution and avoiding submersion in water—can significantly improve the success and longevity of your microdermal.
Q4. Who should replace microdermal tops, and why?Only trained and experienced microdermal practitioners should handle the replacement or removal of microdermal tops, especially during the early healing stages. Here’s why:
- Precision Required: The anchor is embedded beneath the skin, and improper twisting or pulling can damage the internal fixture or surrounding tissue.
- Correct Torque Application: Too much force can unscrew the base from the skin, while too little may not secure the new top properly.
- Infection Prevention: Professionals use sterilized tools and gloves, minimizing the risk of introducing bacteria.
- Assessment of Healing: A practitioner can inspect the site for signs of rejection, infection, or irritation before proceeding.
Even after full healing, it’s advisable to have a professional perform the first few top changes to ensure you understand the correct technique. Once confident, some users may safely change tops at home using sterile tools—but only if the jewelry is stable and fully healed.
Q5. How are dermals different from other piercings?Microdermals (also known as dermal anchors or single-point piercings) are fundamentally different from traditional piercings in both structure and function:
| Feature | Microdermals | Traditional Piercings |
|---|---|---|
| Placement Method | Inserted into a single point on the skin surface with an anchor beneath. | Pass through two points (entry and exit) of the skin (e.g., earlobes, nostrils). |
| Jewelry Design | Consists of a base implanted under the skin and a removable top. | Requires a barbell, ring, or stud that spans the entire piercing. |
| Healing Process | Top sits on the surface; healing occurs around the anchor (6–12 weeks). | Requires healing of both entry and exit wounds, often longer and more complex. |
| Customization | Tops can be easily swapped for different styles and colors. | Changing jewelry requires removing the entire piece, which can be more involved. |
| Common Locations | Flat areas: face, chest, fingers, abdomen. | Anatomical structures: ears, nose, lips, navel, etc. |
This unique design makes microdermals ideal for people who want customizable, minimally invasive body art in areas where traditional piercings aren’t possible. However, they require careful maintenance and professional handling to prevent complications and ensure lasting results.