Earwax, or cerumen, is a natural substance produced by glands in the ear canal. It plays a vital role in protecting the ear from dust, bacteria, and foreign particles. In most cases, earwax migrates outward on its own, where it dries and flakes off without requiring intervention. However, sometimes wax can accumulate and become impacted, leading to discomfort, hearing loss, tinnitus, or even dizziness. While professional care is always an option, many people prefer to manage mild buildup at home using safe, evidence-based techniques. This guide outlines the most effective and safe at-home methods, highlights what to avoid, and provides practical advice to protect your hearing and ear health.
Understanding Earwax: Why It Builds Up
The ear is self-cleaning, but several factors can disrupt this process. Narrow or hairy ear canals, frequent use of earbuds or hearing aids, aging (which causes wax to become drier), and overzealous cleaning attempts can all contribute to impaction. When wax blocks more than 80% of the ear canal, symptoms may include:
- Muffled or decreased hearing
- A feeling of fullness in the ear
- Tinnitus (ringing or buzzing)
- Dizziness or coughing (due to nerve stimulation)
- Earache, especially if the wax presses against the eardrum
It’s important to recognize that not all ear discomfort is due to wax. Infections, eardrum perforations, or other conditions require medical diagnosis. If symptoms persist beyond a few days or worsen after home treatment, consult a healthcare provider.
Tip: Never insert anything smaller than your elbow into your ear. Cotton swabs, bobby pins, and fingers push wax deeper and increase the risk of injury.Safe and Effective Home Removal Methods
When earwax buildup is mild, several at-home approaches can soften and help expel the wax naturally. These methods work gradually and should never cause pain or forceful pressure.
1. Warm Water Irrigation (Ear Syringing)
This method uses lukewarm water to flush out softened wax. It's one of the most common and effective techniques when done correctly.
- Lie on your side with the affected ear facing up.
- Gently pull the outer ear upward and backward to straighten the canal.
- Using a rubber-bulb syringe, slowly inject body-temperature water into the ear.
- Allow the water to sit for 1–2 minutes, then turn your head to let it drain into a sink.
- Dry the outer ear with a towel or hairdryer on low, held at arm’s length.
Repeat daily for up to 3–5 days if needed. Do not irrigate if you have a history of eardrum perforation, ear surgery, or active ear infection.
2. Ear Drops: Softening Agents
Over-the-counter drops are designed to break down and loosen earwax. Common ingredients include:
- Carbamide peroxide (e.g., Debrox): Releases oxygen to foam and dislodge wax.
- Mineral oil: Lubricates and softens hardened wax.
- Hydrogen peroxide (diluted): Acts as a gentle effervescent cleaner.
- Saline solution: Mild and suitable for sensitive ears.
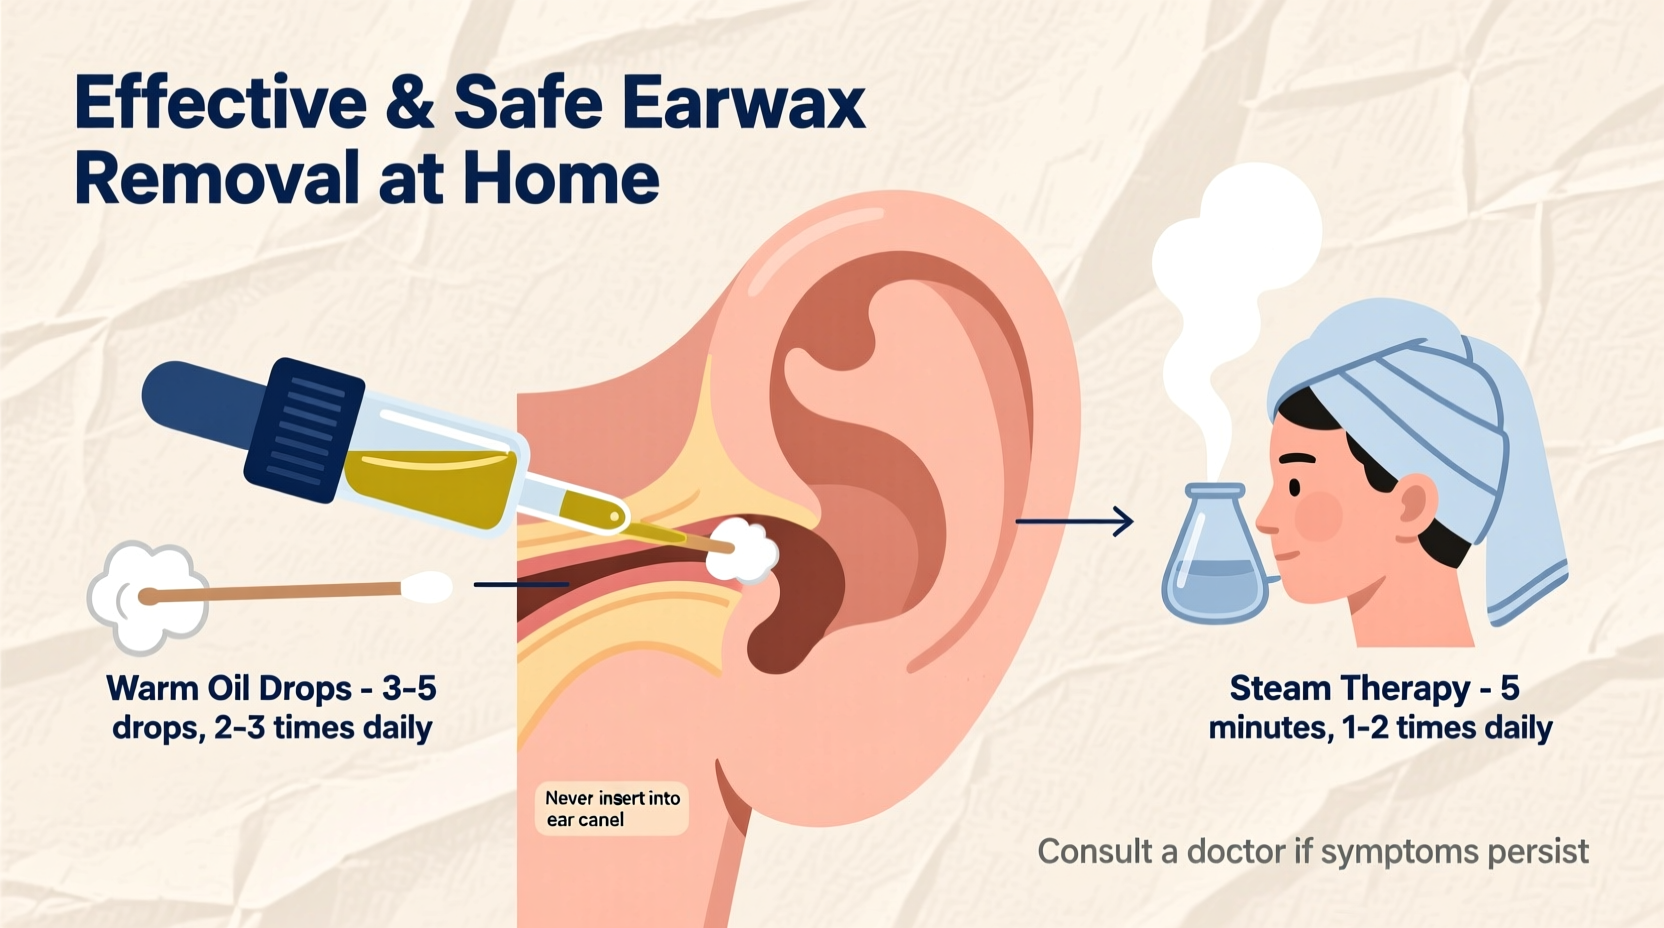
Apply 2–3 drops twice daily for 3–7 days. Lie on your side for 5 minutes after application to allow penetration.
3. Steam Therapy
Steam can help loosen wax, particularly when combined with a warm shower. The moist heat softens the wax and encourages natural migration.
Stand in a steamy bathroom for 10–15 minutes, allowing warm, humid air to enter the ear. Gently wipe the outer ear afterward—never insert anything.
“Softening agents like mineral oil or saline drops are often sufficient for most cases of earwax buildup. Irrigation should follow only after softening, not as a first step.” — Dr. Lena Patel, Otolaryngologist
Do’s and Don’ts of At-Home Ear Care
| Do | Don't |
|---|---|
| Use ear drops to soften wax before irrigation | Insert cotton swabs, keys, or any object into the ear canal |
| Irrigate with lukewarm, not hot, water | Use high-pressure devices like water flossers |
| Let water drain naturally after flushing | Attempt removal if you have ear tubes, a perforated eardrum, or vertigo |
| Dry ears thoroughly after water exposure | Ignore persistent pain, drainage, or hearing loss |
| Wait a few days between irrigation attempts | Use ear candles—they are unsafe and ineffective |
Real-Life Example: Resolving Hearing Muffled After Swimming
Sarah, a 34-year-old swim instructor, noticed her right ear felt blocked after a week of intensive pool training. Her hearing was muffled, and she experienced slight echoing when speaking. She initially tried shaking her head and using a hairdryer, but the sensation persisted.
Instead of using a cotton swab, she researched safe options and began applying mineral oil drops twice daily for three days. On the fourth day, she performed a gentle warm water irrigation using a bulb syringe. After draining and drying her ear, the blockage cleared completely. Sarah now avoids inserting anything into her ears and uses preventive oil drops after swimming sessions.
Her experience underscores the importance of patience and proper technique—rushing or using unsafe tools could have led to injury or infection.
Step-by-Step Guide to Safe Home Wax Removal
Follow this timeline for best results when addressing mild earwax buildup:
- Day 1–3: Apply 2–3 drops of mineral oil, baby oil, or over-the-counter ear drops twice daily. Lie on your side for 5 minutes after each application.
- Day 4: Perform gentle irrigation using a rubber-bulb syringe and lukewarm water. Repeat once if needed.
- Day 5: Assess symptoms. If hearing remains impaired or discomfort continues, repeat drops for another 2 days before re-irrigating.
- Day 7: If no improvement, discontinue home efforts and consult a healthcare provider.
Never perform more than two irrigation sessions per day, and wait at least 24 hours between attempts to prevent irritation.
Tip: Tilt your head sideways over a sink during irrigation. Keep the syringe tip just inside the ear opening—do not force it deeper.Frequently Asked Questions
Can I use hydrogen peroxide directly in my ear?
Yes, but only in diluted form. Most over-the-counter ear drops contain a safe concentration (usually 3% or less). Full-strength peroxide can irritate the delicate skin of the ear canal. Always follow product instructions and discontinue use if stinging occurs.
How often should I clean my ears?
Most people don’t need to clean their ears at all. The ear canal is self-cleaning. Only intervene if you experience symptoms of blockage. Preventive oil drops once a month may help those prone to buildup, especially older adults or hearing aid users.
Are ear candles safe?
No. The FDA has warned against ear candles due to risks of burns, ear canal obstruction from wax drippings, and eardrum perforation. Studies show they do not effectively remove wax and pose significant safety hazards.
Conclusion: Prioritize Safety and Prevention
Removing earwax at home can be safe and effective when approached with care and knowledge. The key is gentleness—your ear canal is delicate, and aggressive methods can do more harm than good. Stick to proven techniques like softening drops and low-pressure irrigation, and know when to seek professional help. Regular awareness of your ear health, avoiding insertion of foreign objects, and prompt attention to symptoms can prevent complications.
💬 Have a safe ear care routine that works for you? Share your experience in the comments to help others avoid common mistakes and maintain healthy hearing.