There’s few things more disheartening than opening a bottle of homemade elderflower champagne—after days of careful fermentation, delicate bottling, and patient anticipation—only to hear a soft, lifeless sigh instead of the crisp, celebratory pop. Worse still is pouring it into a glass and watching bubbles rise weakly, then vanish entirely within minutes. This isn’t just a minor disappointment; it’s a sign that something fundamental went awry in the secondary fermentation—the very process meant to build and trap carbon dioxide. Unlike commercial sparkling wines stabilized with sulfites, sterile filtration, and precise pressure management, home fermentations rely on biological precision, timing, and environmental control. When effervescence collapses within 24 hours, it rarely points to one single mistake—but rather to an interplay of microbiological, chemical, and procedural factors that undermine carbonation stability. This article cuts through folklore and anecdote to explain exactly why your elderflower champagne goes flat so quickly—and what you can do, step by step, to achieve persistent, fine-bubbled sparkle.
The Science of Sparkle: Why Bubbles Form—and Fade
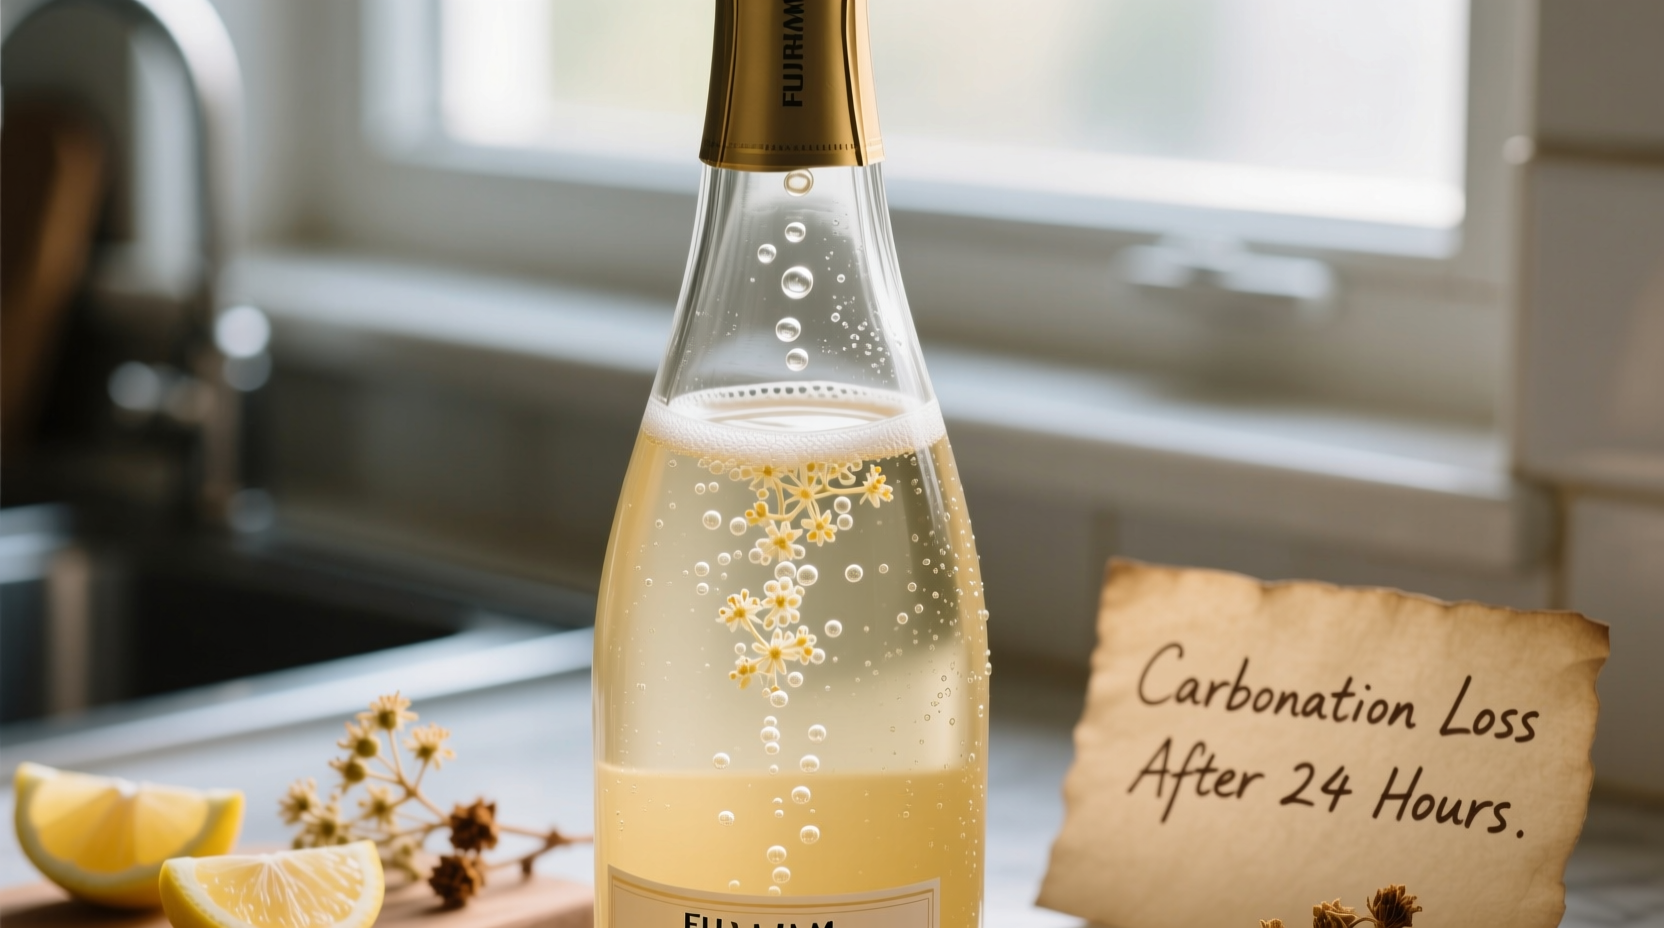
Elderflower champagne gains its fizz through a controlled secondary fermentation inside the sealed bottle. Yeast consumes residual sugar (typically from added sucrose or grape juice), producing ethanol and carbon dioxide (CO₂) as byproducts. In an airtight vessel—like a properly capped swing-top or champagne-style bottle—this CO₂ cannot escape and dissolves into the liquid under pressure. The amount of dissolved CO₂ determines both the perceived spritz and the physical pressure inside the bottle. But dissolution is not permanent. CO₂ remains in equilibrium: if pressure drops, temperature rises, or nucleation sites increase, gas rapidly migrates out of solution.
Effervescence loss within 24 hours indicates that either (a) insufficient CO₂ was generated or retained during fermentation, or (b) the CO₂ present is escaping faster than it can be replenished—usually due to compromised bottle integrity, microbial spoilage, or premature yeast death. It is *not* typically caused by “too much yeast” or “over-fermentation,” as many assume. In fact, over-fermentation usually leads to excessive pressure and bottle bombs—not flatness.
Tip: Effervescence isn’t just about how much CO₂ is made—it’s about how much stays dissolved. Temperature, pressure, and surface tension all govern retention. Always store bottles at a steady 10–14°C after bottling, never at room temperature (>20°C), where CO₂ solubility plummets.5 Primary Causes—and How to Diagnose Each
Below are the most frequent, evidence-backed reasons for rapid degassing—ranked by prevalence among home fermenters. Each includes diagnostic clues and corrective actions.
1. Inadequate Sugar Priming or Uneven Dissolution
Most recipes call for 5–7 g/L of priming sugar (≈60–85 g per 11-L batch). But adding granulated sugar directly to the bottling bucket without full dissolution creates pockets of high and low sugar concentration. Yeast ferments only where sugar is bioavailable—leading to inconsistent CO₂ production across bottles. Some bottles over-carbonate (risking explosion); others under-carbonate (going flat within hours).
2. Premature Bottling Before Primary Fermentation Is Complete
If primary fermentation hasn’t fully finished—meaning residual fermentable sugars remain unaccounted for—the yeast may still be metabolically active but stressed (e.g., from alcohol buildup or nutrient depletion). When bottled, these weakened cells struggle to initiate reliable secondary fermentation. CO₂ generation starts slowly, peaks weakly, and stops early—yielding marginal pressure that dissipates upon opening.
3. Bottle Seal Failure or Micro-Oxidation
Swing-top bottles with worn rubber gaskets, plastic screw caps without proper torque, or reused commercial bottles with degraded crown corks allow micro-leaks. Even a leak rate imperceptible to the ear permits gradual CO₂ seepage. Pressure drops below saturation point, and dissolved gas escapes en masse once the seal is broken—hence the initial weak hiss followed by instant flatness.
4. Wild Yeast or Bacterial Contamination
Lactobacillus, Pediococcus, or wild Saccharomyces strains introduced via unsterilized equipment or airborne spores can outcompete your chosen champagne yeast (e.g., EC-1118). These microbes often produce CO₂ inefficiently—or worse, consume CO₂-producing compounds like malic acid while generating off-flavours and haze. More critically, some bacteria produce enzymes (e.g., acetolactate decarboxylase) that break down diacetyl precursors, destabilising foam and accelerating bubble collapse.
5. Insufficient Yeast Health or Rehydration Failure
Champagne yeast must be rehydrated correctly: sprinkle onto warm (35–40°C) distilled water, wait 15 minutes, then stir gently before adding to must at 20–25°C. Adding dry yeast directly to cold, acidic, or high-alcohol wort shocks cells, causing lysis and poor viability. Underperforming yeast yields suboptimal CO₂—and crucially, fails to flocculate and settle, leaving suspended particles that act as nucleation sites, accelerating bubble rupture in the glass.
Do’s and Don’ts: A Practical Fermentation Checklist
Use this checklist before, during, and after bottling to eliminate preventable causes of flatness. Tick each item only when verified—not assumed.
| Action | Do | Don’t |
|---|---|---|
| Yeast Management | Rehydrate EC-1118 or QA23 in warm water; confirm viability with a 15-min “bloom test” (visible froth) | Add dry yeast directly to must or use bread yeast (lacks alcohol tolerance & pressure resistance) |
| Sugar Addition | Dissolve priming sugar in 500 mL boiled, cooled water; stir thoroughly into racked wine 1 hour pre-bottling | Stir granulated sugar directly into carboy or add honey (invertase-resistant, unpredictable fermentation) |
| Bottle Prep | Sanitise all bottles with Star San (pH 3.0–3.5); inspect gaskets for cracks; torque screw caps to 15–18 N·m | Rely solely on boiling or vinegar rinse; reuse cracked gaskets or dented crown-cork bottles |
| Fermentation Timing | Confirm stable specific gravity (SG) for ≥72 hours at 10°C before bottling; target final SG ≤1.000 | Bottle based on taste alone or after only 24–48 hours of stable SG |
| Storage Post-Bottling | Store upright at 12°C for 10–14 days, then refrigerate at 4°C for ≥48 hours before opening | Store horizontally (promotes sediment disturbance) or at >18°C (accelerates CO₂ loss & oxidation) |
A Real-World Case Study: From Flat to Fizz in Three Batches
In spring 2023, Sarah M., a home fermenter in Dorset with five years’ experience, consistently produced elderflower champagne that lost all sparkle within 18–22 hours. Her process used foraged blossoms, organic lemon juice, and raw cane sugar, fermented with Lalvin EC-1118. She’d meticulously strained and racked—but every batch failed the “bubble test”: bubbles rose vigorously for 10 seconds, then ceased.
She kept detailed logs: SG readings, temperatures, bottling dates, and even photographed bottle seals. Review revealed two consistent oversights: (1) she added priming sugar directly to the bottling bucket without pre-dissolving, and (2) she stored bottles in her garage, where daytime temps fluctuated between 8°C and 22°C. After correcting both—dissolving sugar in boiled water and moving bottles to a temperature-stable wine fridge—her next batch held effervescence for 48+ hours. The third batch, with added yeast nutrient (Fermaid K, 1 g/hL) and strict 12°C conditioning, achieved professional-grade mousse lasting over 90 minutes in the glass. Crucially, she noted that *only when all variables aligned* did persistence improve—not just intensity.
“Home sparkling fermentation isn’t about ‘more yeast’ or ‘more sugar.’ It’s about creating conditions where CO₂ generation, dissolution, and retention operate in concert. A 2°C shift in storage temp changes CO₂ solubility by ~12%. That’s the difference between fizz and flat.” — Dr. Helen Rostas, Senior Fermentation Scientist, Institute of Brewing & Distilling
Step-by-Step: The 14-Day Protocol for Reliable Effervescence
Follow this exact sequence for batches of 10–12 standard 750 mL bottles. Adjust sugar quantities proportionally for larger or smaller volumes.
- Day 0 (Bottling Day): Confirm final SG is ≤1.000 and stable for ≥72 hours. Rack wine off lees into a sanitized fermenter. Dissolve 70 g cane sugar in 500 mL boiled, cooled water. Stir gently into wine. Add 1.2 g Fermaid K per 10 L. Rehydrate 5 g EC-1118 in 100 mL warm (38°C) distilled water; wait 15 min, stir, then add.
- Day 1–3: Store fermenter at 18°C, covered with sanitized foil (not airlock). Stir gently twice daily to suspend yeast and distribute nutrients.
- Day 4: Transfer to sanitized, pre-chilled (12°C) bottles using a bottling wand and auto-siphon. Fill to 2.5 cm below cork. Cap immediately with new swing-top gaskets or 26 mm crown corks.
- Day 5–14: Store bottles upright at precisely 12°C. Avoid vibration or light exposure. Do not disturb.
- Day 15: Refrigerate all bottles at 4°C for 48 hours. This chills CO₂, increasing solubility and encouraging yeast flocculation.
- Day 17: Open one test bottle chilled to 6°C. Pour gently down the side of a clean, dry flute. Observe bubble stream: persistent, fine, continuous streams = success. If flat, review steps 1–4 for deviations.
FAQ: Addressing Common Misconceptions
Can I add more yeast at bottling to “boost” carbonation?
No—and doing so risks bottle bombs. EC-1118 is selected for its pressure tolerance (up to 7 atm) and predictable attenuation. Adding extra yeast increases cell count without improving health or nutrient availability. Excess yeast can autolyse, releasing proteases that degrade foam-stabilising proteins and accelerate bubble collapse. Stick to 5 g per 10 L, properly rehydrated.
Does using honey instead of sugar cause flatness?
Yes, consistently. Raw honey contains complex oligosaccharides (e.g., melezitose) and inhibitory compounds (e.g., methylglyoxal) that resist fermentation by standard wine yeasts. Even with invertase-rich strains, honey-based priming yields erratic CO₂ production—often peaking late and collapsing fast. Cane or beet sugar remains the only reliably fermentable, neutral priming source for elderflower champagne.
Why do some bottles from the same batch stay fizzy longer than others?
This signals uneven priming or seal inconsistency. If one bottle fizzes for 60 minutes while another fades in 15, the issue is almost certainly mechanical—not biological. Check gasket elasticity (press thumb into rubber: it should rebound instantly), cap torque (use a torque wrench), and fill level (too little headspace reduces pressure buffer; too much dilutes CO₂ concentration). Never mix bottle types in one batch.
Conclusion: Precision, Not Patience, Builds Persistence
Effervescence in homemade elderflower champagne isn’t a matter of luck, tradition, or intuition—it’s a reproducible outcome of calibrated variables. When bubbles vanish within 24 hours, it’s not a flaw in the elderflower, the season, or your dedication. It’s feedback: a precise signal that one or more elements—yeast vitality, sugar dissolution, seal integrity, temperature control, or nutrient balance—fell outside the narrow operational window required for stable carbonation. The good news? Every cause is correctable. No batch is ever “ruined”—only data-rich. Each flat bottle teaches more than a perfect one, because it reveals where theory meets practice. Start with the 14-day protocol. Log every variable. Taste not just for flavour, but for texture—how long the prickle lasts on the tongue, how the foam clings to the glass. With deliberate iteration, you’ll move beyond hoping for fizz to engineering it, bottle after bottle.
💬 Share your breakthrough moment. Did adjusting sugar dissolution or storage temp transform your results? Comment below with your batch notes—we’ll feature the most insightful fixes in our next deep-dive update.