Baking bread at home should be a rewarding experience—golden crust, soft crumb, that warm, yeasty aroma filling the kitchen. But when your dough refuses to rise, it’s more than disappointing; it’s baffling. You followed the recipe, measured the ingredients, kneaded with care, yet what emerges from the oven is dense, flat, or worse, looks like a brick.
The culprit? More often than not, it's not the recipe—it's the yeast. Or rather, how you're treating it. Yeast is a living organism, sensitive to temperature, moisture, and time. A small misstep in handling can derail an entire bake. The good news: most of these issues are preventable. Understanding where things go wrong gives you the power to fix them—and finally bake bread that rises beautifully every time.
Understanding Yeast: The Living Ingredient
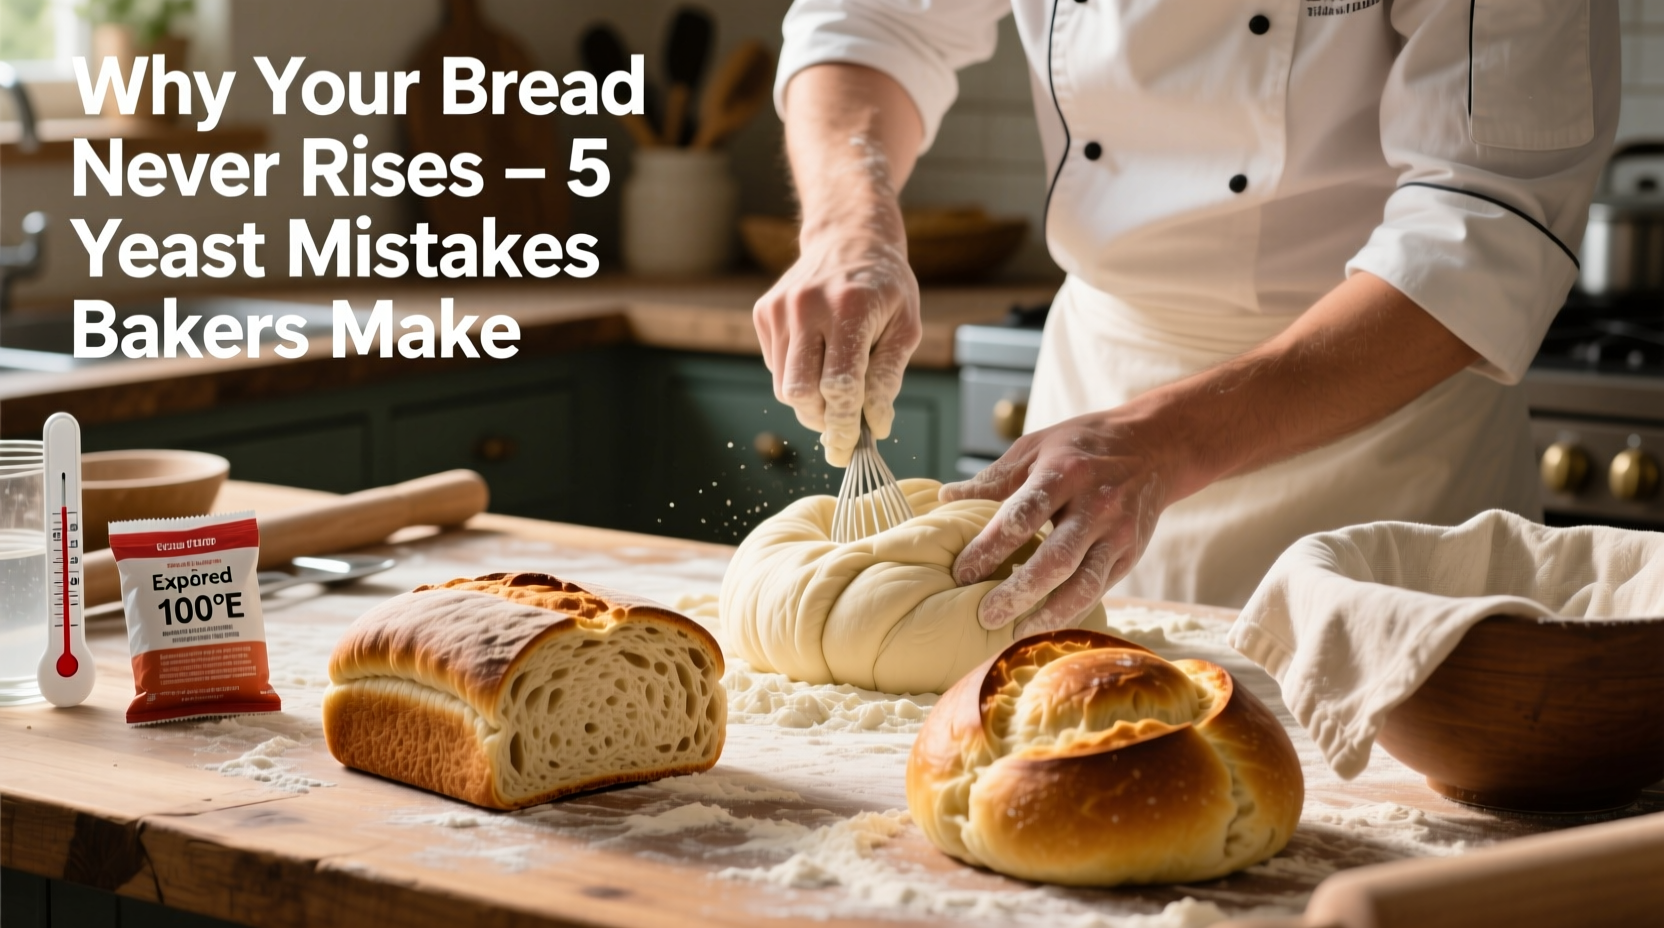
Yeast—specifically *Saccharomyces cerevisiae*—is a microscopic fungus that consumes sugars and produces carbon dioxide and alcohol as byproducts. In bread baking, it's the carbon dioxide that gets trapped in gluten networks, causing the dough to expand and rise. Without active yeast, there’s no gas production, and thus, no lift.
There are three main types of commercial yeast used in home baking:
- Active Dry Yeast: Granular, requires proofing (mixing with warm water and sugar) before use.
- Instant (Rapid-Rise) Yeast: Finer granules, can be mixed directly into flour without proofing.
- Fresh (Cake) Yeast: Moist block form, highly perishable, needs refrigeration.
Mistakes in storage, activation, or measurement can all compromise yeast activity. Even if the package says “active,” that doesn’t guarantee viability once opened or past its prime.
Tip: Always check the expiration date on yeast packages. Store unopened yeast in the freezer for up to a year; once opened, keep it in an airtight container in the refrigerator.Common Yeast Mistakes That Prevent Dough from Rising
1. Using Dead or Inactive Yeast
If your yeast is old, improperly stored, or exposed to extreme temperatures, it may be dead before it even hits the dough. This is one of the most frequent causes of failed rises.
To test yeast viability, perform a simple proof test: dissolve 1 teaspoon of sugar in ¼ cup of warm water (105°F–115°F). Sprinkle 2¼ teaspoons (one packet) of yeast over the surface. Wait 10 minutes. If the mixture foams and develops a yeasty aroma, the yeast is alive. If it remains still, it’s inactive—discard it.
2. Incorrect Water Temperature
Water that’s too hot kills yeast instantly. Water that’s too cold won’t activate it. The ideal range for activating active dry yeast is 105°F to 115°F. Instant yeast is more forgiving but still performs best within this window.
Using tap water straight from the faucet can be risky—many assume \"warm\" means comfortable to touch, but that’s often below 90°F, which is too cool for optimal activation.
“Temperature control is everything with yeast. It’s not just about warmth—it’s precision. One degree too high can kill half your culture.” — Dr. Laura Bennett, Food Microbiologist and Baking Science Researcher
3. Chlorinated or Treated Water
Municipal tap water often contains chlorine or chloramines, which can inhibit yeast growth. While small amounts usually don’t cause issues, sensitive bakers may notice sluggish fermentation.
Solution: Let tap water sit uncovered for 24 hours to allow chlorine to evaporate, or use filtered or bottled water.
4. Salt Added Too Early or in Excess
Salt strengthens gluten and enhances flavor, but it also slows yeast activity. When salt comes into direct contact with yeast before hydration, it can dehydrate and weaken the cells.
Avoid mixing salt and yeast directly in dry form. Instead, either dissolve yeast in water first or distribute salt on the opposite side of the bowl when combining ingredients.
5. Insufficient Proofing Time or Cold Environment
Dough needs warmth and time to rise. Many kitchens, especially in winter, are too cold for efficient fermentation. A dough left to rise on a countertop near a drafty window might take twice as long—or not rise at all.
Yeast thrives between 75°F and 80°F. Below 70°F, activity slows dramatically. Above 90°F, it risks overheating and dying off.
Tip: Create a DIY proofing box by placing your bowl of dough inside the oven with only the light turned on. The ambient heat creates a stable, warm environment.Troubleshooting Checklist: Why Your Bread Isn’t Rising
When your dough fails to rise, go through this systematic checklist to identify the issue:
- ✅ Is the yeast within its expiration date?
- ✅ Did you proof the yeast (if using active dry)? Was there foam after 10 minutes?
- ✅ Was the water between 105°F and 115°F?
- ✅ Was chlorinated water used? Try filtered water next time.
- ✅ Was salt mixed directly with dry yeast?
- ✅ Is your kitchen too cold? Consider warming the space or using a proofing trick.
- ✅ Did you give the dough enough time? Most recipes assume room temp ~75°F.
- ✅ Is your flour too old or bleached? Some processed flours have oxidizing agents that affect gluten development.
- ✅ Did you knead sufficiently? Under-kneading leads to weak structure unable to trap gas.
- ✅ Was the dough over-floured during shaping? Excess flour creates stiff, non-expansive dough.
Step-by-Step Guide to Reviving a Failed Rise
If your dough hasn’t risen after the expected time, don’t give up. Follow this recovery process:
- Assess the dough: Press a finger into it. If the indentation remains and slowly fills back, fermentation has started. If it springs right back, yeast may be inactive.
- Warm the environment: Move the bowl to a warmer spot—near a radiator, on top of the fridge, or inside a turned-off oven with a bowl of hot water placed on the rack below.
- Re-pitch fresh yeast: If no signs of life after 2 hours, dissolve ½ teaspoon of fresh instant yeast in 1 tablespoon of warm water with a pinch of sugar. Let sit 5–10 minutes until foamy, then mix gently into the dough.
- Knead lightly: Turn the dough out and knead briefly (1–2 minutes) to redistribute the new yeast and redevelop gluten.
- Cover and wait: Return to a warm place and allow 60–90 minutes for a rise. Monitor closely.
This method has saved countless loaves. While the texture might not be perfect, it will be edible and far better than a dense doorstop.
Do’s and Don’ts of Yeast Handling
| Do’s | Don’ts |
|---|---|
| Store yeast in the freezer (unopened) or fridge (opened) | Leave yeast at room temperature for weeks |
| Proof active dry yeast before use | Assume all yeast is ready to use straight from the jar |
| Use a thermometer to check water temperature | Guess water warmth by hand—too unreliable |
| Add salt after yeast is hydrated | Mix salt and dry yeast together before adding liquid |
| Allow extra rise time in cold kitchens | Abandon dough too early—sometimes rise takes 3+ hours |
Real Example: Sarah’s Sourdough Struggle
Sarah had been trying to bake artisan sourdough for months. Her starter bubbled nicely, she followed YouTube tutorials meticulously, yet her loaves came out dense and gummy. Frustrated, she posted in a baking forum asking, “Why does my bread never rise?”
After reviewing her process, another baker noticed a key detail: Sarah lived in a basement apartment where the ambient temperature rarely rose above 68°F. She was letting her dough rise for the standard 2 hours—but in that cold environment, fermentation barely began.
She tried placing the bowl near a space heater, then switched to using her oven with just the light on. The difference was dramatic. Her third attempt produced a loaf with open crumb and a crisp crust. The problem wasn’t her technique—it was the temperature.
Now, she uses a small digital thermometer to monitor her proofing space and adjusts timing accordingly. Her bread has improved so much she started selling slices at a local farmers’ market.
Frequently Asked Questions
Can I substitute instant yeast for active dry?
Yes, but adjust hydration. Use the same quantity (2¼ tsp), but since instant yeast doesn’t need pre-dissolving, add it directly to the flour. You may reduce liquid slightly (by 1–2 tbsp) as active dry absorbs more water during proofing.
My dough rose once but collapsed during shaping—what went wrong?
This typically means the first rise went too long. Over-proofed dough loses structural integrity. The gas bubbles grow too large and burst, causing collapse. Stick to recommended times and use the “poke test”: gently press the dough—if it slowly springs back, it’s ready. If it leaves a dent, it’s over-proofed.
Is it safe to eat bread that didn’t rise?
Yes, if baked. It won’t have the airy texture of proper bread, but it’s safe to eat. Think of it as a dense flatbread. You can slice and toast it or repurpose it into croutons or breadcrumbs.
Mastering the Rise: Final Thoughts
Bread that won’t rise is rarely a reflection of your skill—it’s usually a small, correctable error in yeast management. Whether it’s expired yeast, cold water, or a chilly kitchen, each mistake has a straightforward fix. The key is patience, attention to detail, and understanding that yeast isn’t just an ingredient; it’s a partner in the baking process.
Once you learn to read the signs—foam in the proofing bowl, a smooth and elastic dough, a gentle spring under your fingertip—you’ll gain confidence. You’ll stop fearing failure and start anticipating success. And when that first golden loaf emerges from the oven, puffed and crackling, you’ll know exactly why it worked.
🚀 Ready to bake better bread? Test your yeast tonight, control your temperatures tomorrow, and share your first successful rise in the comments—we’d love to celebrate with you!