
Baking bread at home should be a rewarding experience—golden crust, soft crumb, and that unmistakable aroma filling the kitchen. But when your dough refuses to rise, it’s more than disappointing; it can feel like a mystery you can’t solve. The truth is, failed dough is rarely about bad luck. It’s usually one or more preventable issues related to yeast health, temperature, ingredients, or technique. Understanding these factors—and how to correct them—can transform your baking from frustrating to flawless in just one loaf.
Understanding Yeast: The Engine of Bread Rise
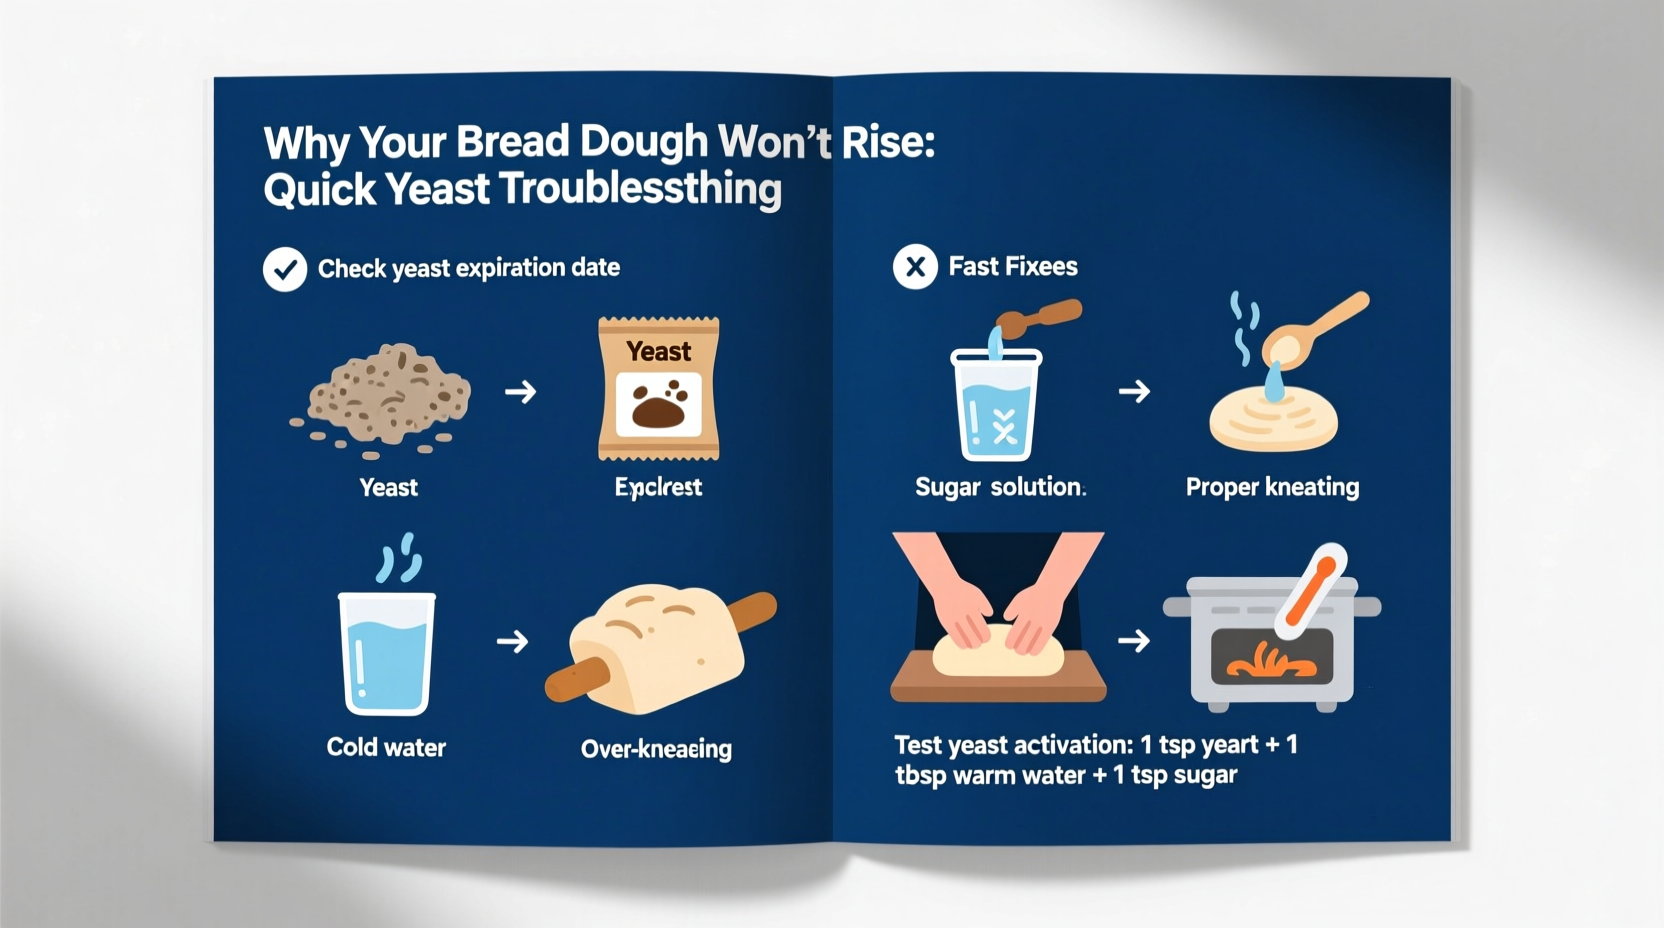
Yeast is a living microorganism that consumes sugars in flour and produces carbon dioxide gas and alcohol as byproducts—a process known as fermentation. This gas gets trapped in the gluten network of the dough, causing it to expand and rise. Without active yeast, there's no gas, and without gas, there’s no rise.
There are two main types of commercial yeast used in home baking:
- Active Dry Yeast: Requires rehydration in warm water before use (typically 105–110°F).
- Instant (Rapid-Rise) Yeast: Can be mixed directly into dry ingredients and doesn’t require proofing.
Mistakes in handling either type can lead to poor performance. For example, exposing yeast to water that’s too hot kills it instantly. Water below 95°F may not activate it effectively, especially active dry yeast.
“Yeast is alive. Treat it like a pet—feed it properly, keep it warm but not hot, and give it time to do its job.” — Dr. Linda Miller, Food Microbiologist and Baking Science ResearcherTip: Always check the expiration date on your yeast package. Old yeast loses potency over time, even if stored correctly.
Common Reasons Why Dough Won’t Rise (And How to Fix Them)
1. Dead or Inactive Yeast
This is the most frequent culprit. Yeast can die due to age, improper storage, or exposure to extreme temperatures. To test if your yeast is still viable, perform a “proof test”:
- Mix 1/4 cup warm water (105–110°F), 1 teaspoon sugar, and 2 1/4 teaspoons of yeast.
- Let sit for 10 minutes.
- If the mixture bubbles and develops a foamy head, the yeast is alive. If not, it’s dead—discard and buy fresh.
2. Incorrect Water Temperature
Water that’s too cold won’t activate yeast; water above 130°F will kill it. Use a thermometer for accuracy. If you don’t have one, test by touch: the water should feel warm, like baby formula—not hot.
3. Cold Environment
Dough needs warmth to rise. A chilly kitchen or drafty counter slows fermentation dramatically. Ideal rising temperature is between 75–80°F. In colder homes, find a warmer spot—near the oven, on top of the fridge, or inside a turned-off oven with the light on.
4. Too Much Salt or Sugar
Salt controls yeast activity. Too much salt added directly to yeast can inhibit or kill it. Always mix salt with flour first, then add yeast separately. Conversely, high-sugar recipes (like brioche or cinnamon rolls) require osmotolerant yeast, which handles sugar better. Regular yeast struggles in sweet doughs.
5. Poor-Quality or Low-Protein Flour
Flour provides food (starch converted to sugar) for yeast and structure (gluten) to hold gas. Cake flour or low-protein all-purpose flour may lack sufficient gluten strength. Stick to bread flour for best rise and structure.
6. Over-Flouring the Dough
Adding too much flour during kneading makes dough stiff and dense, restricting expansion. Measure flour accurately using the spoon-and-level method or a kitchen scale. One extra 1/4 cup can ruin the hydration balance.
| Issue | Symptom | Solution |
|---|---|---|
| Dead yeast | No bubbles, no rise after hours | Proof yeast before use; store in freezer |
| Cold room | Slow or no rise, dough feels tight | Rise in warm oven or near heat source |
| Too much salt | Flat dough, weak fermentation | Mix salt with flour first |
| Old flour | Poor rise, weak gluten development | Use fresh flour, store in airtight container |
| Over-floured dough | Dense, hard to rise, tough texture | Measure flour precisely; avoid excess dusting |
Step-by-Step Guide to Rescue and Prevent Failed Dough
If your dough hasn’t risen, don’t throw it out immediately. Follow this timeline to diagnose and possibly save it:
- Wait Patiently (0–2 Hours): Don’t panic if dough hasn’t doubled in 30 minutes. Most lean doughs need 1.5 to 2 hours to rise fully. Give it time.
- Check Temperature: Is the room below 70°F? Move the bowl to a warmer location.
- Test Yeast Activity: Scoop a small piece of dough and place it in a cup of warm water. If it floats after 10 minutes, yeast is active and rising may still occur.
- Warm It Up: Place the bowl in a turned-off oven with a pan of boiling water on the rack below. Close the door. The steam and heat create an ideal proofing environment.
- Add Fresh Yeast (If Needed): If after 2 hours there’s zero rise and yeast test fails, dissolve 1 teaspoon of fresh yeast in 2 tablespoons of warm water with a pinch of sugar. Knead it into the dough and restart the rise.
- Refrigerate for Slow Fermentation: If time allows, place the dough in the fridge overnight. Cold fermentation often rescues sluggish dough and enhances flavor.
Real Example: Sarah’s Sourdough Struggle
Sarah had been trying to bake sourdough for months. Her starter bubbled nicely, but her loaves came out dense and flat. She followed recipes exactly, yet nothing worked. After tracking her process, she realized two things: her kitchen was only 64°F in winter, and she was using table salt directly mixed with her starter.
She made two changes: first, she began rising her dough inside the oven with the light on (raising ambient temperature to 78°F). Second, she started mixing salt into the flour before adding the starter. On her next attempt, the dough rose beautifully and baked into a light, airy loaf with a crisp crust. The issue wasn’t her skill—it was environmental control and ingredient timing.
Expert-Backed Checklist for Foolproof Rising
Follow this checklist every time you bake to ensure optimal conditions for yeast activity:
- ✅ Check yeast expiration date
- ✅ Proof yeast in warm water (105–110°F) if using active dry
- ✅ Use a thermometer to verify water temperature
- ✅ Mix salt with flour—never directly with yeast
- ✅ Use bread flour for better gluten development
- ✅ Measure flour accurately (spoon & level or weigh)
- ✅ Knead until smooth and elastic (windowpane test)
- ✅ Cover dough to prevent drying
- ✅ Rise in a warm, draft-free area (75–80°F)
- ✅ Allow sufficient time—don’t rush the rise
“The biggest mistake home bakers make is underestimating the importance of temperature. Yeast thrives in a narrow range. Get that right, and half your problems disappear.” — Chef Rafael Torres, Artisan Bread Instructor
Frequently Asked Questions
Can I use expired yeast?
Sometimes—but with caution. Expired yeast may still have partial activity. Always perform a proof test. If it foams, you can use it, but expect slower rising. For best results, replace yeast every 6 months if stored in the fridge, or yearly if kept in the freezer.
Why did my dough rise but collapse when I shaped it?
This usually means the dough overproofed. Overfermentation weakens the gluten structure, causing it to deflate when handled. Stick to recommended rise times and use visual cues: dough should double in size and spring back slowly when poked. If it doesn’t spring back at all, it’s overdone.
Can I freeze yeast?
Yes. Unopened yeast can be stored in the freezer for up to a year. Once opened, transfer to an airtight container or resealable bag and freeze. Let it come to room temperature before use to avoid condensation.
Final Tips for Consistent Success
Successful bread baking hinges on consistency and attention to detail. Start by mastering one simple recipe—like a basic white loaf—before advancing to complex variations. Keep notes on rise times, room temperature, and results. Over time, you’ll develop intuition for how your dough should look and feel at each stage.
Invest in a few key tools: a digital thermometer for water, a kitchen scale for precise measurements, and a clear plastic bowl with measurement markings to monitor rise volume. These small upgrades eliminate guesswork and dramatically improve outcomes.
Remember, even professional bakers have off days. A failed loaf isn’t a failure—it’s data. Each one teaches you something about your kitchen environment, ingredients, and process.
💬 Have a dough disaster story or a rising hack that saved your loaf? Share it in the comments below—your tip could help someone finally bake their perfect bread!