
There’s nothing more disappointing than pulling a tray of cookies from the oven only to find they’ve melted into one flat, greasy sheet. You followed the recipe exactly—so what went wrong? Cookie spread is one of the most common baking frustrations, but it’s also one of the most fixable. Behind every perfectly domed chocolate chip cookie lies a careful balance of ingredients, temperature, and technique. Professional pastry chefs know the subtle details that home bakers often miss. By understanding the science behind cookie spread and applying expert-backed adjustments, you can transform your baking results for good.
The Science Behind Cookie Spread
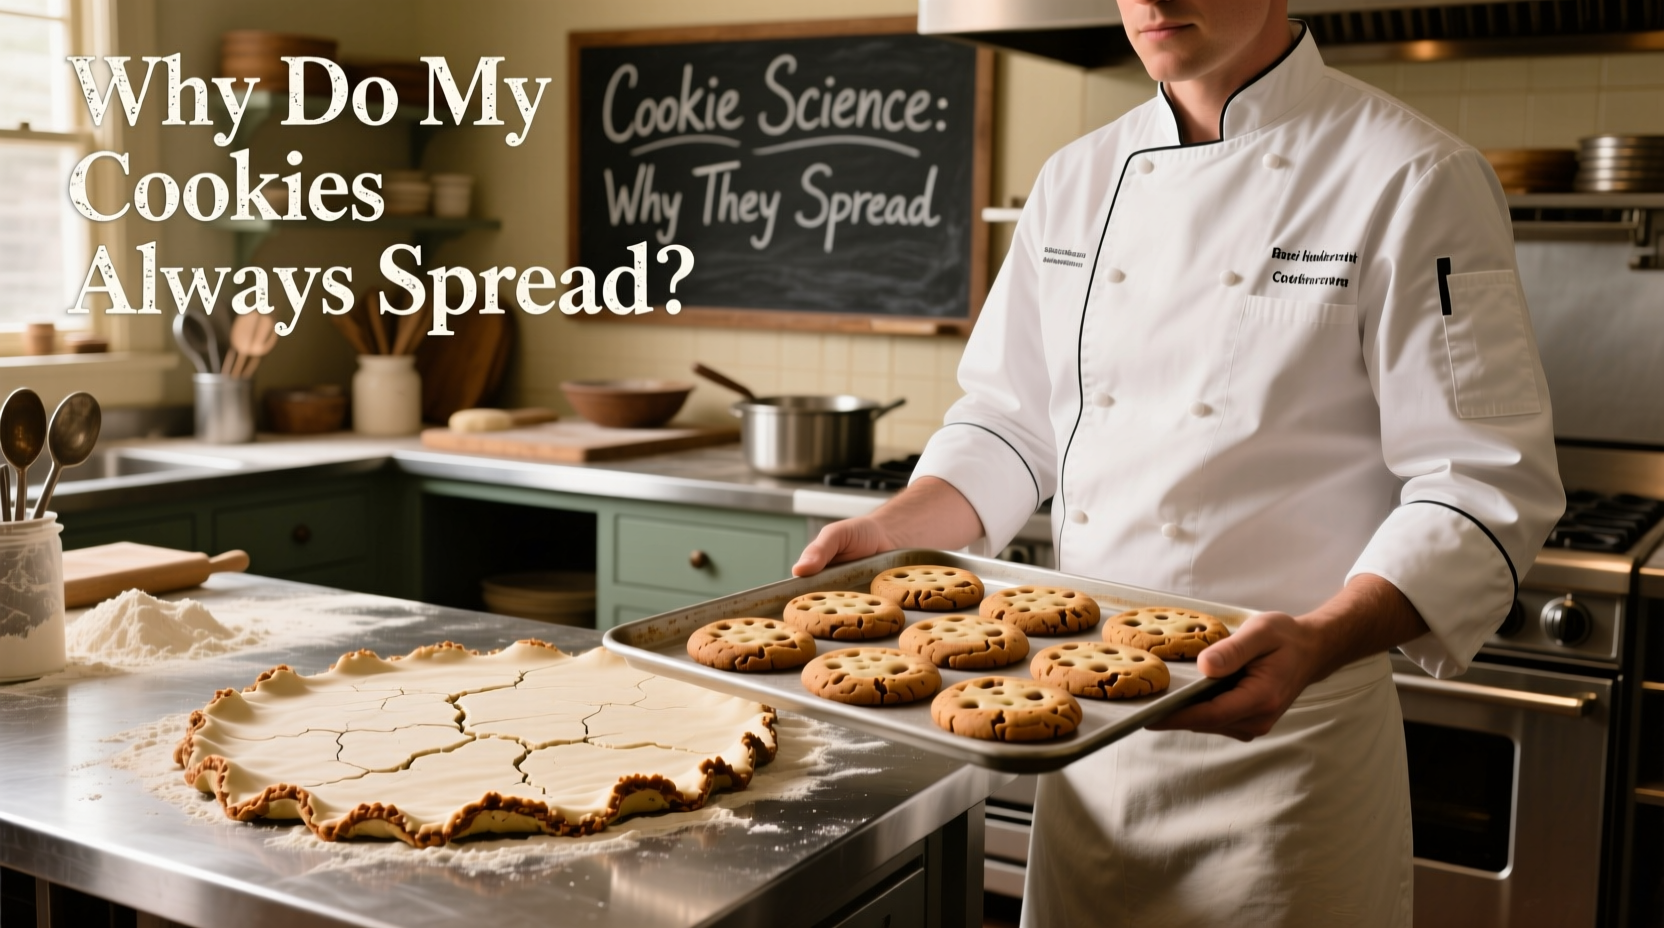
Cookies spread when the fat in the dough melts faster than the structure can set. This happens due to a combination of ingredient ratios, oven dynamics, and preparation methods. While some spread is normal—especially in chewy or thin styles—excessive spreading leads to burnt edges, uneven thickness, and loss of shape.
Fat plays a central role. Butter, the most common fat in cookie recipes, begins melting at around 90°F (32°C). If your kitchen is warm or the butter was too soft before mixing, the dough starts melting even before it hits the oven. Meanwhile, leavening agents like baking soda or powder create air bubbles that expand under heat, pushing the dough outward if there isn’t enough flour or egg to provide structural integrity.
Flour provides gluten and starch, both of which absorb moisture and help hold the cookie’s shape. Too little flour, or using a low-protein variety like cake flour without adjusting, can result in fragile dough that spreads uncontrollably. Eggs add protein and moisture; yolks enrich while whites contribute to structure. Skipping eggs or using substitutes without recalculating ratios can also lead to collapse.
“The moment butter hits its melting point, the clock starts ticking on spread. Your job as a baker is to control that timeline through temperature, formulation, and timing.” — Chef Lydia Chen, Executive Pastry Chef, The Brioche Table
Common Causes of Excessive Spread (And How to Fix Them)
Even experienced bakers fall into traps that cause unwanted spread. Below are the top culprits and their solutions:
1. Butter Temperature Is Too High
Using melted or overly soft butter accelerates spread because the fat liquefies too early. Room-temperature butter should be cool to the touch, leaving a slight indentation when pressed—not greasy or shiny.
Tip: Chill your mixing bowl and paddle attachment in the freezer for 10 minutes before creaming butter and sugar. This helps maintain optimal temperature during mixing.2. Insufficient Flour or Incorrect Measurement
Under-measuring flour is a frequent issue. Scooping flour directly from the bag compacts it, leading to inconsistent volumes. Always spoon flour into your measuring cup and level it off with a knife—or better yet, use a kitchen scale.
| Flour Measurement Method | Average Weight (per cup) | Impact on Cookies |
|---|---|---|
| Scooped from bag | 140–150g | Dry, crumbly cookies |
| Spoon & level | 120–125g | Balanced texture |
| Kitchen scale (recommended) | 120g | Precise, repeatable results |
3. Oven Temperature Is Off
An oven that runs too cool allows butter to melt slowly without setting the structure. Preheat thoroughly and verify temperature with an oven thermometer. Most cookie recipes rely on an initial burst of heat to begin surface setting within the first few minutes.
4. Dough Was Not Chilled
Chilling dough for at least 30 minutes—and ideally 1–2 hours—solidifies the butter, delaying melt and giving proteins and starches time to hydrate. For best results, portion dough before chilling so it goes into the oven cold.
5. Leavening Agents Are Old or Misused
Baking soda and powder lose potency over time. Test baking soda by mixing ¼ tsp with vinegar—if it doesn’t fizz vigorously, replace it. Overuse causes rapid rise and collapse, contributing to outward spread instead of upward lift.
Pro Techniques from Pastry Kitchens
Professional bakers use several advanced strategies to ensure consistent, controlled spread. These aren't shortcuts—they're refinements born from years of testing.
Use a Higher-Protein Flour
All-purpose flour (around 10–12% protein) works well, but some chefs blend in bread flour (12–14%) for added structure. One New York bakery uses a 70/30 mix of all-purpose and bread flour to support thick, bakery-style cookies without dryness.
Add Cornstarch for Softness and Stability
Many restaurant recipes include 1–2 tablespoons of cornstarch per cup of flour. Cornstarch inhibits gluten development while adding tenderness and reducing spread. It creates that signature melt-in-the-mouth texture without compromising shape.
Replace Some Butter With Shortening
Shortening has a higher melting point than butter, so it holds shape longer in the oven. Substituting 25–50% of butter with vegetable shortening reduces spread while maintaining flavor. Use this method for cut-out sugar cookies or delicate shapes.
Bake on Parchment-Lined, Heavy-Gauge Baking Sheets
Thin, dark pans heat quickly and unevenly, promoting hot spots and premature spread. Opt for light-colored, heavy aluminum sheets. Line them with parchment paper or silicone mats to prevent sticking and ensure even browning.
Rotate the Pan Mid-Bake
Ovens have temperature gradients. Rotate the baking sheet 180 degrees halfway through baking to promote even cooking and prevent one side from spreading more than the other.
Step-by-Step Guide to Prevent Cookie Spread
Follow this sequence to dramatically improve your cookie outcomes:
- Weigh Ingredients: Use a digital scale for flour, sugar, and butter. Precision prevents imbalances.
- Cream Butter Correctly: Beat room-temperature butter and sugar until light and fluffy (about 2–3 minutes), but don’t overdo it. Excess air incorporation can destabilize structure.
- Add Dry Ingredients Gradually: Mix flour, leavening, and salt in a separate bowl. Add in two additions, mixing just until combined to avoid overdeveloping gluten.
- Chill the Dough: Cover and refrigerate for at least 1 hour. This step is non-negotiable for thick, bakery-style cookies.
- Preheat Oven Accurately: Allow 20 minutes for full preheat. Place an oven thermometer inside to confirm accuracy.
- Portion Cold Dough: Use a scoop to place chilled dough balls on the baking sheet. Don’t let them sit out before baking.
- Bake Immediately: Put the tray straight into the oven. Delaying causes warming and early fat melt.
- Cool on Sheet Briefly: Let cookies rest on the baking sheet for 5 minutes after removal. This allows them to finish setting before transfer.
Mini Case Study: From Flat Flops to Bakery Favorites
Sarah, a home baker in Portland, struggled for years with her chocolate chip cookies turning into thin, crispy disks. She followed a popular online recipe to the letter but couldn’t replicate the plump, chewy results. After tracking her process, she identified three key issues: she scooped flour directly from the bag (adding ~20% more than intended), used butter straight from the microwave (partially melted), and skipped chilling because “the recipe didn’t mention it.”
She revised her method: weighing flour, using cool room-temp butter, chilling dough for 90 minutes, and verifying her oven temperature. The next batch held their shape beautifully—thick, soft-centered, and golden-brown. Sarah now shares her improved recipe with friends and says, “It wasn’t the recipe that was broken—it was how I executed it.”
Checklist: Stop Cookie Spread Before It Starts
- ✅ Weigh flour or use the spoon-and-level method
- ✅ Use butter that’s cool to the touch (65–68°F)
- ✅ Cream butter and sugar just until fluffy—no longer
- ✅ Include a pinch more flour if humidity is high
- ✅ Chill dough for minimum 1 hour (overnight is better)
- ✅ Preheat oven fully and verify with thermometer
- ✅ Bake on light-colored, heavy baking sheets
- ✅ Freeze dough balls for 10–15 minutes before baking
- ✅ Avoid opening the oven door during the first 8 minutes
- ✅ Cool cookies on the pan for 5 minutes before moving
FAQ: Common Questions About Cookie Spread
Can I rescue dough that’s already too soft?
Yes. If your dough feels greasy or warm, cover and chill it for at least 30 minutes—or freeze portioned balls for 15 minutes. This resets the fat temperature and improves structure.
Why do my cookies spread more on the second tray?
The dough left on the counter warms up while the first batch bakes. Always keep unused dough refrigerated. Also, allow your baking sheet to cool between batches—placing dough on a hot pan starts melting immediately.
Does altitude affect cookie spread?
Yes. At higher elevations, lower atmospheric pressure causes liquids to evaporate faster and leavening gases to expand more. Reduce baking powder/soda by 10–15%, increase flour slightly (1–2 tbsp per cup), and chill dough longer to compensate.
Mastery Starts with Small Adjustments
Perfect cookies aren’t magic—they’re method. The difference between a puddle and a perfect puff lies in attention to detail: temperature control, accurate measurement, and respect for the dough’s need to rest. Pastry chefs treat baking as both art and science, knowing that tiny changes yield dramatic improvements. You don’t need fancy equipment or years of training—just consistency and curiosity.
Start with one adjustment at a time. Try weighing your flour this week. Next time, chill the dough overnight. Then experiment with cornstarch or a flour blend. Each test brings you closer to the cookie you’ve been chasing. And when you finally pull a tray of golden, perfectly shaped cookies from the oven, you’ll taste not just sweetness—but satisfaction.
💬 What’s your biggest cookie challenge? Share your story or favorite tip in the comments—let’s bake better together.