Chili is more than a dish—it’s a culinary conversation between heat, depth, texture, and tradition. Whether simmered in a cast-iron pot or slow-cooked over hours, a great bowl of chili balances smokiness, spice, and savory richness. Yet even experienced home cooks can struggle with common pitfalls: inconsistent texture, overwhelming heat, or flat flavor profiles. The secret to perfection lies not in a single ingredient but in mastering technique, understanding ingredients, and learning how to manipulate heat at every stage. This guide delivers professional insights into building layers of flavor, controlling spice levels, choosing the right meat or plant-based alternative, and achieving the ideal consistency—so you can create a chili that’s deeply aromatic, perfectly balanced, and memorable every time.
Definition & Overview
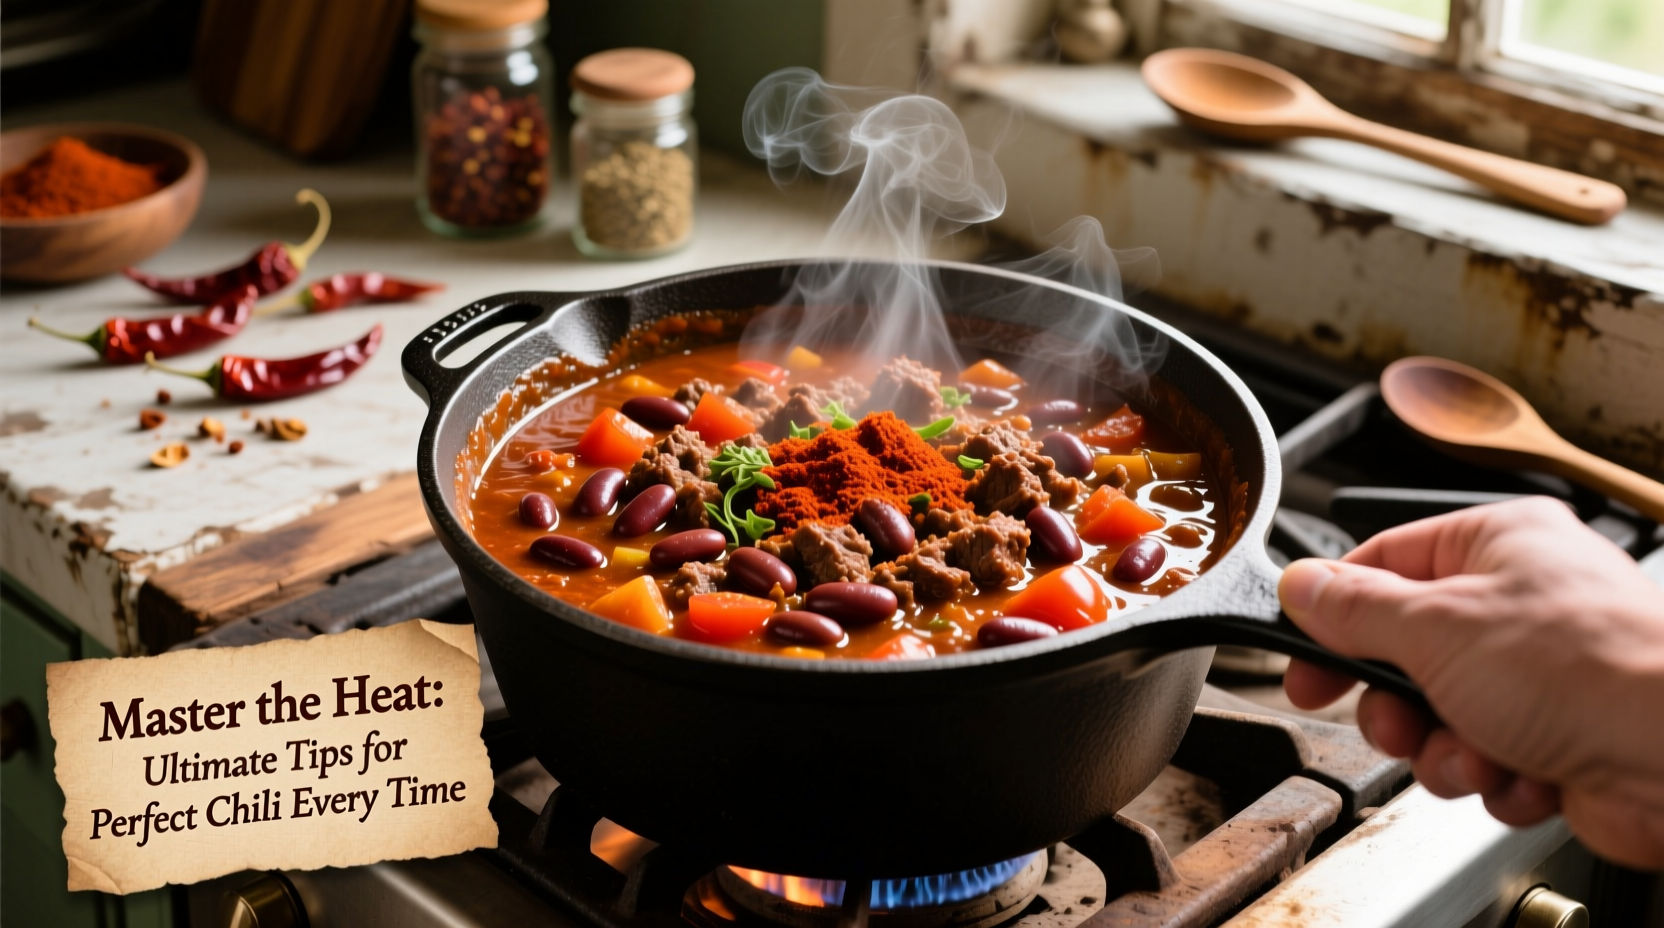
Chili, short for “chili con carne” (chili with meat), is a stew-like dish originating from South Texas and northern Mexico, traditionally made with chili peppers, meat (usually beef), beans, onions, garlic, and spices. Over time, regional variations have expanded its definition to include vegetarian versions, white chili with chicken and green chiles, Cincinnati-style with cinnamon and chocolate, and even dessert-inspired takes. At its core, chili is about slow extraction of flavor through prolonged cooking, allowing proteins, fats, and spices to meld into a unified, hearty whole.
The foundation of any chili rests on three pillars: heat source (from dried or fresh chiles), umami-rich protein, and aromatic base (onion, garlic, celery, sometimes bell pepper). Unlike soups or quick stews, chili thrives on low-and-slow development, where collagen breaks down into gelatin, thickening the broth naturally while deepening mouthfeel. It is both comfort food and a test kitchen for flavor science—balancing acidity, sweetness, bitterness, salt, and heat in harmony.
Key Characteristics of Great Chili
What separates an average chili from an exceptional one? The answer lies in specific sensory and structural qualities:
- Flavor Profile: Complex, layered, with a balance of earthy, smoky, spicy, and slightly sweet notes.
- Heat Level: Adjustable but integrated—not sharp or one-dimensional. Heat should build gradually, not shock.
- Aroma: Deeply savory with toasted spices, roasted garlic, and charred chile notes.
- Color: Rich, brick-red to mahogany, depending on chile types used; never pale or washed out.
- Texture: Thick but not pasty; meat tender enough to pull apart with a spoon; beans intact but soft.
- Culinary Function: Served as a main course, topping for hot dogs or nachos, filling for tacos, or base for casseroles.
- Shelf Life: Improves over 1–3 days; freezes well for up to 3 months due to stable fat emulsion and low water activity.
Pro Tip: Let your chili rest overnight. Flavor compounds continue to meld during refrigeration, resulting in deeper, more rounded taste by day two.
Practical Usage: Building Flavor from the Ground Up
Creating perfect chili isn’t about following a rigid recipe—it’s about understanding process. Here’s how to build flavor systematically:
1. Choose Your Protein Strategically
While ground beef is traditional, the cut matters more than the form. Opt for chuck roast, brisket trimmings, or short ribs—cuts high in marbling and connective tissue. These break down slowly, releasing gelatin that enriches body and mouthfeel. For leaner options, combine 80/20 ground beef with diced stew meat for complexity.
Vegetarian versions rely on mushrooms (shiitake, cremini), lentils, black beans, or textured vegetable protein (TVP) to mimic meatiness. Roast mushrooms first to intensify umami before adding them to the pot.
2. Bloom Spices in Fat
This is non-negotiable. After browning meat and removing excess grease (leaving ~2 tablespoons), add ground spices—chili powder, cumin, smoked paprika, oregano—to the hot fat and cook for 30–60 seconds. This “blooms” volatile oils, unlocking deeper aroma and eliminating raw spice bitterness.
“Spices are dormant until they meet fat and heat. Blooming transforms them from background notes to lead instruments.” — Chef Elena Ruiz, Austin Chili Collective
3. Use Dried Chiles for Authentic Depth
Store-bought chili powder varies wildly in quality and blend. For superior control, toast and rehydrate whole dried chiles: guajillo (tangy, medium heat), ancho (fruity, mild), pasilla (earthy, raisin-like), or chipotle (smoky, spicy).
To prepare: Remove stems and seeds, toast lightly in a dry skillet until fragrant (~30 seconds per side), then soak in hot water for 20 minutes. Blend into a smooth paste with soaking liquid and use as the primary seasoning base—replacing or enhancing commercial chili powder.
4. Layer Liquids Thoughtfully
Use a combination of liquids to build dimension:
- Beef stock: Adds savory depth (preferably house-made or low-sodium).
- Beer: Dark lager or stout contributes malty sweetness and helps tenderize meat.
- Tomato product: Crushed tomatoes > tomato paste > diced cans. Paste should be browned in fat first to reduce acidity.
- Coffee or espresso: A tablespoon enhances bitterness and amplifies dark flavors without tasting like coffee.
5. Control Acidity and Sweetness
Chili often skews acidic due to tomatoes and chiles. Counterbalance with natural sweetness: grated carrot, finely minced sweet potato, or a teaspoon of dark brown sugar. Apple cider vinegar (¼ tsp) added at the end brightens dull notes without making the dish sour.
6. Simmer Low and Slow
Maintain a bare simmer—small bubbles breaking the surface once every few seconds—for at least 90 minutes, ideally 3 hours. Stir occasionally to prevent scorching. Do not rush with high heat; it will toughen meat and separate flavors.
7. Finish with Umami Boosters
In the final 15 minutes, stir in one or more of:
- Worcestershire sauce (fermented tang)
- Fish sauce (adds invisible depth—start with ½ tsp)
- Grated dark chocolate (70% cocoa, 1 tsp)
- Soy sauce or tamari (for gluten-free option)
Action Step: Taste every 30 minutes after the first hour. Adjust salt, acid, heat, and sweetness incrementally. Keep a small bowl of toppings nearby (shredded cheese, chopped onion, cilantro) to test balance against garnishes.
Variants & Types of Chili
Chili has evolved into numerous regional and cultural expressions. Knowing these types helps tailor your approach based on occasion, preference, and dietary needs.
| Type | Key Features | Best Used For |
|---|---|---|
| Texas Red (No Beans) | Meat-only, rich beef stock, heavy on dried chiles, no beans allowed | Competitions, purist settings, pairing with cornbread |
| Cincinnati Chili | Spiced with cinnamon, cloves, allspice; served over spaghetti; optional cheese, onions, beans (3-way, 4-way, 5-way) | Diner-style meals, crowd-pleasing novelty |
| White Chili | Chicken or turkey, white beans, green chiles, minimal red spice, uses cumin and coriander | Lighter winter meals, gluten-free diets |
| Vegetarian/Vegan Chili | Lentils, mushrooms, quinoa, black beans; relies on smoked paprika or liquid smoke for depth | Plant-based diets, health-conscious eaters |
| Carolina Gold | Mustard-based, uses yellow or stone-ground mustard, turmeric for color, pork or beef | Southern barbecue sides, sandwich filling |
Comparison with Similar Ingredients
Chili is often confused with other spicy stews or sauces. Understanding distinctions prevents misuse and improves results.
| Ingredient | Difference from Chili | When to Use Instead |
|---|---|---|
| Chili Sauce (e.g., Heinz) | Sweet, ketchup-like condiment; lacks body and layered heat | Burgers, sandwiches—not for simmering stews |
| Hot Sauce (e.g., Tabasco, Sriracha) | Vinegar-forward, thin consistency, immediate heat spike | Finishing touch, marinades—not base flavor |
| Picadillo | Cuban/Mexican ground meat dish with olives, raisins, cumin; more fruit-forward | Tacos, empanadas—not soup applications |
| Ragù | Italian slow-cooked meat sauce; uses tomatoes, wine, herbs like rosemary; no chili powder | Pasta dishes, lasagna—not Tex-Mex context |
| Pozole | Mexican hominy stew; uses nixtamalized corn, lettuce, radish, lime; distinct herbal profile | Festive meals, ceremonial serving—not spice-driven |
Practical Tips & FAQs
How do I control the heat level in chili?
Start mild and build. Use mostly mild chiles (ancho, guajillo) and add heat incrementally with hotter ones (cayenne, arbol, chipotle). Remove seeds and membranes from fresh jalapeños or serranos to reduce capsaicin load. Offer hot sauce on the side for customization.
Can I make chili in a slow cooker or Instant Pot?
Yes—but adapt technique. For slow cookers: Brown meat and bloom spices first, then transfer to crock. Cook on low 6–8 hours. For Instant Pot: Use Sauté mode for browning, then pressure cook 35 minutes with natural release. Both methods work well, but stovetop allows finer control over reduction and flavor adjustment.
Should I include beans?
This is cultural. Traditional Texas chili excludes beans to highlight meat and chile flavor. Elsewhere, pinto, kidney, or black beans add fiber, texture, and economy. If using beans, add canned (drained) in the last 30 minutes to prevent mushiness. For dried beans, cook separately and add later.
How do I fix a chili that’s too spicy?
Add dairy (sour cream, cheese), starch (cornmeal, rice), sweetness (honey, sugar), or dilute with extra stock or tomatoes. A splash of cream or coconut milk cools heat effectively. Avoid water—it spreads capsaicin rather than neutralizing it.
What’s the best way to store and reheat chili?
Cool within two hours, store in airtight containers for up to 4 days in the fridge. Freeze in portion-sized containers for up to 3 months. Reheat gently over medium-low heat, stirring frequently. Add a splash of water or stock if too thick.
Is chili healthier than other stews?
It can be. Lean proteins, beans, vegetables, and antioxidant-rich chiles make chili nutritionally dense. Capsaicin may boost metabolism and reduce inflammation. Limit sodium by using low-salt broths and controlling added salt. Serve with Greek yogurt instead of sour cream for higher protein.
What are common mistakes to avoid?
- Skipping the sear: Meat must be browned properly to develop fond (browned bits), which forms flavor base.
- Overloading spices: More isn’t better. Measure ground spices; excess cumin or chili powder turns bitter.
- Adding cold ingredients: Cold beans or tomatoes lower temperature abruptly, halting flavor integration.
- Stirring too much: Excessive stirring breaks down beans and meat, leading to mush.
- Serving too soon: Rushing means underdeveloped flavor. Minimum 90-minute simmer required.
Checklist: Before Serving Your Chili
- ✅ Has it simmered at least 90 minutes?
- ✅ Is the meat fork-tender?
- ✅ Does it coat the back of a spoon?
- ✅ Have you adjusted salt, acid, heat, and sweetness?
- ✅ Are toppings prepared (cheese, onion, cilantro, lime)?
Summary & Key Takeaways
Perfect chili is not accidental—it’s engineered through disciplined technique and ingredient awareness. Mastery begins with selecting the right protein and building layers: sear meat, bloom spices, incorporate real chile paste, balance liquids, and finish with umami enhancers. Respect the simmer; time transforms harsh edges into harmony. Understand regional styles to match context and audience. And always, always taste as you go.
Whether feeding a family on a cold night or entering a cook-off, these principles ensure consistent excellence. Chili rewards patience, curiosity, and attention. When done right, it becomes more than food—it becomes memory.
Now that you’ve mastered the fundamentals, experiment: try a smoked brisket chili with espresso and dark chocolate, or a vegan version with tempeh and chipotle adobo. Share your creation—and what you learned—with someone who appreciates good food.