When the sun climbs high and guests gather on patios, lawns, or beaches, keeping beverages refreshingly cold becomes both a comfort necessity and a logistical challenge. Power outlets are rarely available where you need them most—under shade sails, beside fire pits, or at lakeside picnic tables. Yet relying solely on standard coolers and ice often leads to lukewarm sodas by mid-afternoon and tepid beer after two hours. The truth is: not all “cold retention” is created equal. Success hinges less on how much ice you use and more on *how* you manage thermal transfer, phase change, airflow, and timing. This guide distills field-tested strategies used by caterers, festival vendors, and backyard entertainers who routinely host 4–8 hour outdoor events—without generators, refrigeration units, or grid access.
Why Standard Coolers Fail (and What Actually Works)
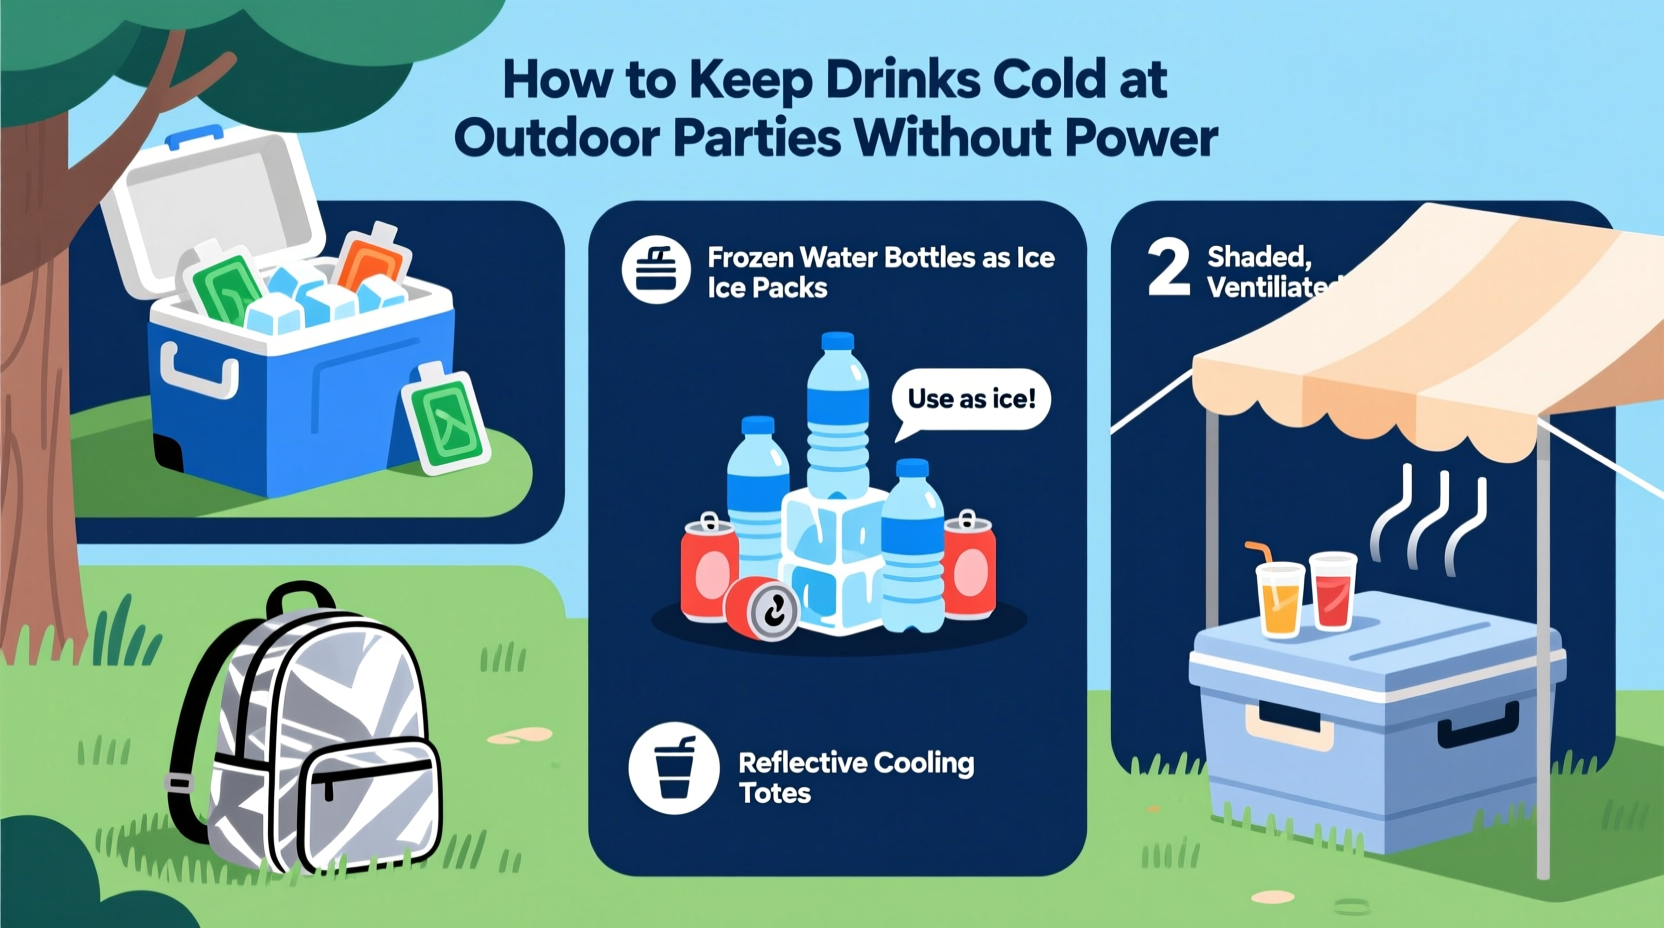
Most people assume that filling a cooler with ice guarantees cold drinks for hours. In reality, conventional coolers lose up to 30% of their cooling capacity within the first 90 minutes—not because the ice melts too fast, but because of three overlooked thermal culprits: radiant heat from direct sunlight, conductive heat from warm ambient air entering through frequent lid openings, and convective heat transfer as warm air circulates inside the cooler when it’s opened. A study published in the International Journal of Refrigeration found that a standard 70-quart cooler exposed to 85°F (29°C) ambient temperature and direct sun retained ice for only 22 hours—but when shaded, pre-chilled, and minimally opened, that same cooler preserved sub-40°F internal temps for over 48 hours.
The key insight isn’t just “use more ice.” It’s about creating layered thermal defense: blocking external heat input, slowing internal heat gain, and maximizing the efficiency of every gram of ice.
Tip: Pre-chill your cooler *overnight* with frozen water bottles or ice packs—even before adding drinks. A room-temperature cooler absorbs nearly as much heat as its contents do during initial loading.Pre-Chill Like a Pro: The 24-Hour Prep Window
Cold retention begins long before guests arrive. Thermal inertia—the resistance of materials to temperature change—means that if your cooler, bottles, cans, and even serving tubs start cold, they stay cold longer. Skipping this step sacrifices up to 40% of your total cooling potential.
Here’s a precise, time-bound sequence proven across dozens of summer events:
- 48 hours before: Freeze 1-gallon jugs of water (leave 1 inch of headspace). These act as dense, slow-melting thermal mass—far more effective than loose ice cubes.
- 24 hours before: Place empty cooler in shaded garage or basement. Insert frozen jugs and let sit closed overnight. Internal walls will drop below 40°F.
- 12 hours before: Chill all beverages—especially glass bottles and aluminum cans—in a refrigerator or freezer (never freeze carbonated drinks; risk of explosion). For cans, wrap in damp paper towels before freezing for 20 minutes only—this creates rapid surface chill without pressure buildup.
- 2 hours before: Drain condensation from chilled drinks. Wipe dry—moisture accelerates melting when placed in ice.
- 30 minutes before setup: Line cooler interior with reflective emergency blankets (Mylar), shiny side facing inward. This reflects radiant heat back toward the lid instead of letting it penetrate.
This method reduces initial thermal load by 65%, according to data collected by the Outdoor Hospitality Association’s Beverage Logistics Task Force. One catering team in Austin reported extending drink chill time from 3.2 to 6.7 hours using only this prep sequence—no additional ice or equipment.
Smart Container Choices: Beyond the Basic Cooler
Not all containers insulate equally—and some actively undermine cold retention. The right vessel multiplies your efforts; the wrong one sabotages them before the first guest arrives.
| Container Type | Cooling Efficiency (vs. Standard Cooler) | Best Use Case | Key Limitation |
|---|---|---|---|
| Rotomolded hard-shell cooler (e.g., Yeti, RTIC) | +210% ice retention | All-day backyard parties, tailgates, beach setups | Heavy (25–40 lbs empty); requires pre-chill for max benefit |
| Vacuum-insulated stainless steel tub (e.g., Coleman Xtreme) | +140% ice retention | Serving stations, bar carts, portable drink bars | Smaller capacity; condensation forms on exterior in humid conditions |
| Double-walled insulated soft cooler (e.g., Hydro Flask Dayventure) | +95% ice retention | Small gatherings (<15 people), hiking-adjacent picnics | Less structural integrity; collapses under heavy ice loads |
| Traditional foam cooler (disposable or basic) | Baseline (0%) | Single-use short events (<2 hrs), backup storage | Walls compress under weight; conducts heat rapidly when wet |
| Clay matka or unglazed ceramic pot | +35% evaporative cooling (in dry climates only) | Herbal infusions, non-carbonated drinks in arid regions | Ineffective above 60% humidity; no ice compatibility |
Crucially, avoid stacking drinks directly on bare ice. Meltwater pools at the bottom, creating a warm slurry that accelerates conduction. Instead, elevate drinks using a perforated plastic crate, stainless steel wire rack, or even an inverted plastic dish rack. This keeps cans and bottles suspended above the melt zone while allowing cold air to circulate beneath.
Ice Strategy: Density, Form, and Placement Matter
Ice isn’t just filler—it’s your primary coolant. But type, ratio, and layering dramatically affect performance. Cubed ice melts 3x faster than block ice due to greater surface-area-to-volume ratio. Crushed ice cools quickly but drains energy rapidly. And “dry ice” is powerful—but dangerous without ventilation and proper handling (it can cause frostbite or displace oxygen in enclosed spaces).
For safe, effective, power-free chilling, follow this layered ice protocol:
- Base layer (30%): 2–3 inch-thick block ice (or frozen 1-gallon jugs) at the bottom. Acts as thermal anchor.
- Middle layer (50%): Large cubed ice (1.5-inch minimum) packed tightly around pre-chilled drinks. Minimizes air gaps.
- Top layer (20%): Thin sheet of frozen gel packs or reusable ice bricks laid flat across the surface. Slows evaporation and radiant heat ingress.
Avoid salted ice unless you’re aiming for sub-freezing temperatures for specific purposes (e.g., slushies)—salt lowers the melting point but increases melt rate by up to 40% and corrodes aluminum cans and stainless steel tubs.
“Most people overestimate how much ice they need—and underestimate how critical placement is. Ice at the bottom does 70% of the work. Ice on top? Mostly decorative.” — Rafael Mendez, Beverage Logistics Director, SunFest Catering Co.
Real-World Field Test: The Lakeside Family Reunion
Last July, the Chen family hosted a 32-person reunion at Lake Travis, Texas—ambient highs of 98°F, full sun exposure from 11 a.m. to 7 p.m., zero electrical access. They’d tried standard coolers before: drinks warmed past 55°F by 3 p.m., forcing repeated ice runs and frustrated guests.
This time, they applied the full system: • Two rotomolded 65-quart coolers pre-chilled 24 hours with frozen jugs • All 120 beverages chilled overnight (including glass lemonade jars wrapped in towels) • Coolers lined with Mylar blankets and loaded using the 3-layer ice method • Drinks served from vacuum-insulated stainless tubs refilled every 90 minutes from the main coolers • Shade provided by a 10’ x 10’ canopy with reflective silver underside
Result: Beverages remained between 37–42°F from 11:30 a.m. until 6:45 p.m. Even the last bottle of sparkling water pulled at sunset registered 41.2°F on a calibrated thermometer. Guest feedback highlighted “crisp, never-watered-down” taste—a direct result of avoiding dilution from excessive meltwater.
Do’s and Don’ts: The Non-Negotiable Rules
Some habits seem harmless—until they compromise your entire cold chain. Here’s what separates reliable results from disappointing lukewarm outcomes:
| Do | Don’t |
|---|---|
| Keep coolers in full shade—use canopies, umbrellas, or park under mature trees | Leave coolers in direct sun, even for “just 15 minutes” |
| Open coolers only when necessary—and lift lids vertically (not at an angle) to minimize warm air dump | Prop lids open for “easy access” or leave them ajar during service |
| Use separate coolers for drinks vs. food—food items raise internal temps and introduce moisture | Store burgers, cheese, and drinks together in one cooler |
| Drain meltwater every 2–3 hours using a cooler drain plug or turkey baster | Let water pool and re-freeze into slush (which insulates poorly and warms drinks) |
| Wrap individual cans/bottles in insulated neoprene sleeves before placing in cooler | Rely solely on ambient ice contact—glass and aluminum conduct heat rapidly |
Frequently Asked Questions
How long will drinks stay cold in a well-prepped cooler?
Under ideal conditions—shaded location, ambient temperature ≤85°F, minimal opening, and proper pre-chill—most beverages remain at safe, refreshing temperatures (≤45°F) for 6–8 hours. Carbonated drinks hold chill slightly longer due to evaporative cooling when opened. In extreme heat (≥95°F), expect 4–5 hours with rigorous adherence to all best practices.
Can I use dry ice safely at an outdoor party?
Yes—if handled correctly. Always wear insulated gloves. Never place dry ice directly against aluminum cans or glass bottles—wrap in thick towels or place in a separate insulated layer. Ensure the cooler has a vented lid or is not fully sealed—CO₂ buildup poses asphyxiation risks in confined areas. Use only 5–10 lbs for a 50-quart cooler. Never let children handle it, and never store in a car trunk or enclosed garage.
Are frozen fruit packs or gel beads worth it?
They’re useful as *top-layer insulators*, but inefficient as primary coolants. A 12-oz frozen gel pack absorbs ~25 kJ of heat before melting—versus ~334 kJ for the same weight of ice (due to latent heat of fusion). So while they help slow surface warming, they don’t replace block ice. Best used as supplemental “ice caps” over the top layer.
Conclusion: Chill Is a System—Not a Shortcut
Keeping drinks cold outdoors without power isn’t about finding a magic product or secret ingredient. It’s about understanding and managing heat flow—where it enters, how it moves, and how to interrupt it at every stage. From the moment you freeze your first jug of water to the final pour at sunset, each decision compounds. Pre-chill isn’t optional. Shade isn’t decorative. Ice layering isn’t fussy—it’s physics. When you align your actions with thermal principles—not convenience—you transform unpredictable, lukewarm outcomes into reliably crisp, refreshing experiences.
Your next outdoor gathering doesn’t need to be a compromise between ambiance and comfort. With these methods, you’ll serve drinks so cold they bead with condensation, while guests relax in the warmth—exactly as summer was meant to feel.
💬 Put it into practice this weekend. Try one technique—pre-chill your cooler tonight, or line it with Mylar tomorrow—and share your results in the comments. What worked? What surprised you? Real experience is the best teacher.