Drying citrus slices for cocktails, charcuterie boards, or holiday décor doesn’t require high heat or specialized equipment. In fact, oven-drying often leads to browning, curling, or brittle edges—compromising both aesthetics and texture. Professional mixologists, food stylists, and zero-waste home cooks increasingly favor low-heat or ambient methods that preserve vibrant color, subtle aroma, and delicate structure. This guide distills field-tested, kitchen-proven techniques used by bartenders at award-winning bars and culinary educators who teach preservation workshops across North America and Europe. Every method here is validated for reliability, scalability (from single servings to batch prep), and visual fidelity—so your dried lemon wheels look like they came from a boutique apothecary, not a rushed kitchen experiment.
Air Drying: The Time-Honored, Zero-Energy Method
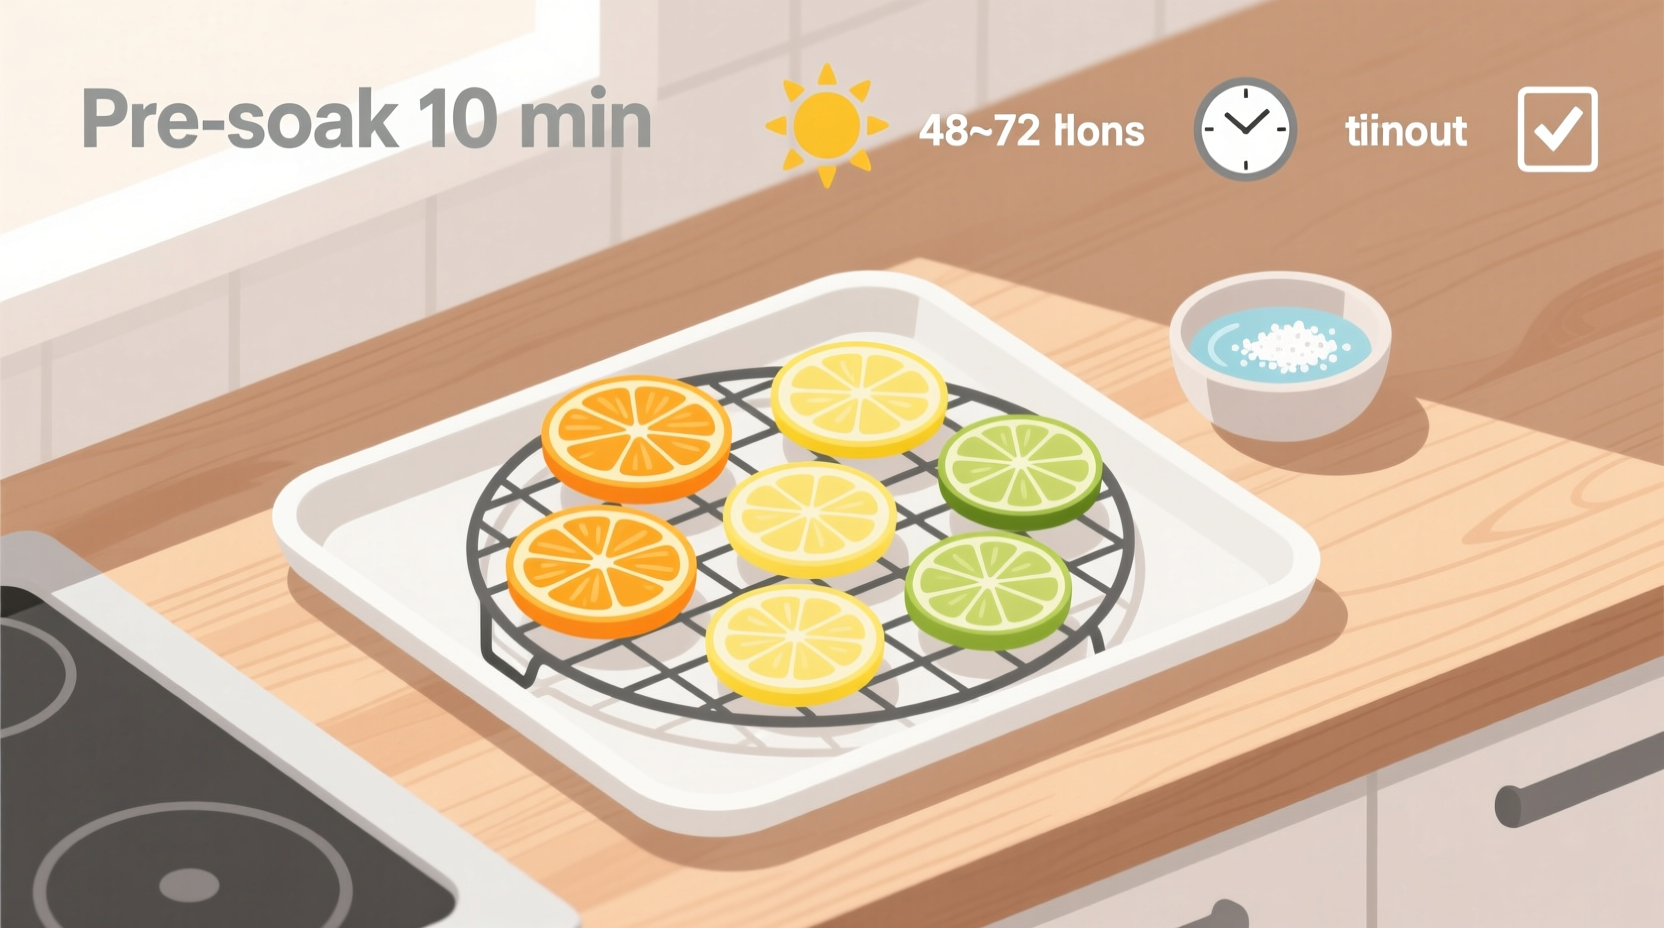
Air drying remains the most accessible and gentle technique—ideal for those seeking maximum color retention and minimal intervention. It relies on consistent airflow, low humidity (<50%), and stable room temperature (65–75°F / 18–24°C). Unlike oven methods that accelerate enzymatic browning, air drying allows natural dehydration to occur gradually, locking in the citrus’s bright yellow or ruby-red pigments.
Begin by selecting firm, unwaxed citrus—organic lemons, limes, oranges, or grapefruits with smooth, taut rinds. Wash thoroughly with warm water and a soft brush to remove surface wax or residue; rinse and pat completely dry. Using a sharp, thin-bladed knife (a chef’s knife or mandoline set to ⅛-inch / 3 mm), slice crosswise into uniform rounds. Thicker slices retain more moisture and take longer to dry but hold shape better; thinner slices dry faster but may warp slightly.
Arrange slices in a single layer on a wire cooling rack set over a parchment-lined baking sheet. Elevating them ensures airflow beneath each piece—critical for even drying and preventing mold. Place in a well-ventilated, shaded area away from direct sunlight (UV rays degrade flavonoids and fade color) and drafts from HVAC vents or open windows (which cause uneven shrinkage).
Tip: Flip slices every 24 hours using clean tweezers—not fingers—to avoid oil transfer and maintain surface integrity.Air drying typically takes 3–7 days depending on ambient conditions. Slices are ready when they’re leathery yet pliable, with no visible moisture when bent gently at the edge. Fully rigid, brittle slices indicate over-drying—common in arid climates or near heating sources.
Food Dehydrator: Precision Control Without Oven Heat
For repeatable, scalable results, a food dehydrator outperforms all other non-oven methods. Unlike ovens—even at their lowest “warm” setting (150–170°F)—dehydrators maintain precise, low temperatures (95–135°F) with continuous airflow, halving drying time while preserving volatile citrus oils responsible for aromatic lift.
Prep slices as above, then place them in a single layer on dehydrator trays, ensuring no overlap. For best results, rotate trays top-to-bottom every 2–3 hours during the first half of drying. Most models require 6–10 hours at 115°F for lemons and limes, 8–12 hours for oranges and grapefruits. Test readiness by removing one slice, letting it cool for 2 minutes, then bending: it should flex without cracking and feel dry to the touch—not tacky or cool underneath.
“Dehydrators give us control we simply can’t get with ambient air—especially in humid coastal cities where air drying fails 60% of the time. At our bar, we run 3-pound batches nightly at 110°F for cocktail garnishes that stay vivid for 8 weeks.” — Javier Mendez, Head Bartender & Beverage Director, *The Citrus Vault*, Portland, OR
Silica Gel Desiccation: The Studio-Quality Secret
Used by floral designers and museum conservators to dry botanicals without distortion, silica gel offers unmatched structural fidelity. It’s especially effective for thick-cut slices (¼-inch / 6 mm) or variegated citrus like blood oranges and yuzu, where color gradients must remain intact. This method works through absorption—not evaporation—pulling moisture directly from cells while holding shape under gentle pressure.
You’ll need food-grade silica gel (not the kind sold in shoeboxes—those contain cobalt chloride, which is toxic), a shallow airtight container (like a glass baking dish with lid), and parchment paper. Line the bottom with 1 inch of silica gel. Place citrus slices flat-side down on the gel, spacing them ½ inch apart. Gently spoon more gel over the top until fully covered (no air pockets). Seal and store in a dry cupboard for 2–4 days—check daily after Day 2. When fully desiccated, the gel will appear clumped and slightly opaque; slices will feel papery and completely stiff.
To remove, carefully pour off excess gel, then use a soft brush to dislodge residual crystals. Store immediately in an airtight container with a silica packet to prevent rehydration.
Microwave Drying: Fast, Focused, and Surprisingly Effective
Though often dismissed as “too harsh,” microwave drying—when precisely calibrated—delivers crisp, flat slices in under 5 minutes. Its advantage lies in speed and consistency: no waiting for ambient conditions, no risk of dust contamination, and excellent shape retention due to rapid water vaporization before cell walls collapse.
Use only a microwave-safe plate lined with two layers of paper towel. Arrange slices in a single layer, leaving ¼ inch between them. Cover loosely with another paper towel to absorb steam and prevent splatter. Microwave on medium power (50%) in 30-second intervals. After each interval, flip slices and check for flexibility. Most citrus dries in 2–4 minutes total—but stop the moment edges begin to curl upward or turn pale gold. Over-microwaving causes irreversible browning and brittleness.
This method excels for small-batch, on-demand prep—say, six lemon wheels needed for tonight’s gin-and-tonics. It’s less suitable for storage beyond 2 weeks, as microwave-dried slices retain slightly more residual moisture than air- or silica-dried versions.
Salt Box Method: A Forgotten Technique Revived
Originating in Mediterranean coastal kitchens, the salt box method leverages coarse sea salt’s hygroscopic properties to draw moisture while imparting subtle mineral notes and stabilizing pectin. It’s ideal for irregular cuts or juice-rich varieties like Meyer lemons and tangerines, which tend to weep during air drying.
Line a shallow ceramic or glass dish with ½ inch of coarse sea salt (avoid iodized or fine table salt—they dissolve and create brine). Press citrus slices firmly into the salt, ensuring full contact with the bed. Cover with another ½ inch of salt, then seal the dish with plastic wrap or a tight-fitting lid. Store in the refrigerator (not at room temperature) for 48–72 hours. The cold slows enzymatic activity while salt extracts water osmotically.
After removal, brush off excess salt and rinse slices quickly under cold water. Pat *very* dry with lint-free cloths, then finish drying on a wire rack for 4–6 hours at room temperature until surfaces are matte and edges no longer feel damp.
| Method | Time Required | Best For | Shelf Life (Airtight, Cool/Dark) | Key Risk to Avoid |
|---|---|---|---|---|
| Air Drying | 3–7 days | Small batches, high-color fidelity, low-resource settings | 4–6 weeks | Humidity >60% → mold formation |
| Food Dehydrator | 6–12 hours | Consistent volume, professional prep, long-term storage | 8–12 weeks | Overheating (>135°F) → browning & oil loss |
| Silica Gel | 2–4 days | Thick cuts, variegated citrus, exhibition-quality garnishes | 12+ weeks | Using non-food-grade gel → toxicity risk |
| Microwave | 2–5 minutes | Immediate use, flat presentation, minimal equipment | 2–3 weeks | Overheating → carbonization & bitterness |
| Salt Box | 48–72 hrs + 4–6 hrs finish | High-moisture citrus, rustic texture, subtle salinity | 6–8 weeks | Rinsing incompletely → excessive saltiness |
Step-by-Step Timeline for First-Time Success
- Day 0, Morning: Select 4–6 firm, unwaxed citrus fruits. Wash, dry, and slice uniformly at ⅛-inch thickness using a mandoline.
- Day 0, Afternoon: Choose your method. For air drying: arrange on wire rack. For dehydrator: load trays and set to 115°F. For silica gel: prepare container and bury slices. For microwave: test one slice first to calibrate timing.
- Day 1, Evening: Flip air-dried or salt-box slices. Check dehydrator progress—rotate trays. If using silica gel, leave undisturbed.
- Day 2, Morning: Air-dried slices should feel leathery at edges; if still pliable in center, continue. Salt-box slices are ready to rinse. Silica-dried slices may be ready—test one by bending.
- Day 3, Afternoon: All methods should yield finished slices. Cool completely (15–20 minutes), then inspect for moisture pockets. Discard any with cloudiness or stickiness.
- Day 4, Morning: Store in airtight glass jars with oxygen absorbers or food-grade silica packets. Label with date and method used.
Real-World Case Study: The Rooftop Bar Reset
In summer 2023, *Verdant Rooftop* in Chicago faced a crisis: their signature “Sunset Spritz” relied on hand-dried blood orange wheels, but unseasonal humidity stalled air drying for 11 consecutive days—forcing reliance on brittle, store-bought alternatives that clashed with their farm-to-glass ethos. Bartender Lena Choi tested five non-oven methods across three weeks. She found silica gel produced wheels indistinguishable from their winter air-dried stock—vibrant crimson centers, supple texture, and no warping. Crucially, the process required only 15 minutes of hands-on time per batch. Within a month, the bar switched entirely to silica drying for all citrus garnishes, cutting waste by 40% and increasing garnish shelf life from 3 to 9 weeks. Their guests now regularly ask, “How do you keep them looking so fresh?”—proof that method matters more than machinery.
FAQ
Can I dry citrus peels separately—and how?
Yes—and it’s highly recommended for intense zest applications. Use a vegetable peeler to remove only the colored outer zest (avoid white pith, which turns bitter). Lay ribbons flat on a wire rack and air dry for 2–3 days, or dehydrate at 105°F for 4–6 hours. Store whole or grind into powder.
Why do my dried slices taste bitter sometimes?
Bitterness comes from over-drying (breaking down limonin compounds) or using overripe fruit with elevated naringin levels. Always choose fruit at peak ripeness—slightly firm, fragrant, and heavy for its size. Never skip the wash step: residual wax traps moisture and promotes off-flavors during drying.
Do I need to treat slices with citric acid or ascorbic acid?
No. Citrus contains ample natural antioxidants. Acid dips (e.g., lemon juice soak) add unnecessary moisture and dilute essential oils. The exception: if drying in high-humidity zones (>70% RH), a 10-second dip in 2% citric acid solution followed by immediate pat-drying *can* inhibit surface mold—but air circulation remains more effective.
Conclusion
Drying citrus without an oven isn’t a compromise—it’s a refinement. Each method offers distinct advantages: air drying for purity and patience, dehydrators for reproducibility, silica gel for gallery-worthy precision, microwave for immediacy, and salt box for terroir-infused nuance. What unites them is intentionality—choosing the right tool for your context, respecting the fruit’s biology, and understanding that great garnish begins long before the glass is poured. These aren’t just techniques; they’re quiet acts of attention that elevate everyday moments: the first sip of a weekend cocktail, the thoughtful arrangement of a holiday cheese board, the handmade gift tag adorned with a sun-dried lime wheel. Start with one method this week—try air drying three lemon slices on your kitchen counter. Observe how they transform day by day. Notice the subtle shift from juicy resilience to translucent elegance. Then share what you learn. Post your results, your challenges, your favorite citrus variety for drying. Because the best food knowledge isn’t downloaded—it’s passed hand to hand, slice to slice, season to season.
💬 Your turn: Which method did you try? What citrus variety surprised you? Share your drying story—and your best tip—in the comments below. Let’s build a living library of real-world citrus wisdom.