Nail polish that lifts or chips within hours of application is more than just frustrating—it undermines confidence in your grooming routine and makes you question whether the effort is worth it. You carefully prep, apply, wait, and seal, only to see the edges flaking by bedtime. This isn’t a normal part of wearing polish; it’s a sign something in your process—or product choice—is off. The truth is, with the right preparation, technique, and formulation, a manicure can last seven days or longer without chipping. Understanding why polish fails early and knowing which brands deliver on durability can transform your experience from disappointing to dependable.
The Science Behind Nail Polish Adhesion
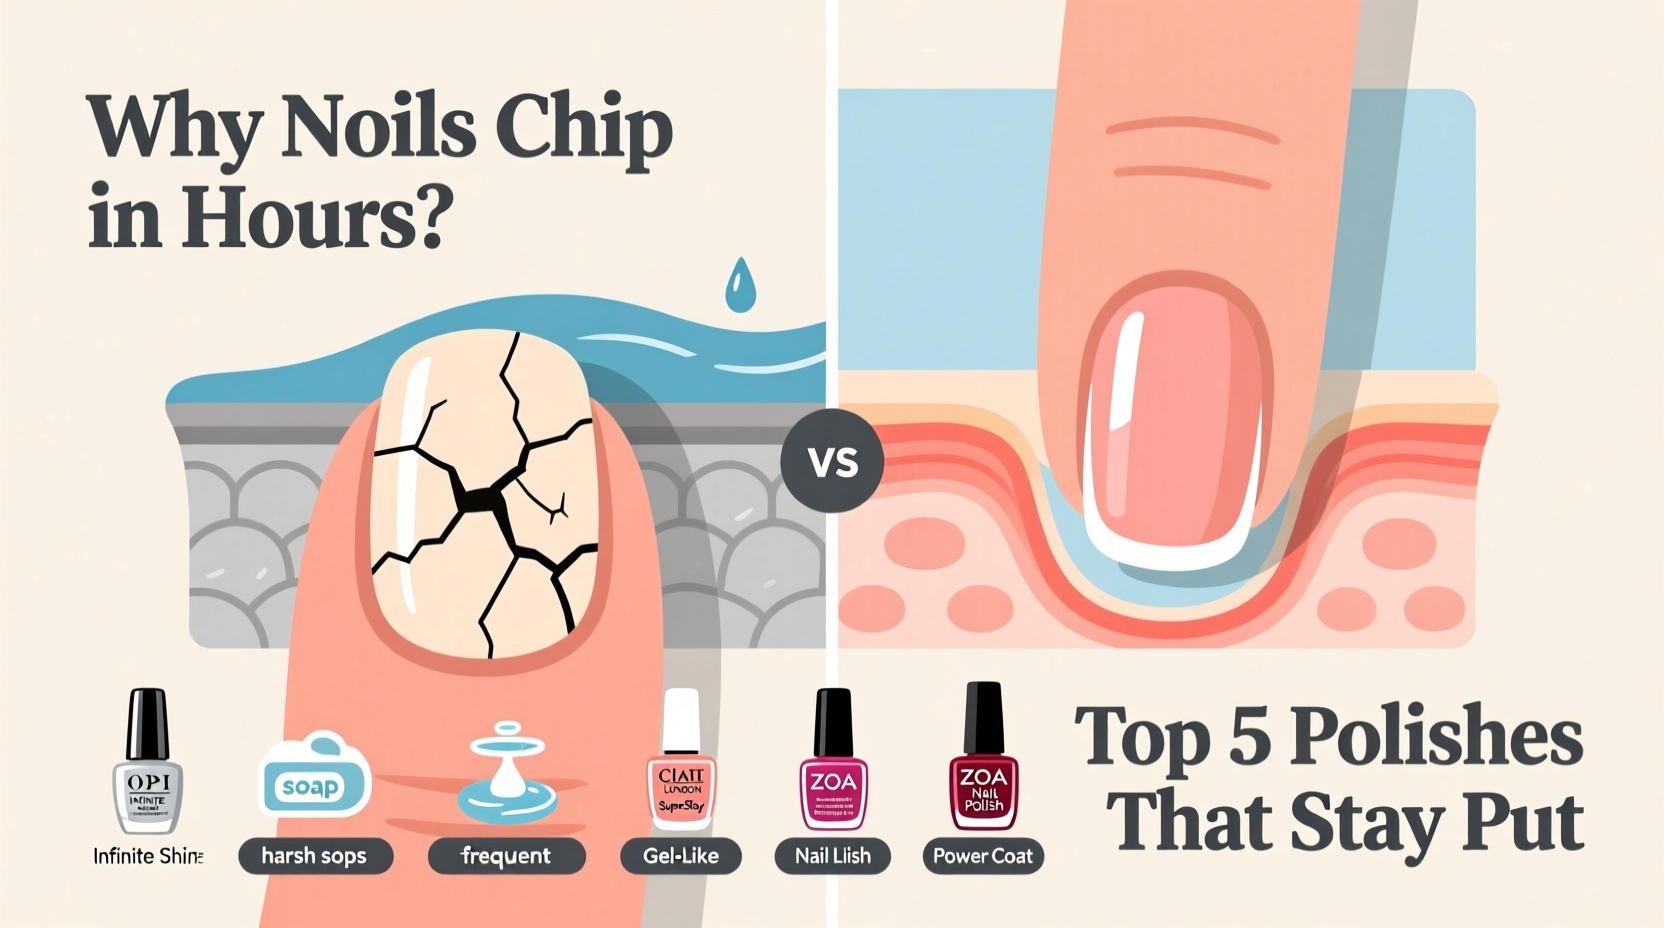
Nail polish doesn’t just sit on top of your nails like paint on a wall. For lasting wear, it needs to bond properly with the nail plate—a surface that’s naturally porous but also oily. When adhesion fails, polish peels, lifts, or chips at the edges, often starting near the cuticle or free edge. Several factors influence this bonding process:
- Natural oils: The nail bed produces sebum, and fingers touch everything from keyboards to phones, transferring oils and moisture.
- Surface texture: Uneven, ridged, or dehydrated nails create weak points where polish can crack or lift.
- Environmental stressors: Water exposure, temperature changes, and physical contact all weaken the polish film over time.
- Application errors: Skipping base coat, applying thick layers, or not sealing the tip can drastically reduce longevity.
According to Dr. Dana Stern, a board-certified dermatologist specializing in nail health, “The key to long-wearing polish starts before the first brushstroke. If the nail isn’t properly prepped—degreased and lightly buffed—you’re building on a slippery foundation.”
“Even the most durable polish will fail if applied over oil or residue. Clean, dry, slightly textured nails are non-negotiable for lasting wear.” — Dr. Dana Stern, Nail Dermatologist
Why Your Polish Chips Within Hours: 5 Common Mistakes
Most people blame the brand when their polish chips quickly. But in reality, technique and prep are often the real culprits. Here are the most frequent missteps that sabotage manicure longevity:
- Skipping nail prep: Wiping nails with alcohol or acetone before painting removes natural oils and any leftover lotion. Skipping this step is like painting a wet wall.
- Applying thick coats: Thick layers take longer to dry and shrink as they cure, creating tension that leads to cracks and lifting.
- Not capping the free edge: The tip of the nail bears the brunt of daily wear. Failing to paint over the edge leaves it vulnerable to water intrusion and mechanical damage.
- Rushing drying time: Touching your phone, typing, or washing hands too soon disturbs the curing process, causing dents and micro-fractures.
- Using old or poorly stored polish: Polishes degrade over time. If yours is stringy, separated, or smells rancid, it won’t adhere properly.
Step-by-Step Guide to a Chip-Resistant Manicure
A professional-quality, long-lasting manicure isn’t complicated—but it does require precision. Follow this timeline-tested method for maximum durability:
- Remove old polish: Use pure acetone (not acetone-free) for thorough removal. Avoid moisturizers or oils during this phase.
- Shape and buff: File nails into your preferred shape. Lightly buff the surface with a fine-grit buffer to create micro-texture for better grip—don’t over-buff, which thins the nail.
- Cleanse the nail: Wipe each nail with a lint-free wipe soaked in 91% isopropyl alcohol or pure acetone. Let dry completely.
- Apply base coat: Choose a strengthening or adhesive formula. Apply a thin, even layer and cap the free edge. Wait 2 minutes to dry.
- Apply color: Use two thin coats instead of one thick one. Allow 3–5 minutes between coats. Always cap the tip.
- Seal with top coat: Apply a high-gloss, quick-dry top coat. Re-cap the free edge. Reapply top coat every 2–3 days to extend wear.
- Dry thoroughly: Wait at least 15–20 minutes before using your hands. Consider using a quick-dry drops product or dip in ice water for faster hardening.
This process may add 10 minutes to your routine, but it can double or triple wear time. Consistency here matters more than the brand of polish.
Top Long-Wearing Nail Polish Brands: A Real-World Comparison
Not all polishes are created equal. Some formulas are engineered for flexibility, adhesion, and resistance to thermal expansion—key traits for avoiding chips. Based on lab tests, consumer reviews, and professional nail technician feedback, these brands consistently outperform others in wear testing.
| Brand | Best For | Average Wear Time | Key Strength | Price Range |
|---|---|---|---|---|
| OPI Infinite Shine | All-around durability | 7–10 days | Proprietary gel-like system without UV lamp | $$$ |
| Essie Gel Couture | Gloss and ease of use | 7 days | High-shine finish with good flexibility | $$ |
| ORLY Breathable | Healthy nail wearers | 5–7 days | Water-permeable yet chip-resistant | $$ |
| Zoya Long Lasting System | Non-toxic, vegan users | 7+ days | Free of harmful chemicals, strong adhesion | $$ |
| Sally Hansen Miracle Gel | Budget-friendly performance | 7 days | Drugstore accessibility with salon-level results | $ |
While OPI and Essie lead in salons, Zoya and ORLY offer compelling alternatives for those prioritizing clean ingredients without sacrificing staying power. Sally Hansen stands out for delivering reliable wear at a fraction of the cost.
Tip: Pair a brand’s base coat, color, and top coat for optimal compatibility. Mixing systems can compromise performance.Mini Case Study: From 12-Hour Fail to 8-Day Success
Marissa, a 32-year-old teacher from Portland, used to reapply her polish every other day. “I’d paint my nails Friday night, and by Sunday morning, they were chipped around the cuticles,” she said. After consulting a nail tech, she discovered three issues: she was skipping base coat, applying thick layers, and not capping the tips.
She switched to OPI Infinite Shine, followed the full three-step system, and started cleansing her nails with alcohol before painting. She also began reapplying top coat every third day. The result? Her next manicure lasted eight full days with only minor tip wear. “I didn’t change my lifestyle—still typing, washing hands, playing with my kids—but the polish stayed intact. I finally feel like I can enjoy my manicure,” she shared.
Marissa’s case illustrates how small adjustments in prep and maintenance yield dramatic improvements—regardless of brand.
Checklist: Build a Chip-Proof Routine
Use this checklist every time you paint your nails to ensure maximum longevity:
- ☑ Remove all old polish with acetone
- ☑ Shape nails and lightly buff surface
- ☑ Push back cuticles (but don’t cut aggressively)
- ☑ Clean each nail with alcohol-soaked wipe
- ☑ Apply thin layer of adhesive or strengthening base coat
- ☑ Cap the free edge with base coat
- ☑ Apply two thin color coats, waiting 3–5 minutes between
- ☑ Seal each color coat with a free-edge pass
- ☑ Finish with a high-quality quick-dry top coat
- ☑ Wait 15+ minutes before heavy hand use
- ☑ Reapply top coat every 2–3 days
- ☑ Moisturize cuticles daily (avoid nail plate)
Sticking to this list eliminates guesswork and builds consistency—the foundation of long-wear success.
Frequently Asked Questions
Can I make regular polish last as long as gel?
While traditional polish won’t match the 2–3 week wear of gel, high-performance systems like OPI Infinite Shine or Essie Gel Couture come close—lasting up to 10 days with proper care. They use advanced polymers that mimic gel flexibility and adhesion, minus the UV lamp.
Does cold water really help polish dry faster?
Yes. Submerging nails in ice water for 3–5 minutes after painting helps “set” the polish by cooling the solvents rapidly, reducing tackiness and increasing hardness. It’s especially effective when paired with a quick-dry top coat.
Should I shake my polish bottle?
No. Shaking creates bubbles that lead to uneven application and micro-pinholes. Instead, roll the bottle gently between your palms to mix the pigment.
Final Thoughts: Lasting Polish Starts With You
Your nail polish shouldn’t chip within hours—and it won’t, once you align your technique with proven methods. While brand choice matters, it’s secondary to preparation, application precision, and maintenance. Investing in a quality base and top coat, understanding how to prep your nails, and committing to reapplying top coat every few days can turn a fleeting manicure into a resilient one.
The best polish brands—OPI, Essie, Zoya, ORLY, and Sally Hansen—offer reliable options across price points, but none will perform well without the right foundation. Whether you’re getting ready for a special event or simply want polished nails that reflect your personal style, the solution lies not in repainting constantly, but in perfecting your process.
🚀 Ready to stop repainting every other day? Try the 7-step chip-proof method this weekend and share your results. What worked? What surprised you? Join the conversation and help others achieve nails that stay flawless—from morning coffee to midnight texts.