Yarn puffs with fringes are more than just decorative accents—they’re tactile expressions of creativity that bring warmth and dimension to any textile project. Whether used in bohemian wall hangings, baby blankets, or statement pillows, a well-crafted yarn puff adds visual rhythm and softness. Yet achieving consistent texture and structure can be challenging without the right techniques. This comprehensive guide walks you through every stage—from selecting materials to finishing fringes—so you can create flawless, professional-grade yarn puffs with confidence.
Selecting the Right Yarn and Tools
The foundation of a beautiful yarn puff lies in material selection. Not all yarns behave the same when fluffed, twisted, or trimmed. Opt for medium-weight (worsted) acrylic, cotton, or wool blends that hold shape but remain pliable. Avoid overly slippery silk or loosely spun fibers that may unravel easily.
Essential tools include sharp fabric scissors, a tapestry needle, a fork or cardboard template for wrapping, and a ruler for consistent fringe length. Using the correct tools ensures precision and reduces frustration during assembly.
Tip: Pre-wash your yarn if it’s prone to bleeding, especially when working on light-colored projects.Step-by-Step Guide to Crafting Yarn Puffs
Follow this methodical process to create full, resilient yarn puffs with clean fringes. Each step contributes to the final texture and durability.
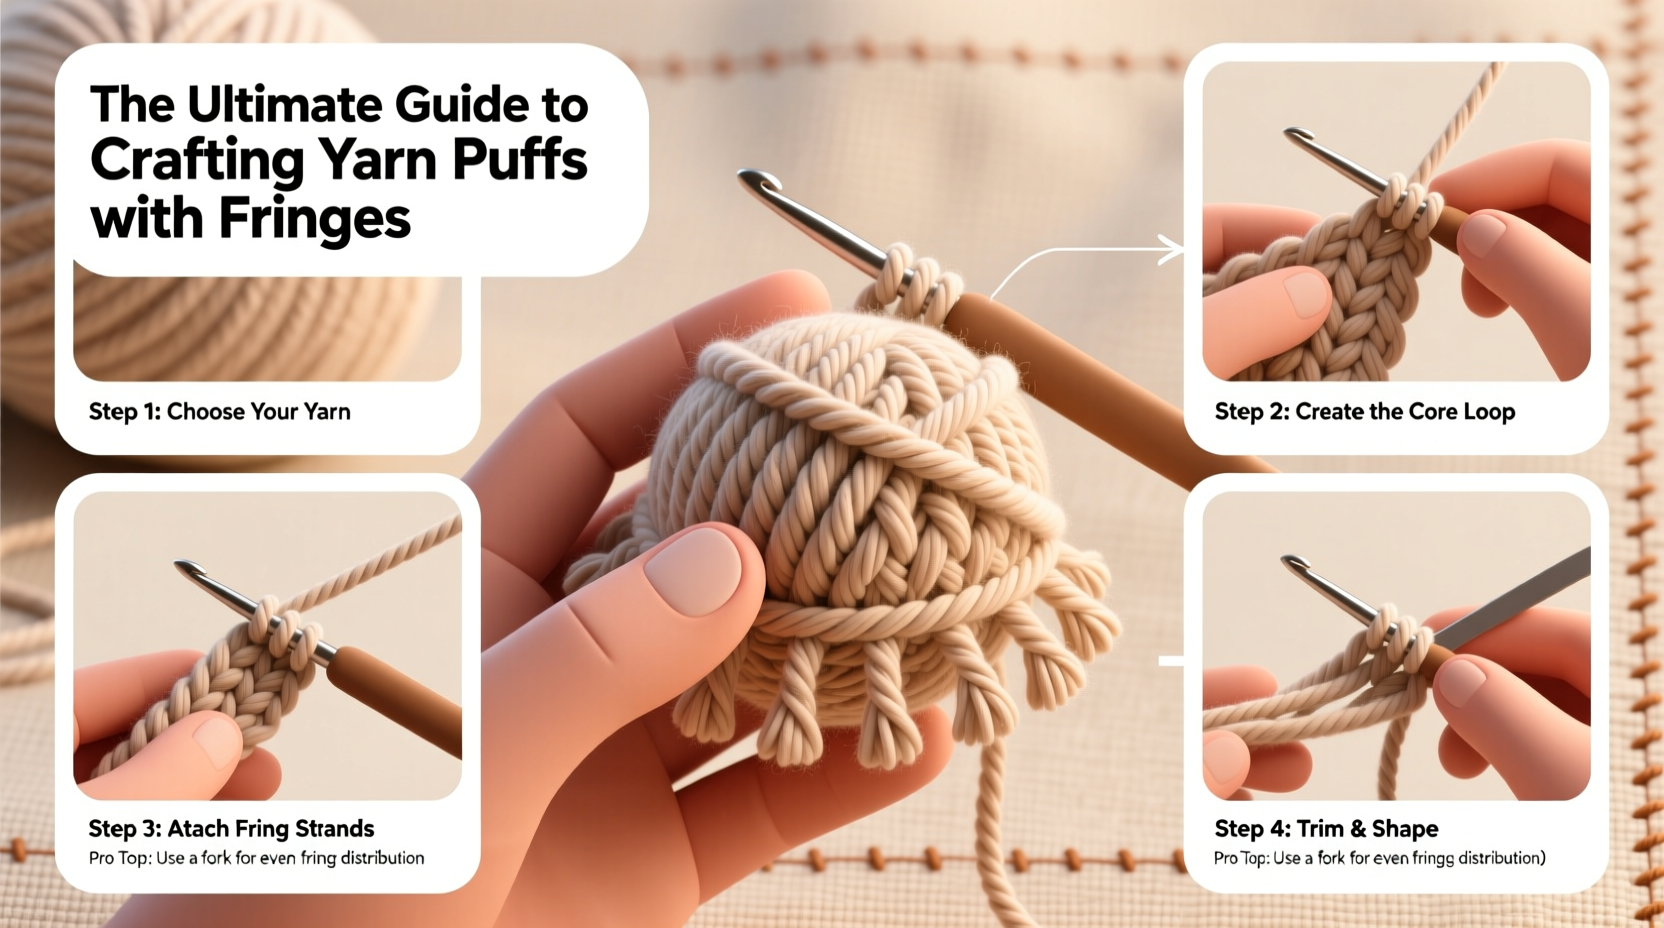
- Wrap the yarn: Use a fork or small piece of cardboard (about 3 inches wide) as a winding base. Wrap the yarn around 50–70 times, depending on desired puffiness.
- Cut one end: Carefully slide the wrapped bundle off the form. Cut the loops at one end to create loose strands.
- Tie the center: Use a separate strand of strong thread or thin yarn to tightly bind the middle third of the bundle. Knot securely with a double knot.
- Fluff and shape: Pull the cut ends outward and gently separate the strands. Shake lightly to loosen and achieve a cloud-like volume.
- Trim the fringe: Use sharp scissors to even out the ends, creating a uniform fringe. For soft texture, leave slightly uneven tips; for crisp edges, cut straight across.
For added stability, consider adding a drop of fabric glue at the tied center before trimming—this prevents slippage over time.
Techniques for Perfect Texture and Volume
Texture is what elevates a simple puff into an artistic element. The key is balancing density and softness. Over-wrapping creates stiffness, while under-wrapping leads to limp results. Aim for about 60 wraps with worsted weight yarn for optimal balance.
To enhance volume, try teasing the fibers gently with a pet slicker brush before final trimming. This works particularly well with wool blends, introducing subtle halo effects without compromising integrity.
When attaching multiple puffs to a surface, vary fringe lengths slightly (e.g., 1.5\", 2\", and 2.5\") to create depth. Aligning all fringes at the same length can appear flat and mechanical.
| Fringe Length | Best Use Case | Texture Profile |
|---|---|---|
| 1–1.5 inches | Delicate trims, baby items | Soft, subtle movement |
| 2–2.5 inches | Pillows, wall decor | Balanced volume and flow |
| 3+ inches | Dramatic installations, fashion pieces | High movement, bold presence |
Common Mistakes and How to Avoid Them
Even experienced crafters make errors that affect the final look. Recognizing these pitfalls early saves time and materials.
- Using dull scissors: Causes frayed or jagged ends. Always use precision shears designed for textiles.
- Insufficient center binding: Leads to puff collapse. Reinforce knots with a second wrap or fabric adhesive.
- Inconsistent wrapping tension: Results in lopsided puffs. Maintain steady pressure while winding.
- Ignoring yarn direction: When cutting fringe, slice in the same direction across all strands to prevent uneven layering.
Real-World Application: A Mini Case Study
Sophia, a fiber artist from Portland, was commissioned to create a nursery mobile featuring pastel yarn puffs. Her initial samples lacked cohesion—the textures varied too much, and some fringes began shedding after a week.
She revised her process: switching to a mercerized cotton blend, increasing her wrap count to 65, and sealing each knot with a tiny dot of clear-drying craft glue. She also standardized her fringe length at 2 inches and used a comb to gently tease volume post-trimming.
The final mobile featured six puffs in gradient tones, each holding its shape beautifully. Parents reported that the piece remained intact even after months of gentle handling, proving that attention to detail directly impacts longevity and aesthetic appeal.
Expert Insight on Fiber Craftsmanship
“Texture isn’t just about touch—it’s visual rhythm. A well-executed yarn puff guides the eye and evokes emotion. Consistency in technique transforms craft into art.” — Lena Torres, Textile Artist & Educator
Checklist for Flawless Yarn Puff Creation
Use this checklist before starting your next project to ensure quality and efficiency:
- ☐ Choose non-slippery, medium-weight yarn
- ☐ Prepare sharp scissors and a secure winding tool
- ☐ Wrap yarn consistently (aim for 60 turns)
- ☐ Secure center with double-knotted thread
- ☐ Trim fringe evenly using a guide or stencil
- ☐ Optional: Apply minimal fabric glue to knot for durability
- ☐ Fluff and shape by hand, then assess symmetry
Frequently Asked Questions
Can I wash yarn puffs once they’re made?
Yes, but gently. Hand wash in cool water with mild detergent and lay flat to dry. Avoid wringing or machine agitation, which can distort the shape and tangle fringes.
How do I attach yarn puffs to fabric without damaging them?
Use a whipstitch with matching thread through the central band only. Avoid sewing through the fringe area. For temporary placement, consider fabric-safe adhesive dots.
What’s the best way to store finished yarn puffs?
Store in breathable cotton bags or boxes, separated by tissue paper. Keep away from moisture and direct sunlight to prevent fading and fiber degradation.
Mastery Through Practice
Crafting yarn puffs with fringes is both an art and a science. While the steps may seem straightforward, the nuances—tension, trimming angle, fiber choice—make all the difference. What begins as a simple DIY technique can evolve into a signature style with thoughtful iteration.
Start small. Make three puffs using the same yarn but varying wrap counts. Compare the results. Then experiment with fringe lengths and finishing methods. Document your findings. Over time, you’ll develop an intuitive sense of what works best for your creative goals.
💬 Share your first yarn puff creation story! Whether it turned out perfectly or taught you something new, your experience could inspire others. Leave a comment and join the community of mindful makers.