Drawing a compelling portrait hinges on more than just accurate facial features—hair plays a pivotal role in defining character, emotion, and movement. When rendered skillfully, a woman’s hair can elevate a drawing from competent to captivating. Yet many artists struggle with translating the complexity of hair into structured, believable form. The key lies not in copying strands but in understanding volume, light, and rhythm. This guide breaks down the essential techniques to help you master drawing women’s hair with confidence and artistic flair.
Understanding Hair as Form, Not Just Strands
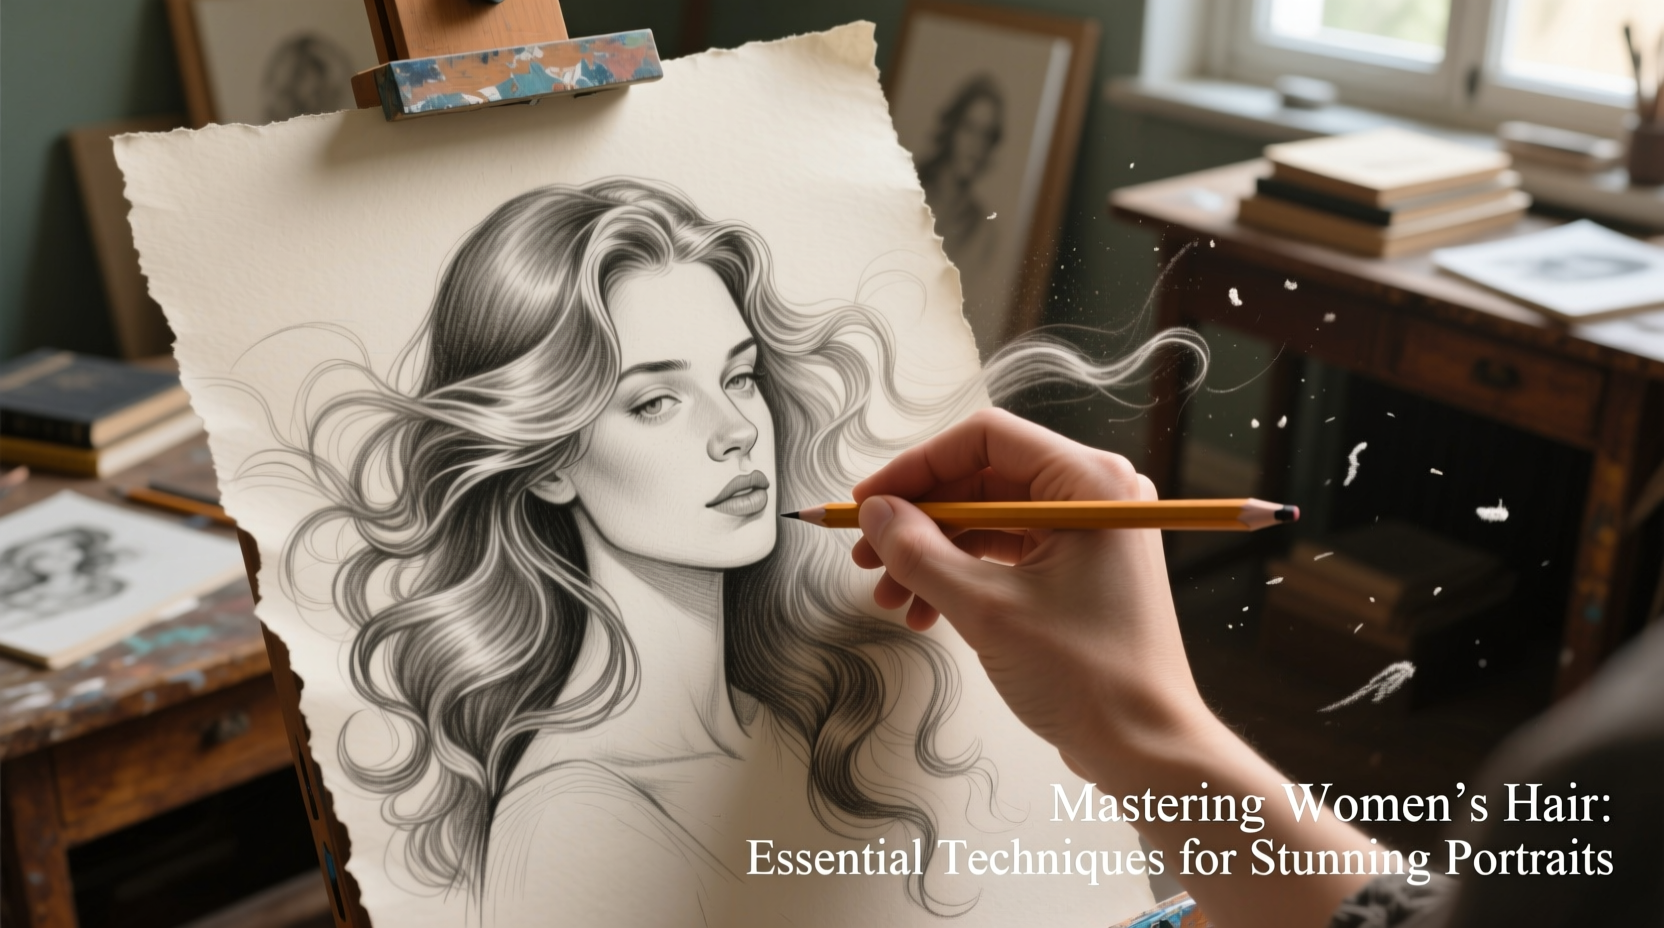
A common mistake is treating hair as a mass of individual lines. In reality, hair grows in sections and moves as cohesive forms. Before detailing, think of hair as a solid shape that occupies space. Whether it’s a sleek bob or cascading waves, begin by blocking in the overall silhouette and volume. Use light geometric shapes—spheres, ovals, cylinders—to map out where the hair sits on the head and how it flows through space.
Consider gravity and direction. Long hair will fall downward, often parting naturally along the crown. Shorter styles may project outward or frame the face. Establishing this underlying structure ensures your drawing remains anatomically sound before adding texture.
Tip: Sketch the skull beneath the hairline first. This helps anchor the hair to the head and prevents it from appearing pasted on.Mastering Light and Shadow for Realistic Volume
Light defines three-dimensionality. To create depth in hair, observe how light wraps around its form. Identify the light source early—this determines highlights, midtones, and cast shadows. The brightest highlights typically appear near the crown or where hair turns toward the light. Shadows accumulate where layers overlap, behind ears, or under the jawline.
Use gradations rather than flat tones. Transition smoothly from dark to light using hatching, blending stumps, or digital layer opacity. Avoid over-smudging, which can flatten the image. Instead, preserve sharp edges in high-contrast areas (like a highlight against a dark curl) to enhance realism.
| Light Zone | Description | Rendering Tip |
|---|---|---|
| Highlight | Brightest area catching direct light | Leave paper white or use eraser lift |
| Midtone | Transition between light and shadow | Apply medium pressure with pencil |
| Core Shadow | Deepest value on the form | Build up layers gradually |
| Cast Shadow | Shadow projected onto another surface | Keep edges soft unless on sharp planes |
| Reflected Light | Subtle bounce light in shadow areas | Suggest with faint tone, never overpower |
Techniques for Different Hair Types and Textures
No two heads of hair are alike. Successfully rendering different textures requires adjusting your mark-making strategy. Study real references to understand how curls, waves, straight locks, and afros behave under various conditions.
- Curly Hair: Think in clusters, not spirals. Draw grouped ringlets with irregular spacing. Emphasize contrast between deep shadows inside curls and bright edges catching light.
- Straight Hair: Focus on smooth flow and parting lines. Use long, continuous strokes for sleek styles; vary pressure to suggest thickness and layering.
- Wavy Hair: Combine elements of both. Follow an S-shaped rhythm. Let some strands cross over others to create depth.
- Afro/Textured Natural Hair: Render as a voluminous cloud with internal texture. Dotting, stippling, or short zigzag marks work better than lines.
“Hair isn’t decoration—it’s an extension of personality. A tight bun speaks discipline; wild curls suggest freedom. Let the style inform your stroke.” — Lena Torres, Portrait Illustrator and Art Instructor
Step-by-Step Guide: Drawing Flowing Long Hair
Achieving graceful, natural-looking long hair involves planning and patience. Follow this sequence to build realism progressively.
- Sketch the Head and Neck: Establish correct proportions and tilt. Mark the hairline and part.
- Define Major Sections: Divide hair into front, side, and back masses. Indicate where hair separates or overlaps.
- Block in Basic Shapes: Use loose outlines to define the outer volume and major curves.
- Add Directional Flow: Draw arrows or light guidelines showing how hair moves—over shoulders, behind ears, etc.
- Establish Light Source: Shade large shadow areas first. Identify where highlights will fall.
- Develop Texture Gradually: Start broad, then introduce strands selectively—especially near edges and focal points.
- Refine Edges: Soften some areas for realism; sharpen others (like flyaways) for detail.
- Final Adjustments: Step back. Check balance, contrast, and whether the hair feels anchored to the head.
Avoiding Common Pitfalls
Even experienced artists fall into traps when drawing hair. Recognizing these issues early improves results dramatically.
Tip: Don’t draw every strand. Over-detailing flattens hair and distracts from form. Suggest texture instead.- Flatness: Caused by uniform shading. Vary pressure and incorporate reflected light.
- Static Appearance: Hair should feel dynamic. Introduce subtle movement lines or wind effects if appropriate.
- Unnatural Parting: Most partings follow the crown’s curve, not a straight line. Observe natural growth patterns.
- Disconnected from Scalp: Hair must emerge from the head, not float above it. Show roots converging at the crown.
Mini Case Study: From Sketch to Finished Portrait
Jamila, an intermediate artist, struggled with drawing her model’s thick, wavy shoulder-length hair. Her initial attempt looked stiff and overly linear. After reviewing reference photos and applying form-based blocking, she restructured the hair into three main sections: two front pieces framing the face and a flowing back section. She identified a top-left light source and shaded accordingly, preserving a strong highlight along the right side of each wave. By reducing fine lines and focusing on tonal contrast, her second version showed dramatic improvement—voluminous, soft, and integrated with the head’s anatomy. The final piece earned praise in her online art community.
Essential Tools and Materials Checklist
Whether working traditionally or digitally, having the right tools streamlines the process.
- Pencil grades: HB, 2B, 4B, 6B for varied tones
- Blending stump or tortillon for smooth gradients
- Kneaded eraser for lifting highlights
- Reference images with diverse hair types
- Digital users: textured brushes, layer modes (multiply, overlay)
- Ruler or compass for initial head construction (optional)
Frequently Asked Questions
How do I make hair look shiny?
Shininess comes from high contrast between deep shadows and crisp highlights. Leave narrow strips of untouched paper (or use a highlight pen) where light hits strongest—typically along ridges or where hair folds over itself. Avoid spreading highlights too widely; gloss follows contour.
Should I draw every hair strand?
No. Focus on groups and flow. Individual strands are only visible at the ends, edges, or in flyaway details. Overdrawing creates noise and weakens form. Suggest density with clustered marks instead.
How can I practice drawing hair effectively?
Start with 10-minute gesture drawings of hair from photos, focusing only on direction and volume. Progress to longer studies emphasizing light and texture. Keep a sketchbook dedicated to hair experiments—try one style per page.
Conclusion: Bring Your Portraits to Life
Drawing women’s hair well means seeing beyond the surface. It’s about interpreting mass, motion, and mood through disciplined observation and deliberate technique. When you treat hair as an integral part of the portrait—not an afterthought—you unlock new levels of expression and realism. Mastery doesn’t come overnight, but with consistent practice and attention to structure, light, and texture, your portraits will gain depth and vitality.
🚀 Grab your sketchbook today and draw one head of hair using only shapes and shadows—no strands allowed. You’ll be surprised how much more lifelike it becomes.