The Fondjoy Iron Man MK3 figure has earned its place among collectors and fans as one of the most accessible and detailed screen-accurate representations of Tony Stark’s iconic suit from *Iron Man 2*. While it comes impressively assembled out of the box, true enthusiasts know that the real magic happens in customization. With careful attention to paint, articulation, accessories, and display, you can transform your standard model into a museum-grade centerpiece that reflects your personal style and craftsmanship.
Customization isn’t just about aesthetics—it's an expression of ownership, creativity, and reverence for the character. Whether you're aiming for hyper-realistic metallic finishes, enhanced articulation for dynamic poses, or integrating LED lighting for that signature arc reactor glow, every modification adds depth and authenticity.
Understanding Your Canvas: Anatomy of the Fondjoy MK3
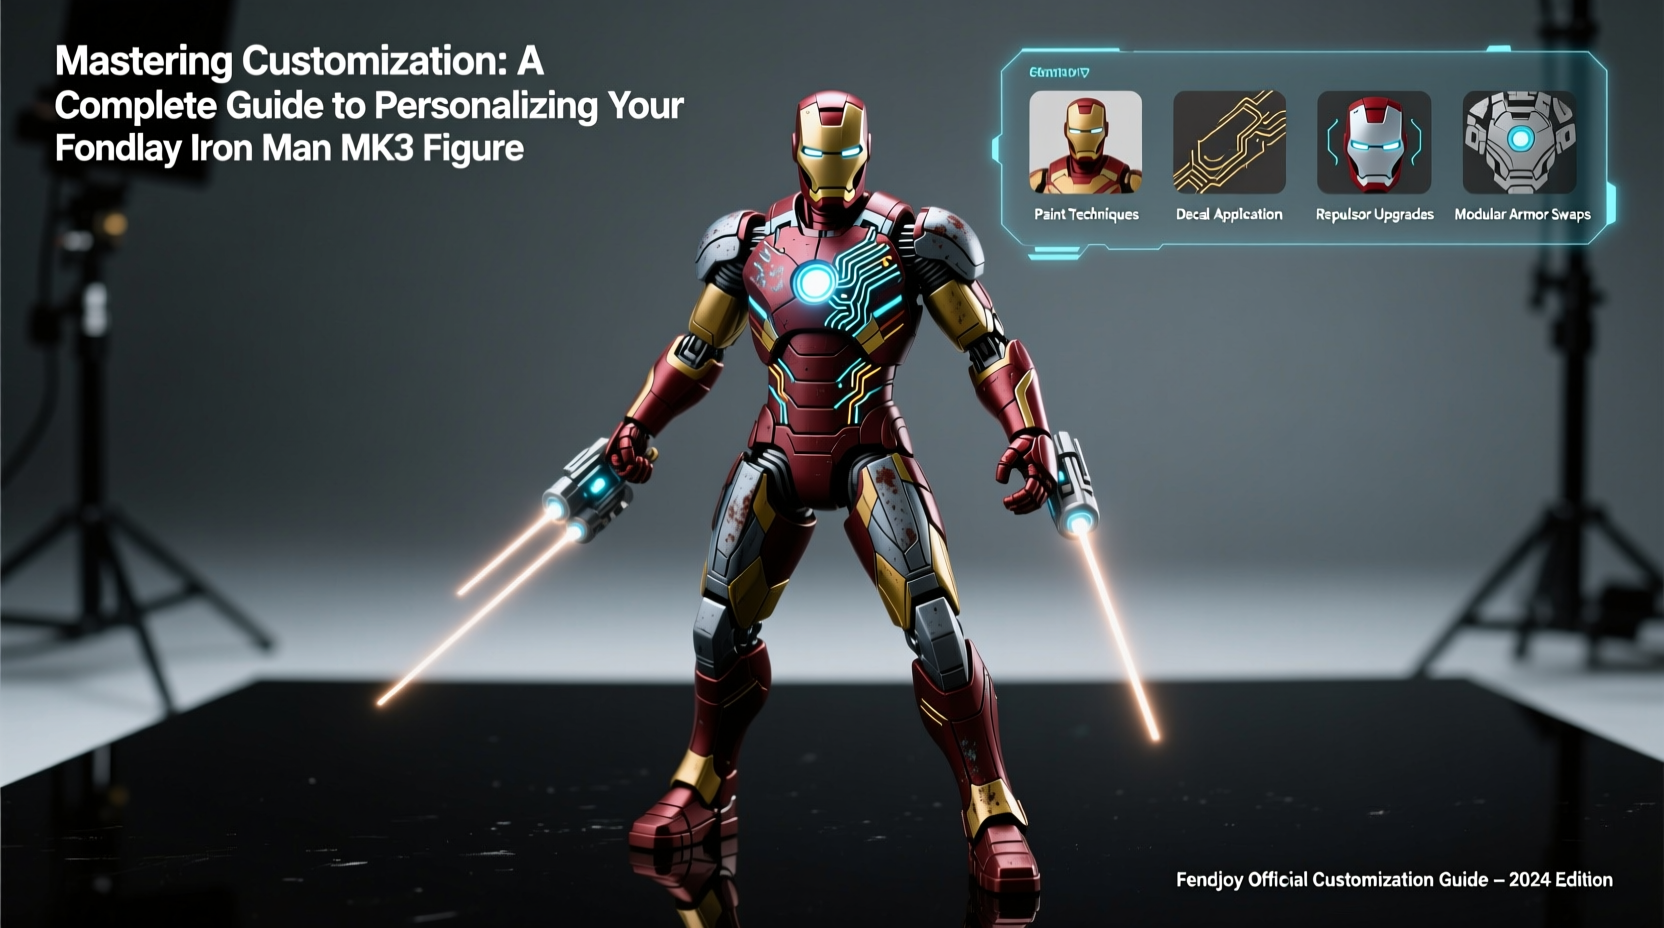
Before making any changes, it's essential to understand the materials and structure of the figure. The Fondjoy MK3 is primarily made of PVC and ABS plastic, offering a balance between durability and ease of modification. It features approximately 30 points of articulation, allowing for a wide range of poses, though some joints may feel stiff or loose depending on manufacturing variances.
The figure stands at around 12 inches tall and includes multiple interchangeable hands, a standalone arc reactor, and a display base. Its modular armor plating—especially on the arms and legs—is designed to mimic the segmented look of the cinematic suit, which also makes it ideal for disassembly and refinishing.
Because the parts are held together with small screws and friction joints, disassembling the figure for painting or upgrading requires precision but is entirely manageable with basic tools like a mini Phillips screwdriver and needle-nose pliers.
Tip: Label each removed part with masking tape and note its location to avoid confusion during reassembly.Step-by-Step Guide to Disassembly and Prep
- Remove the armor plates: Start with larger sections like forearms, shins, and chest pieces. These snap on and off easily.
- Unscrew internal joints: Use a precision screwdriver to remove screws from shoulders, hips, and thighs. Keep screws organized in a compartmentalized tray.
- Clean all parts: Wash pieces in lukewarm water with mild dish soap. Dry thoroughly with a lint-free cloth.
- Sand smooth surfaces: Lightly sand glossy areas with 600–1000 grit sandpaper to improve paint adhesion.
- Prime the surface: Apply a thin layer of plastic primer (such as Mr. Surfacer 1000) to prevent chipping and ensure even color coverage.
Allow primed parts to cure for at least 24 hours before painting. Rushing this stage can compromise the final finish.
Painting Techniques for Realistic Metallic Effects
The MK3 suit is defined by its vibrant red and gold tones, but stock colors often appear flat or overly bright. Custom painting allows you to achieve layered, weathered, or metallic finishes that mimic film lighting and wear.
Use acrylic or lacquer-based model paints for best results. Recommended brands include Tamiya, Vallejo Model Color, and AK Interactive. For airbrushing, mix paints with appropriate thinners to avoid clogging.
Color Formula for Authentic Look
| Area | Base Color | Highlight/Effect | Weathering Tip |
|---|---|---|---|
| Red Armor | Tamiya TS-15 Fire Engine Red | Dry-brush with white | Add subtle black wash in panel lines |
| Gold Trim | Vallejo Gold NNF-07 | Metallic silver edge highlight | Light brown wash for aged metal effect |
| Helmet & Faceplate | Gloss black | Blue-tinted clear coat | Micro-scratches with fine steel wool |
After painting, seal everything with a matte or satin topcoat. A gloss finish may look too toy-like unless used selectively (e.g., on lenses or the arc reactor).
“Replica figures become art when they reflect not just the character, but the care of the creator.” — Daniel Reyes, Prop Replication Specialist
Advanced Upgrades: Lighting, Articulation, and Accessories
For those seeking next-level realism, consider functional enhancements that go beyond paint.
LED Integration
Installing micro LEDs enhances presence and authenticity. Focus on key glowing elements:
- Arc reactor (chest)
- Palm repulsors
- Eye lenses
Use 2mm warm-white or blue LEDs powered by a tiny coin-cell battery pack hidden in the torso. Solder wires carefully and secure them with heat-shrink tubing. Test circuits before final assembly.
Joint Reinforcement
Over time, stock joints can loosen. Replace weak pins with brass rods or upgrade connectors using 3D-printed replacements available on hobbyist platforms like Thingiverse. This improves poseability without sacrificing stability.
Display Environment
Create a themed base using foam board, resin, or LEGO elements to simulate a lab floor or battlefield. Add labeled equipment, holographic effect films, or even a miniature arc reactor pedestal.
Tip: Use UV-reactive paint on select panels and pair with a blacklight display case for a futuristic glow effect.Mini Case Study: From Stock to Showcase – Alex’s MK3 Transformation
Alex Chen, a mechanical engineer and Marvel collector from Austin, TX, purchased his Fondjoy MK3 in 2022. Initially satisfied, he soon felt the red was too pink and the gold lacked depth. Over six weekends, he disassembled the figure, sanded all parts, and applied a three-layer paint process: base coat, ink wash, and dry brushing.
He then installed custom LEDs using a programmable microcontroller to make the arc reactor pulse gently. Finally, he built a diorama of Stark’s workshop using printed backdrop panels and miniature tools. The result? A showpiece that won “Best Modified Figure” at his local comic con exhibit.
“It stopped being a toy and started feeling like a piece of movie history,” Alex said. “The time invested made it personal.”
Checklist: Customize Your MK3 Like a Pro
- Disassemble the figure safely and label all parts
- Clean and sand surfaces for better paint adhesion
- Apply plastic primer and let cure for 24 hours
- Paint using high-quality model paints and proper techniques
- Add shading and weathering for realism
- Seal with a protective topcoat
- Install LEDs in arc reactor, eyes, and palms (optional)
- Reinforce loose joints for improved posing
- Design a custom display base or diorama
- Photograph and share your finished work
Frequently Asked Questions
Can I repaint the figure without damaging the plastic?
Yes, as long as you use paints formulated for plastic models and avoid acetone-heavy thinners. Always test on a small, hidden area first.
How do I fix a broken arm joint?
Replace the broken pin with a brass rod cut to size, or use epoxy to reinforce the socket. For recurring issues, consider upgrading to a 3D-printed joint system.
Is it safe to glue parts permanently?
Only if you don’t plan to disassemble again. For modularity, use screws or friction-fit designs. If gluing, use cyanoacrylate (super glue) sparingly to avoid melting plastic.
Conclusion: Make It Yours
The Fondjoy Iron Man MK3 is more than a collectible—it’s a canvas waiting for your vision. Through thoughtful customization, you elevate it from mass-produced replica to personalized tribute. Every brushstroke, circuit, and adjustment tells a story of dedication and passion.
Don’t wait for perfection to begin. Start small: swap a hand, touch up a scratch, or add a single LED. Each step builds confidence and skill. Share your journey online, connect with fellow customizers, and inspire others to see their figures not just as merchandise, but as works in progress.
💬 What’s your next customization project? Whether it’s weathering, lighting, or a full rebuild, tell us how you’re making your MK3 unique—we’d love to feature your build!