White sneakers are timeless—crisp, stylish, and versatile enough to elevate any outfit. But their pristine appearance comes at a cost: they’re magnets for dirt, scuffs, and worst of all, yellowing soles. Many people unknowingly accelerate this discoloration with improper cleaning methods or harsh chemicals. The truth is, yellowing isn’t inevitable. With the right knowledge and routine, you can restore and maintain your sneakers’ original look—without turning the rubber soles into a sun-faded mess.
Yellowing occurs due to oxidation, UV exposure, chemical reactions, and material breakdown. Once it sets in, it’s difficult to reverse. But prevention is far more effective than correction. This guide breaks down the science behind sole yellowing, outlines safe and powerful cleaning methods, and delivers expert-backed strategies to keep your whites bright and your soles clear—for good.
The Science Behind Yellowing Soles
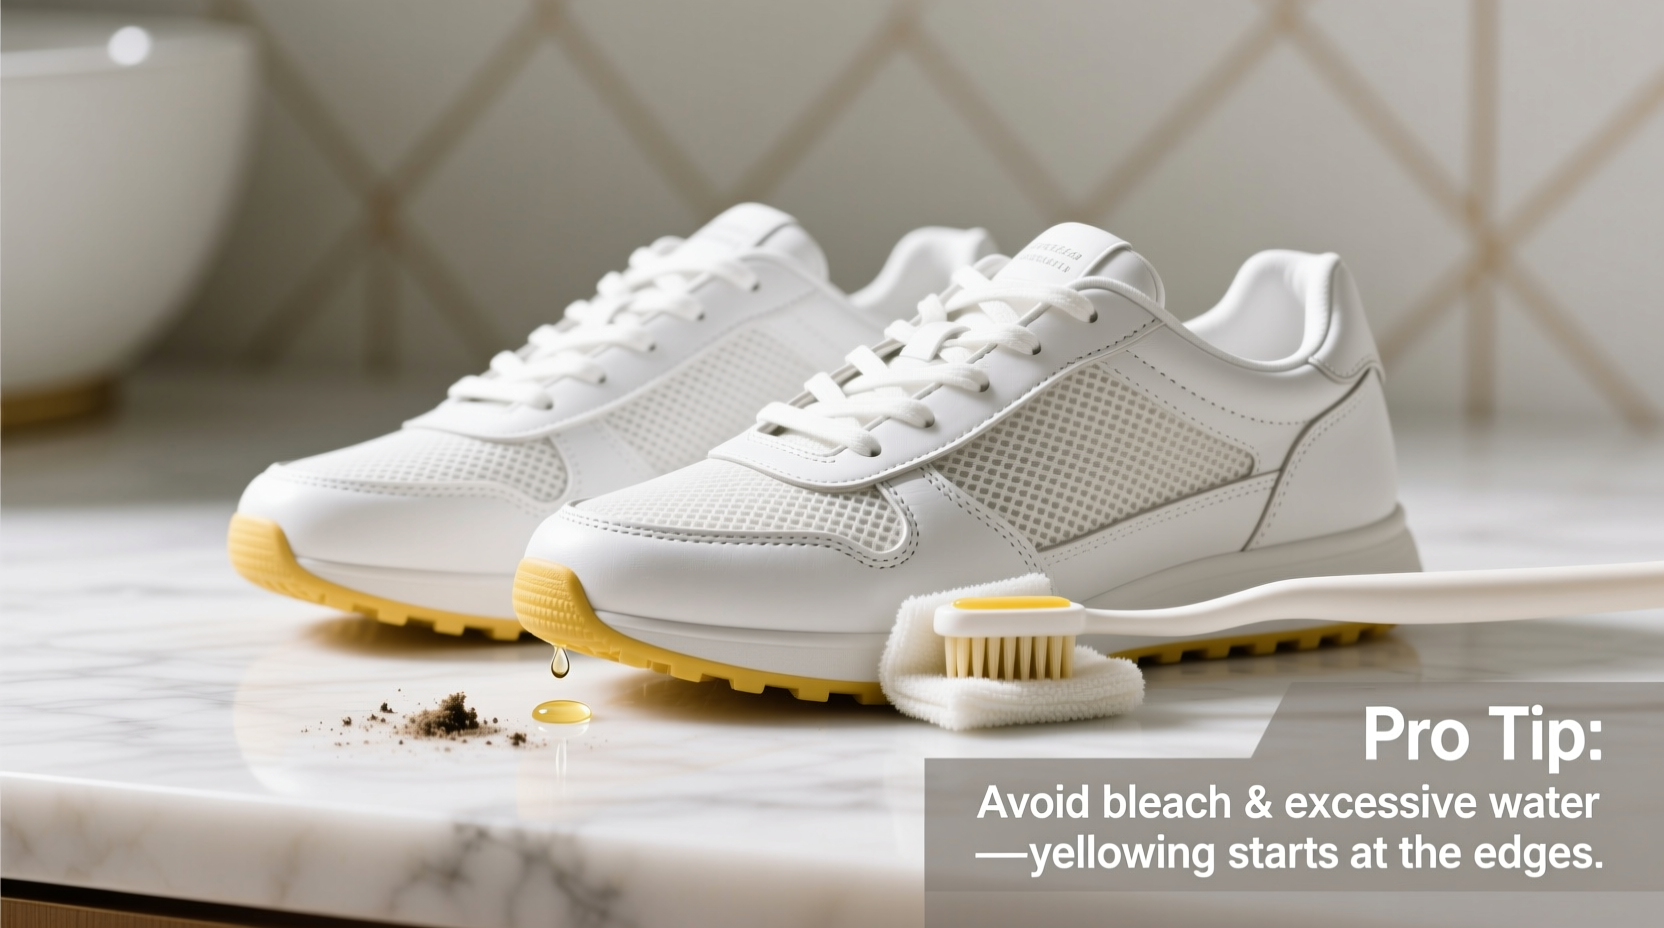
Understanding why white soles turn yellow is the first step in preventing it. Most sneaker soles are made from ethylene-vinyl acetate (EVA) or polyurethane (PU), both of which degrade over time when exposed to certain environmental factors.
Oxidation is the primary culprit. When EVA foam interacts with oxygen, especially under heat or sunlight, it undergoes a chemical reaction that produces yellow compounds. UV light accelerates this process dramatically—this is why sneakers left near windows or worn frequently outdoors tend to yellow faster.
Additionally, some cleaning agents can worsen the problem. Bleach, hydrogen peroxide (especially in high concentrations), and ammonia-based cleaners may initially whiten but often leave residues or trigger oxidative stress in the rubber. Over time, these substances break down polymers in the sole, leading to permanent discoloration.
“Many people think bleach is the solution for white sneakers, but it’s actually one of the biggest contributors to long-term yellowing.” — Marcus Lin, Footwear Restoration Specialist
Even sweat and skin oils transferred from hands during handling can create localized staining if not cleaned properly. The goal isn’t just cleanliness—it’s preservation of material integrity.
Step-by-Step Guide to Cleaning White Sneakers Safely
Cleaning your sneakers correctly involves preparation, targeted treatment, and proper drying. Follow this professional-grade method to avoid damaging materials or inducing yellowing.
- Remove laces and insoles: Take out the laces and insoles to clean them separately. Use a mild detergent and soft brush for laces; soak fabric insoles in warm water with a drop of dish soap. Never machine-wash insoles—they lose shape and cushioning.
- Dry brush off loose debris: Use a soft-bristle toothbrush or suede brush to remove surface dirt. Focus on seams, grooves, and mesh panels. Avoid wire brushes—they scratch surfaces and expose inner layers to moisture.
- Prepare a pH-balanced cleaning solution: Mix one tablespoon of mild dish soap (like Dawn) with two cups of lukewarm water. Avoid detergents with optical brighteners or bleach derivatives.
- Clean upper material by type:
- Fabric/Mesh: Dip a microfiber cloth or soft brush into the solution. Gently scrub in circular motions. Rinse cloth frequently.
- Leather/Synthetic Leather: Wipe with damp cloth only. Excess water causes cracking. After cleaning, condition with a leather-safe product.
- Suede/Nubuck: Use a specialized suede eraser or brush. Never saturate with liquid.
- Tackle the sole gently: For the midsole and outsole, use a separate toothbrush dipped in the same solution. Focus on stained areas without aggressive scrubbing. For stubborn marks, make a paste of baking soda and water (two parts soda to one part water) and apply sparingly.
- Rinse without soaking: Dampen a clean cloth with plain water and wipe away soap residue. Do not submerge shoes in water—this traps moisture inside, promoting mold and accelerating sole degradation.
- Air-dry away from direct light: Stuff shoes with white paper towels to absorb moisture and hold shape. Place in a well-ventilated room, away from radiators, sunlight, or fans. Drying takes 6–12 hours depending on humidity.
Do’s and Don’ts: What to Use and What to Avoid
Mistakes in product selection can undo even the most careful cleaning effort. Below is a comparison of recommended practices versus common errors.
| Do’s | Don’ts |
|---|---|
| Use mild dish soap with no bleach or brighteners | Use chlorine bleach or hydrogen peroxide solutions |
| Clean with soft brushes and microfiber cloths | Scrub with steel wool or abrasive pads |
| Dry indoors at room temperature | Place near windows, heaters, or in car trunks |
| Store in breathable cotton bags or boxes | Keep in sealed plastic containers (traps moisture) |
| Rotate sneakers regularly to reduce wear | Wear the same pair daily without rest days |
| Apply UV-blocking sprays designed for footwear | Expose clean sneakers to prolonged sunlight after washing |
This table highlights how subtle choices impact longevity. For example, storing sneakers in plastic might seem protective, but it creates a humid microclimate that fosters oxidation and microbial growth—both contribute to yellowing.
Real Example: Recovering a Vintage Pair Without Damage
Jamal, a sneaker collector in Chicago, inherited a pair of vintage Adidas Superstars from his older brother. Though iconic, they were heavily soiled, with yellowed soles and grayed uppers. He wanted to restore them without compromising value.
Instead of using bleach—a common YouTube hack—he researched pH-neutral options. He started by removing the laces and brushing off dust. Then he mixed a gentle cleaning solution of Castile soap and warm water. Using separate brushes for upper and sole, he cleaned each section meticulously over two days, allowing full drying between sessions.
For the yellowed soles, he avoided “sun bleaching” myths. Instead, he applied a small amount of baking soda paste, wrapped the soles in a damp cloth for 30 minutes, then wiped clean. No UV exposure. Within three days, the sneakers looked revived—whiter uppers, clearer soles, and no new yellowing.
“I was tempted to leave them in the sun,” Jamal said later. “But reading about oxidation changed my mind. Now I keep them in a shaded closet with silica packs.”
His success wasn’t magic—it was discipline and understanding material science.
Prevention Is Everything: Long-Term Care Tips
Cleaning is reactive. True expertise lies in prevention. Incorporate these habits to extend the life and brightness of your sneakers.
- Wipe after every wear: Use a dry microfiber cloth to remove surface dust and oils. Even invisible grime builds up over time.
- Invest in a sneaker shield spray: Products like Crep Protect or Jason Markk Repel form a hydrophobic barrier that repels water and stains. Reapply monthly.
- Limit exposure to elements: Avoid wearing white sneakers in rain, mud, or high-dust environments unless necessary.
- Rotate your footwear: Let sneakers rest for 24–48 hours between wears. This allows materials to recover and reduces odor buildup.
- Store with silica gel packets: Place desiccants inside shoes or storage boxes to control humidity—key for preventing slow oxidation.
FAQ: Common Questions About Cleaning White Sneakers
Can I use toothpaste to clean white sneakers?
While some swear by toothpaste, most modern formulas contain whitening agents like hydrogen peroxide or sodium bicarbonate that can degrade rubber over time. Occasional spot use may work, but it's not recommended for regular cleaning. Stick to tested, pH-neutral solutions instead.
Why do my soles turn yellow even when I don’t wear them?
Even unworn sneakers yellow due to ambient UV exposure and air pollution. Indoors, fluorescent lighting and window-filtered sunlight still emit UV rays. Store sneakers in opaque boxes or breathable fabric covers, ideally in a dark, cool space.
Is there a way to reverse yellowing once it happens?
Reversal is difficult but possible in early stages. A method called “retinol treatment” (using retinol cream and plastic wrap in indirect light) has gained traction among collectors. However, results vary, and overuse can dry out rubber. Prevention remains the most reliable strategy.
Final Checklist: Clean and Protect Like a Pro
Before your next cleaning session, run through this checklist to ensure every step supports long-term freshness and avoids yellowing risks.
- ☐ Remove laces and insoles for separate cleaning
- ☐ Dry brush all surfaces to remove loose dirt
- ☐ Prepare cleaning solution: mild soap + lukewarm water
- ☐ Use designated brushes for upper, midsole, and outsole
- ☐ Avoid bleach, peroxide, and abrasive tools
- ☐ Wipe clean with damp cloth—no soaking
- ☐ Stuff with paper towels and air-dry indoors, away from light
- ☐ Apply protective spray once fully dry
- ☐ Store in breathable container with moisture absorber
- ☐ Inspect weekly for early signs of soiling or discoloration
“The best sneaker care routine is invisible—it prevents problems before they start.” — Lena Tran, Sustainable Footwear Consultant
Conclusion: Master the Details, Preserve the Look
Cleaning white sneakers without yellowing the soles isn’t about finding a miracle product—it’s about mastering consistent, science-backed habits. Every choice, from the soap you use to where you dry your shoes, influences their lifespan and appearance. By respecting the materials, avoiding aggressive shortcuts, and prioritizing prevention, you transform routine maintenance into an art form.
Your sneakers reflect your attention to detail. Treat them not as disposable fashion items, but as investments worth preserving. Start today: pull out that neglected pair, assess their condition, and follow the steps outlined here. You’ll be amazed at how much brighter they can look—with none of the regrettable yellow tint.
💬 Have a tip that saved your sneakers from yellowing? Share your story in the comments and help others keep their kicks looking fresh!