White sneakers are a wardrobe staple—versatile, stylish, and effortlessly cool. But their pristine appearance comes at a cost: they show every speck of dirt, scuff, and spill. Left unattended, once-bright whites turn dingy, yellowed, or streaked, robbing your look of its freshness. The good news? Keeping them spotless doesn’t require expensive products or professional services. With the right techniques, timing, and consistency, you can preserve that just-bought glow for months, even years.
This guide delivers actionable, field-tested strategies used by sneaker enthusiasts, shoe care specialists, and everyday wearers who refuse to let grime win. From immediate post-wear routines to deep-cleaning formulas you can mix at home, these methods focus on effectiveness, accessibility, and long-term protection.
The Daily Defense: Preventing Stains Before They Set In
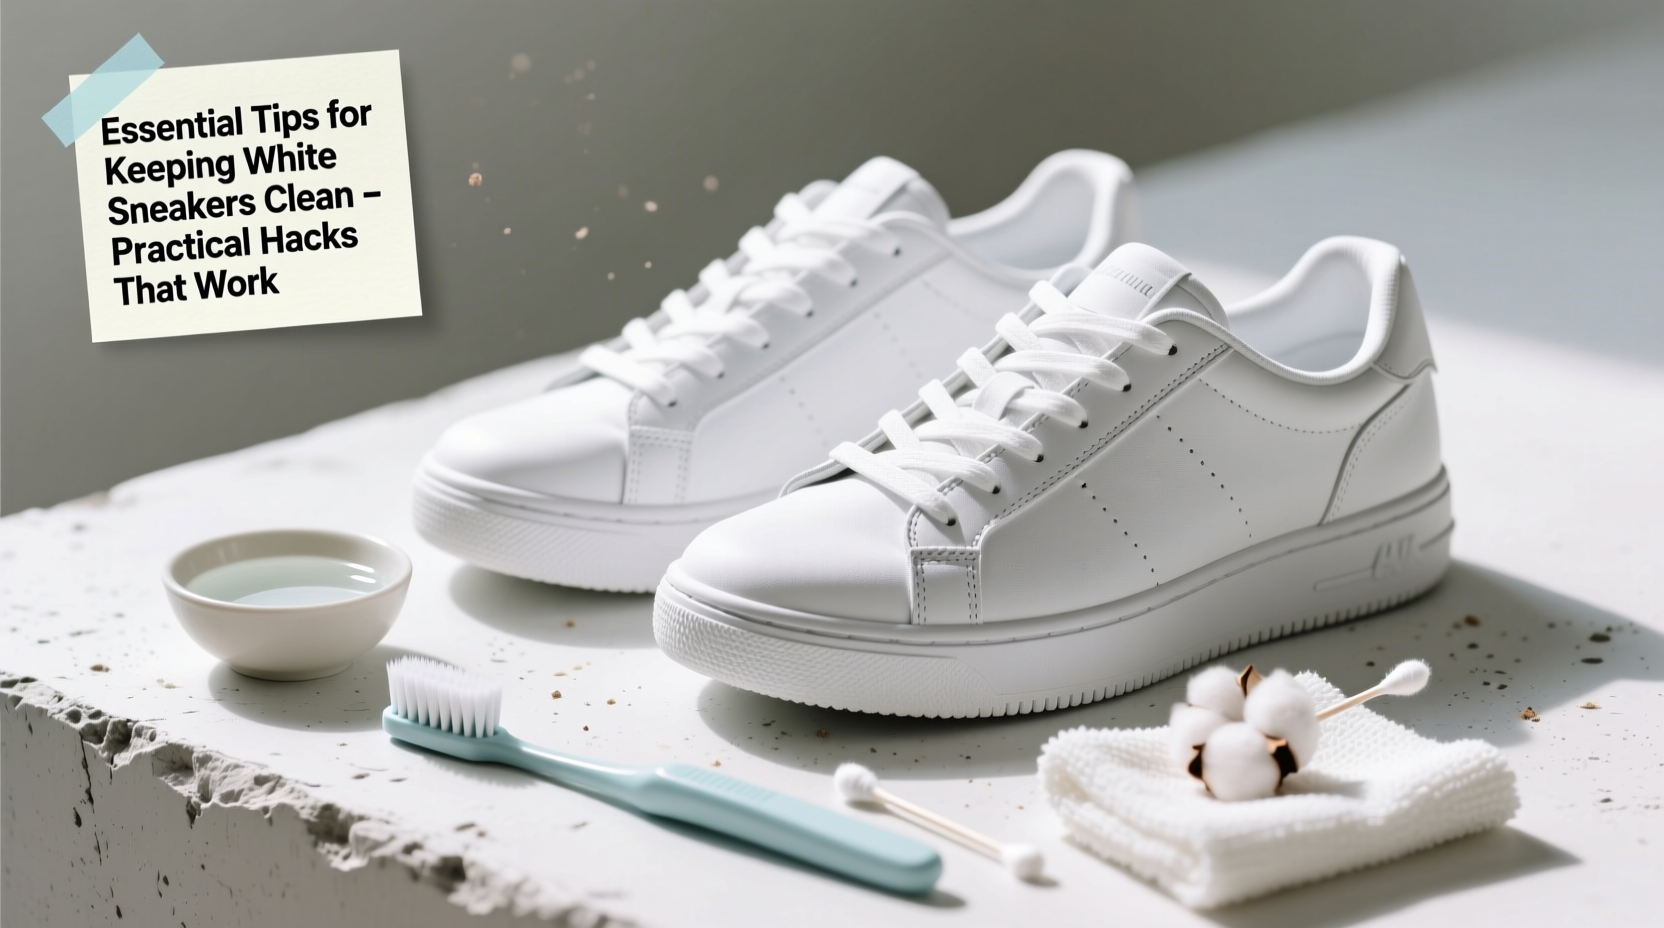
Most people wait until their sneakers look dirty before cleaning them. That’s a mistake. Prevention is the most powerful part of any maintenance routine. Dirt, salt, and moisture begin degrading materials the moment they make contact. By acting early, you reduce the need for aggressive scrubbing later—and minimize damage to fabric, leather, or mesh.
Tip: After each wear, especially in wet or muddy conditions, wipe down your sneakers with a dry microfiber cloth to remove surface debris.Dust and grit act like sandpaper when ground into the material during walking. A quick wipe takes seconds but significantly slows discoloration. For urban environments where pavement residue and exhaust soot accumulate, consider using a soft-bristled brush (like an old toothbrush) to gently dislodge particles from treads and seams.
If your shoes get wet, never leave them to air dry in direct sunlight or near a heater. This causes glue breakdown, warping, and yellowing—especially in foam midsoles. Instead, stuff them with crumpled newspaper to absorb moisture and maintain shape, then let them dry at room temperature away from UV exposure.
Weekly Maintenance Routine
A consistent weekly check-up keeps minor issues from becoming major problems. Think of it as dental hygiene for your sneakers: small efforts compound into dramatic long-term results.
- Remove laces and insoles to inspect for trapped dirt.
- Use a dry brush to sweep away loose particles from soles and uppers.
- Spot-clean stains with a damp cloth and mild detergent.
- Check for fraying, peeling, or separation at the sole edge.
- Let shoes fully dry before storing or wearing again.
This simple five-step process takes less than ten minutes and prevents buildup that dulls color and weakens materials. It also helps you catch early signs of wear, allowing timely intervention before structural damage occurs.
Deep-Cleaning Methods That Deliver Real Results
When wiping isn’t enough, it’s time for a deeper clean. Not all materials respond the same way, so choosing the right method matters. Below is a breakdown of effective techniques based on sneaker composition.
Fabric & Mesh Uppers
Canvas and textile-based sneakers (like classic Converse or certain Adidas models) tolerate water well but are prone to absorbing stains. Use this approach:
- Mix one tablespoon of mild laundry detergent with two cups of warm water.
- Dip a soft brush into the solution and gently scrub in circular motions.
- Focus on stained areas without oversaturating the fabric.
- Rinse with a damp cloth using clean water only.
- Air dry completely—never machine dry.
Leather & Synthetic Leather
Patent leather or synthetic uppers (common in Nike Air Force 1s or Stan Smiths) resist water better but can crack if dried improperly. Avoid soaking. Instead:
- Wipe with a slightly damp microfiber cloth.
- For stubborn marks, use a magic eraser (melamine foam) with light pressure.
- Follow with a leather conditioner to restore moisture and prevent cracking.
“Over-scrubbing leather with abrasive tools strips its finish. Gentle is always better.” — Marcus Tran, Footwear Restoration Specialist
Boosting Brightness: Removing Yellowing from Midsoles
No amount of upper cleaning fixes yellowed foam soles. This oxidation happens naturally over time, accelerated by UV exposure and sweat absorption. To reverse it:
Hydrogen Peroxide + Baking Soda Paste:
- Mix equal parts hydrogen peroxide (3%) and baking soda into a thick paste.
- Apply with a toothbrush along yellowed edges.
- Cover treated areas with plastic wrap to retain moisture.
- Place under indirect sunlight for 2–3 hours (UV activates the peroxide).
- Rinse thoroughly and dry.
This method reliably restores whiteness without damaging rubber. Repeat every 4–6 weeks as needed. Store shoes in dark, ventilated spaces between uses to slow re-yellowing.
Do’s and Don’ts: What Actually Works (And What Doesn’t)
Myths about sneaker cleaning abound—from tossing them in the washing machine to using bleach pens. Some shortcuts cause irreversible harm. The table below separates fact from fiction.
| Action | Do? | Why |
|---|---|---|
| Using a washing machine | No | Agitation warps shape, damages glue, and fades colors. |
| Machine drying | No | Heat cracks rubber and shrinks fabric. |
| Using toothpaste | Limited | May lift fresh scuffs but contains abrasives—test first. |
| Storing in original box | No | Poor airflow promotes mold and yellowing. |
| Rotating between multiple pairs | Yes | Reduces stress and gives shoes time to off-gas sweat and odor. |
| Using waterproof sprays | Yes | Creates a barrier against spills and stains—reapply monthly. |
Real-World Example: How One Teacher Keeps Her Sneakers Spotless
Sarah Lin, a middle school teacher in Portland, wears white sneakers daily despite rainy winters and high-mileage classroom pacing. She credits her success to a three-part system:
First, she applies a silicone-based protector spray every four weeks. Second, she wipes her shoes down with a dry towel immediately after removing them—especially important during mud season. Third, she rotates three pairs weekly, giving each time to rest and dry internally.
When visible grime builds up, she uses the hydrogen peroxide method described above. “I do a sole refresh every six weeks,” she says. “It takes 20 minutes, but my shoes look brand new after eight months.” Her students often ask if she buys new ones monthly. She doesn’t.
Sarah’s approach proves that durability isn’t about avoiding wear—it’s about managing it intelligently.
Essential Checklist for Long-Term White Sneaker Care
To help you stay consistent, here’s a printable-style checklist summarizing key actions:
White Sneaker Care Checklist- ✅ Wipe shoes after each wear
- ✅ Remove laces and insoles weekly for separate cleaning
- ✅ Brush off dry dirt before wet cleaning
- ✅ Use gentle cleaners—no bleach or ammonia
- ✅ Treat midsole yellowing every 4–6 weeks
- ✅ Apply protective spray monthly
- ✅ Rotate between at least two pairs
- ✅ Store in breathable cotton bags, not plastic
- ✅ Never expose to direct heat or sunlight while drying
- ✅ Inspect for glue separation or wear quarterly
Frequently Asked Questions
Can I use dish soap to clean white sneakers?
Yes, but sparingly. Mild dish soap (like Dawn) cuts through grease and works well on rubber soles. However, it can strip natural oils from leather. Always dilute (a few drops per cup of water), avoid prolonged contact, and rinse thoroughly.
How often should I deep-clean my white sneakers?
Every 3–4 weeks for regular wearers; once every 6–8 weeks for occasional use. Signs you need a deep clean include visible scuffing, dullness, or lingering odors despite airing out.
Are home remedies safe for all sneaker types?
Not universally. While baking soda and vinegar are generally safe for fabric and rubber, they can damage suede or nubuck. Always test any solution on a small, hidden area first. When in doubt, consult the manufacturer’s care label.
Conclusion: Make Cleanliness a Habit, Not a Chore
Keeping white sneakers clean isn’t about perfection—it’s about consistency. The difference between faded, neglected shoes and crisp, bright ones often comes down to small, repeated actions: a quick wipe, a monthly treatment, a moment to rotate pairs. These habits take little time but deliver lasting value, both in appearance and longevity.
You don’t need a closet full of specialty products or hours to spare. Start with one change—perhaps adopting the weekly inspection or trying the peroxide paste on yellowed soles. Build from there. Over time, your routine will become second nature, and your sneakers will reflect the care you put in.
💬 Have a favorite sneaker-cleaning hack? Share it in the comments—your tip might help someone save their favorite pair.