Wet shoes are more than just uncomfortable—they can lead to structural breakdown, unpleasant odors, and even mold if not handled properly. Whether soaked from rain, snow, or an accidental splash, the way you dry your footwear determines how long they last and how comfortable they remain. Rushing the process with heat sources like radiators or hairdryers may seem efficient, but it often warps materials, cracks leather, or weakens adhesives. The key is speed balanced with care. Below are scientifically sound, practical, and widely tested approaches that accelerate drying while protecting your investment.
Why Proper Drying Matters
Moisture trapped inside shoes creates a breeding ground for bacteria and fungi, leading to persistent smells and potential health concerns like athlete’s foot. Beyond hygiene, prolonged dampness compromises materials: leather stiffens and cracks, glue deteriorates in athletic shoes, and fabric linings shrink or mildew. Even synthetic uppers can delaminate when exposed to rapid temperature shifts. The goal isn’t just dryness—it’s preserving integrity. Shoes subjected to improper drying lose support, flexibility, and aesthetic appeal within weeks.
“Drying footwear too quickly with direct heat is one of the top reasons customers return boots and sneakers prematurely,” says Marcus Tran, senior technician at Apex Footwear Repair. “Controlled airflow and absorbent materials do far more good than blasting them with heat.”
Step-by-Step Guide to Safely Dry Wet Shoes
Drying wet shoes effectively involves preparation, moisture extraction, and controlled air circulation. Follow this timeline for optimal results:
- Remove excess water (0–5 minutes): Shake shoes gently outdoors. Remove laces and insoles to allow full access to internal moisture.
- Blot interior (5–10 minutes): Use microfiber cloths or paper towels to dab the inside. Avoid rubbing, which can push moisture deeper into padding.
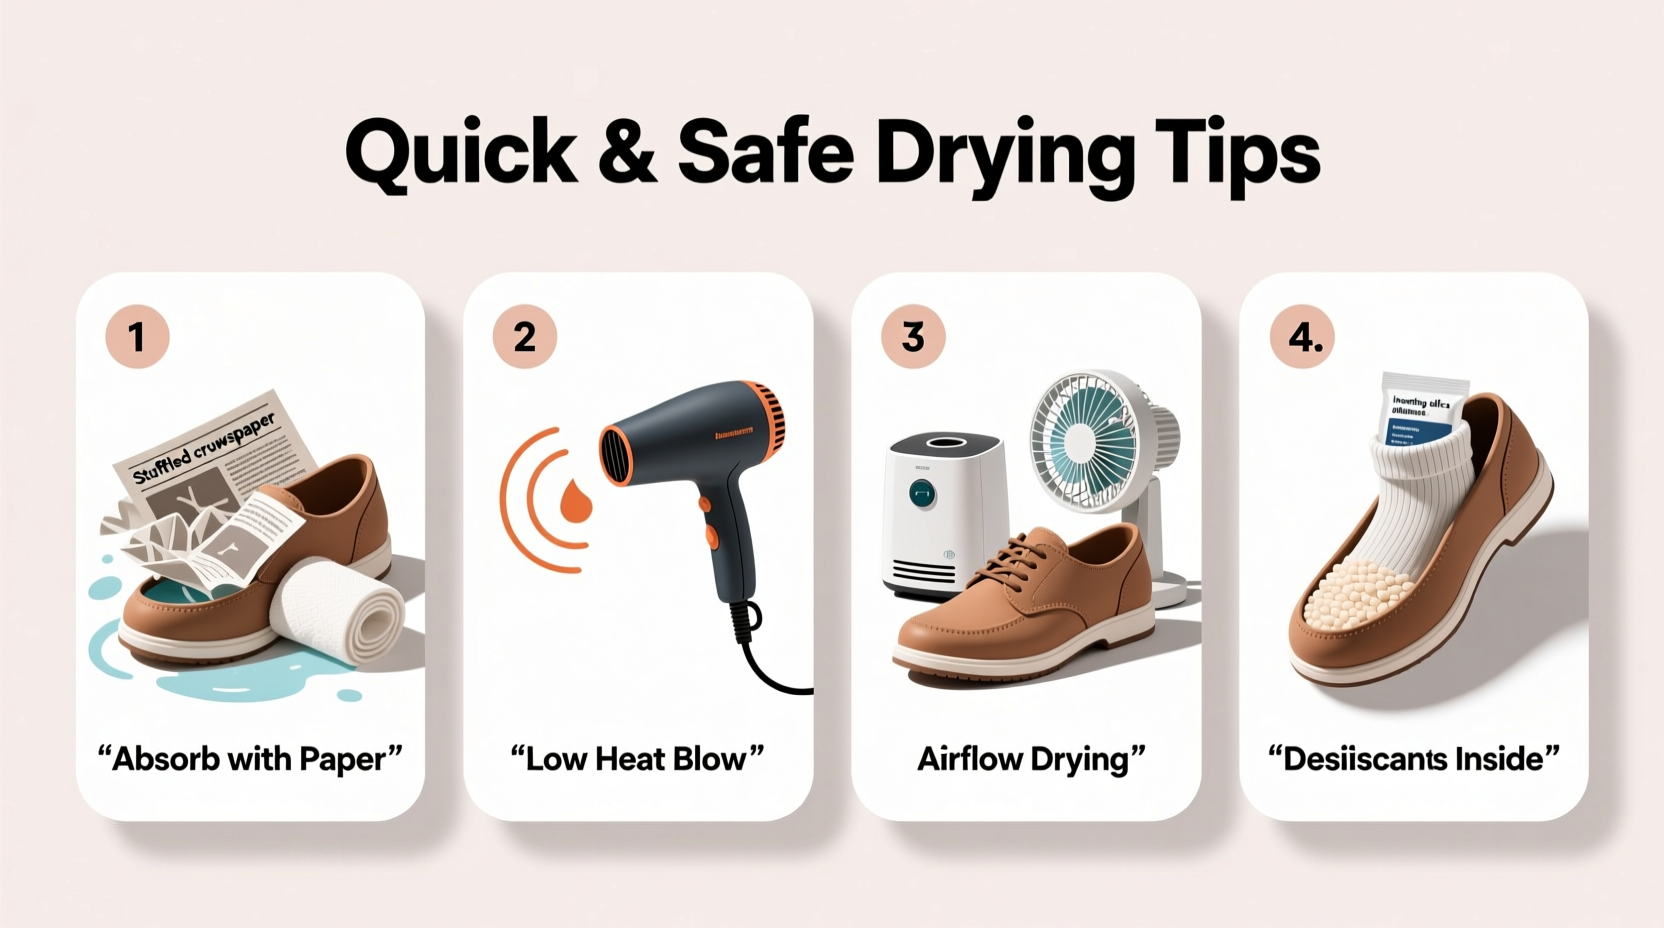
- Insert absorbent cores (10–15 minutes): Pack loosely crushed newspaper, dry rice, or reusable silica packs into each shoe. These draw moisture from lining and midsole.
- Position for airflow (15–20 minutes): Place shoes in a well-ventilated area, away from direct sunlight or heating vents. Angle them slightly downward to encourage drainage.
- Replace fillers every 2–3 hours: Fresh newspaper or silica maintains absorption efficiency. Continue until inserts come out dry.
- Air-dry for 12–24 hours: Most shoes fully dry within a day using passive methods. Leather may take longer; avoid wearing until completely dry to prevent creasing.
Best Drying Methods Compared
Different situations call for different strategies. The table below compares common drying techniques based on safety, speed, and material compatibility.
| Method | Speed | Safety | Best For | Limitations |
|---|---|---|---|---|
| Crushed Newspaper Fill | Moderate (6–12 hrs) | High | All materials, especially leather & canvas | Requires frequent replacement |
| Silica Gel Packs | Moderate (8–14 hrs) | Very High | Delicate fabrics, electronics (e.g., smart shoes) | Costly at scale; needs recharging |
| Fan-Assisted Airflow | Faster (4–8 hrs) | High | Sneakers, mesh, synthetics | Less effective on thick soles |
| Radiator or Heater Proximity | Fast (2–4 hrs) | Low | Emergency use only | Risks cracking, shrinking, sole separation |
| Hairdryer on Low | Fast (30–60 mins) | Low-Moderate | Outer surface touch-up only | Heat damage likely if misused |
| Shoe Drying Rack with Heat | Moderate-Fast (3–6 hrs) | Moderate-High* | Winter boots, ski boots | *Only if low-temp setting (<40°C/104°F) |
Common Mistakes That Damage Shoes During Drying
- Using a clothes dryer: Tumbling and high heat destroy cushioning, warp shapes, and melt glues.
- Leaving insoles in while drying: Traps moisture against foam, promoting bacterial growth.
- Applying direct heat: Radiators, ovens, or fireplaces cause irreversible deformation.
- Tying shoelaces tight during drying: Restricts natural expansion, leading to permanent creases.
- Stacking wet shoes: Limits airflow and increases drying time significantly.
Real Example: Recovering Hiking Boots After a River Crossing
During a weekend trek in the Pacific Northwest, Sarah Thompson crossed a swollen stream, submerging her hiking boots for over two minutes. Back at camp, she removed the laces and insoles immediately. She packed each boot with tightly rolled newspaper, replacing it three times overnight. She placed the boots near her tent’s breathable mesh wall, where evening breezes circulated naturally. By morning, the uppers were dry, and the midsoles showed no residual dampness. Two days later, after applying a leather conditioner, the boots looked and felt as good as new. Her mistake? Initially trying to speed things with a campfire—she noticed slight stiffening on the heel counter and stopped. Slow, consistent drying saved the rest.
Checklist: Safe Shoe Drying Protocol
Use this checklist every time your shoes get wet:
- ✅ Remove laces and insoles
- ✅ Blot inner lining with dry cloth
- ✅ Stuff with crushed newspaper or silica gel
- ✅ Position in ventilated, shaded area
- ✅ Replace absorbent material every few hours
- ✅ Wait 12–24 hours before reuse
- ✅ Condition leather afterward (if applicable)
- ❌ No direct heat sources
- ❌ No enclosed spaces like closets or plastic bags
Frequently Asked Questions
Can I use rice instead of newspaper?
Yes, dry uncooked rice absorbs moisture, but it’s less effective than newspaper due to lower surface area contact. Rice is best used when newspaper isn’t available, though cleanup can be messier. Reusable silica gel is superior for repeated use.
How do I prevent odor after my shoes get wet?
Odor starts within hours of moisture exposure. To prevent it, insert baking soda inside after initial drying (after 6 hours), let sit for 2–3 hours, then shake out. Alternatively, use activated charcoal sachets designed for footwear. Always ensure complete dryness before storage.
Is it safe to dry sneakers in a car on a sunny day?
No. While tempting, cars act as solar ovens—interior temperatures can exceed 70°C (160°F). This softens rubber, deforms EVA foam, and fades colors. If using a vehicle, park in shade with windows cracked and stuff shoes with newspaper.
Final Thoughts and Action Steps
Drying wet shoes doesn’t require special equipment—just patience and the right technique. Prioritizing gentle, moisture-wicking methods over speed protects both comfort and longevity. Whether you're dealing with everyday sneakers or premium leather boots, treating wetness promptly and correctly prevents costly replacements and keeps your footwear performing at its best.
Start today: Keep a roll of newspaper or a set of reusable drying cubes in your entryway. Make post-rain maintenance part of your routine, not an afterthought. Your feet—and your wallet—will thank you.
🚀 Take action now: Inspect your wet shoes, apply the steps above, and share your experience. Have a drying hack that works? Join the conversation and help others protect their footwear wisely.