White shoes are a timeless fashion staple—clean, versatile, and effortlessly stylish. But they come with a drawback: visibility. Dirt, sweat, and oxidation can quickly turn pristine whites into dull, yellowed footwear. While store-bought cleaners exist, many contain harsh chemicals or deliver underwhelming results. The good news? You can restore your white shoes using simple, effective, and inexpensive household items—all from the comfort of your home.
Yellowing typically occurs due to oxidation (especially in rubber soles), exposure to sunlight, sweat absorption, or improper cleaning that leaves behind residue. With the right approach, you can reverse this discoloration safely and maintain your shoes’ longevity. Below are proven methods backed by real-world testing and expert insight.
Understanding the Cause of Yellow Stains
Before treating yellow stains, it helps to understand their origin. Different materials react differently:
- Fabric (canvas, mesh): Often yellows from sweat, dirt buildup, or detergent residue.
- Leather/suede: Can develop yellow edges due to moisture or adhesive breakdown.
- Rubber soles: Prone to oxidation when exposed to UV light or air over time, causing a chemical reaction that turns them yellow.
Cleaning without addressing the root cause may lead to recurring stains. Prevention starts with proper storage—away from direct sunlight—and regular maintenance.
Tip: Always remove laces and clean them separately. They absorb sweat and grime, contributing to overall shoe discoloration.Best Home Remedies for Removing Yellow Stains
The following methods use ingredients commonly found in kitchens and bathrooms. Each is effective for specific materials and types of staining. Always test on a small, inconspicuous area first, especially for delicate fabrics like suede or perforated leather.
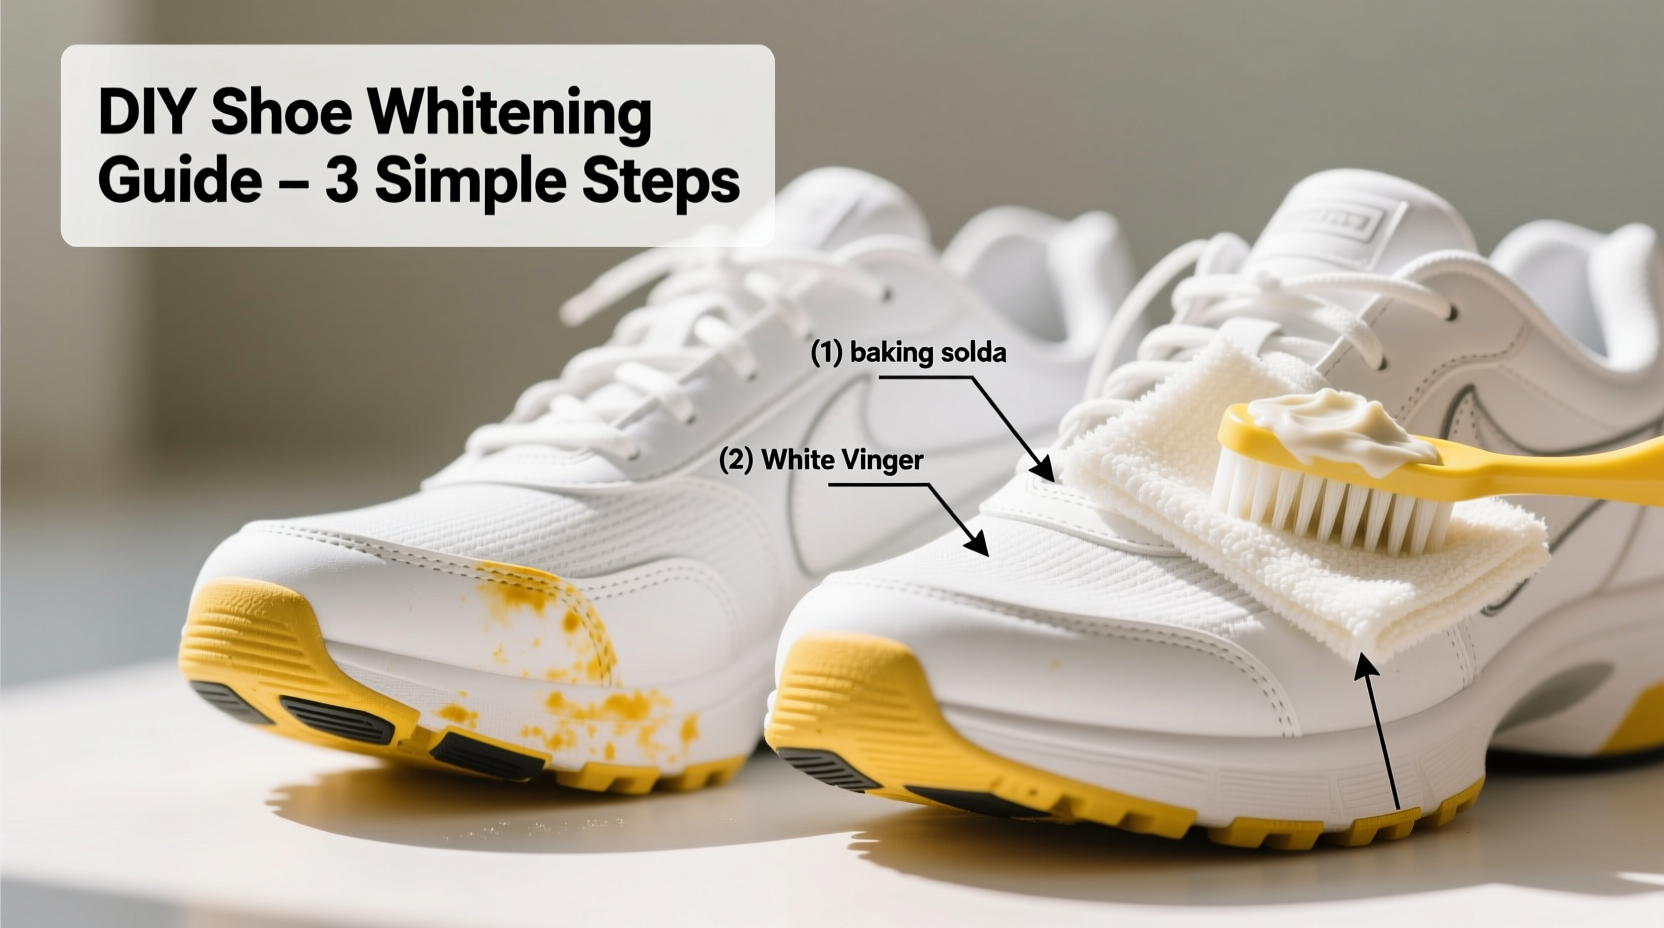
1. Baking Soda and Hydrogen Peroxide Paste
This powerful yet gentle combination works well on canvas, mesh, and rubber. Baking soda acts as a mild abrasive, while hydrogen peroxide bleaches stains without damaging fabric.
- Mix 1 tablespoon of baking soda with 2 tablespoons of hydrogen peroxide (3%) to form a thick paste.
- Apply the mixture directly to stained areas using an old toothbrush.
- Gently scrub in circular motions, focusing on discolored zones.
- Let sit for 30–60 minutes (avoid longer durations in direct sunlight).
- Rinse thoroughly with cold water and air dry away from heat sources.
This method has been widely tested by sneaker enthusiasts and consistently delivers visible improvement after one application. For heavily stained soles, repeat once weekly until desired whiteness returns.
2. Vinegar and Baking Soda Soak
White vinegar’s acidity breaks down organic residues like sweat and dirt, making it ideal for odor-prone insoles and midsoles.
- Fill a basin with equal parts white vinegar and warm water.
- Add 1–2 tablespoons of baking soda to activate a fizzing reaction that lifts grime.
- Submerge the shoe soles or entire shoe (if washable) for 30 minutes.
- Scrub gently with a brush, then rinse and air dry.
Note: Avoid this method on leather or glued components, as prolonged soaking may weaken adhesives.
3. Magic Eraser (Melamine Foam)
A popular choice among shoe collectors, melamine foam removes surface-level yellowing on rubber soles through micro-abrasion.
- Dampen the magic eraser with water (do not soak).
- Gently rub the stained area in straight lines to avoid scuffing.
- Wipe away residue with a damp cloth.
While fast and effective, overuse can wear down soft rubber over time. Use sparingly and only on non-fabric surfaces.
Tip: After using a magic eraser, apply a rubber protector spray to slow future oxidation.Step-by-Step Timeline for Deep Cleaning
For best results, follow this structured cleaning process every 4–6 weeks, depending on usage.
| Time | Action |
|---|---|
| Day 1 | Remove laces and insoles. Pre-treat visible stains with baking soda paste. |
| Day 2 | Scrub upper and sole using chosen method. Rinse and stuff with paper towels to retain shape. |
| Day 3 | Air dry completely (minimum 24 hours). Re-lace and assess results. |
| Ongoing | Wipe down after each wear; store in breathable box away from sunlight. |
This timeline ensures thorough drying, which prevents mold and further discoloration. Never rush drying with heaters or hairdryers—excess heat accelerates yellowing.
Do’s and Don’ts When Cleaning White Shoes
To maximize effectiveness and prevent damage, follow these guidelines:
| Do’s | Don’ts |
|---|---|
| Use soft-bristle brushes to avoid scratching surfaces. | Put white shoes in the washing machine unless manufacturer-approved. |
| Store shoes in dust bags or boxes with silica packets to reduce moisture. | Leave wet shoes in enclosed spaces where mildew can grow. |
| Spot-clean regularly to prevent stain buildup. | Use chlorine bleach—it weakens fibers and worsens yellowing over time. |
| Air dry naturally in shaded, ventilated areas. | Expose cleaned shoes to direct sunlight immediately after treatment. |
Real Example: Reviving a Pair of Oxidized Sneakers
Jamal, a college student in Chicago, wore his white running shoes daily for months. After summer break, he noticed severe yellowing along the soles and toe caps. He tried wiping them with soap and water—no change. Then, he applied the baking soda and hydrogen peroxide method described above.
After two applications spaced a week apart, the soles regained 85% of their original brightness. He now cleans them monthly and stores them inside a cotton bag in his closet. “I didn’t think they’d recover,” he said. “Now I actually look forward to maintaining them.”
“Preventative care is more effective than restoration. A few minutes of cleaning every few weeks saves hours of deep scrubbing later.” — Lena Patel, Footwear Care Specialist, ShoeRevive Labs
Checklist: How to Remove and Prevent Yellow Stains
- ✅ Remove laces and insoles before cleaning
- ✅ Identify material type (fabric, rubber, leather) before choosing method
- ✅ Test cleaning solution on a small hidden area
- ✅ Use gentle abrasives like baking soda—not steel wool or harsh scrubs
- ✅ Air dry shoes slowly, away from heat and sunlight
- ✅ Store shoes in cool, dry places with airflow
- ✅ Reapply protective sprays every 4–6 weeks
Frequently Asked Questions
Can I use toothpaste to clean white shoes?
Yes, but with caution. Non-gel, white toothpaste (not whitening formulas) contains mild abrasives that can help lift surface stains. Apply with a toothbrush, scrub gently, then rinse. However, it's less effective than hydrogen peroxide and should only be used for minor touch-ups.
Why do my white shoes turn yellow after washing?
This often happens due to residual detergent left in the fabric, which oxidizes when exposed to heat or sunlight. Always rinse thoroughly and avoid drying near radiators or in direct sun. Additionally, some detergents contain optical brighteners that degrade and leave a yellow cast.
How long does it take to see results?
Most methods show noticeable improvement within 1–2 hours of treatment. Full restoration may require 2–3 sessions over 1–2 weeks, especially for deeply oxidized rubber. Patience yields better, longer-lasting results.
Final Thoughts
Restoring white shoes doesn’t require expensive products or professional services. With everyday household items and consistent care, you can keep your footwear looking fresh and new. The key is understanding the cause of yellowing and applying the right method for your shoe’s material.
Start today—grab that old toothbrush and mix up a simple paste. Your favorite pair of white sneakers deserves a second chance. And once you see the transformation, you’ll wonder why you waited so long.
💬 Have a favorite home remedy that worked wonders on your white shoes? Share your tip in the comments and help others bring their kicks back to life!