In the world of avant-garde fashion, boundaries are made to be broken. One of the most unexpected yet striking trends emerging from underground street style is the fusion of delicate beauty elements with rugged utility wear—specifically, attaching artificial fingernails to combat boots. What might sound like a surreal art experiment has evolved into a legitimate form of self-expression, combining femininity, rebellion, and punk aesthetics. This guide explores how to execute this daring modification with precision, durability, and flair.
Why Combine Artificial Nails with Combat Boots?
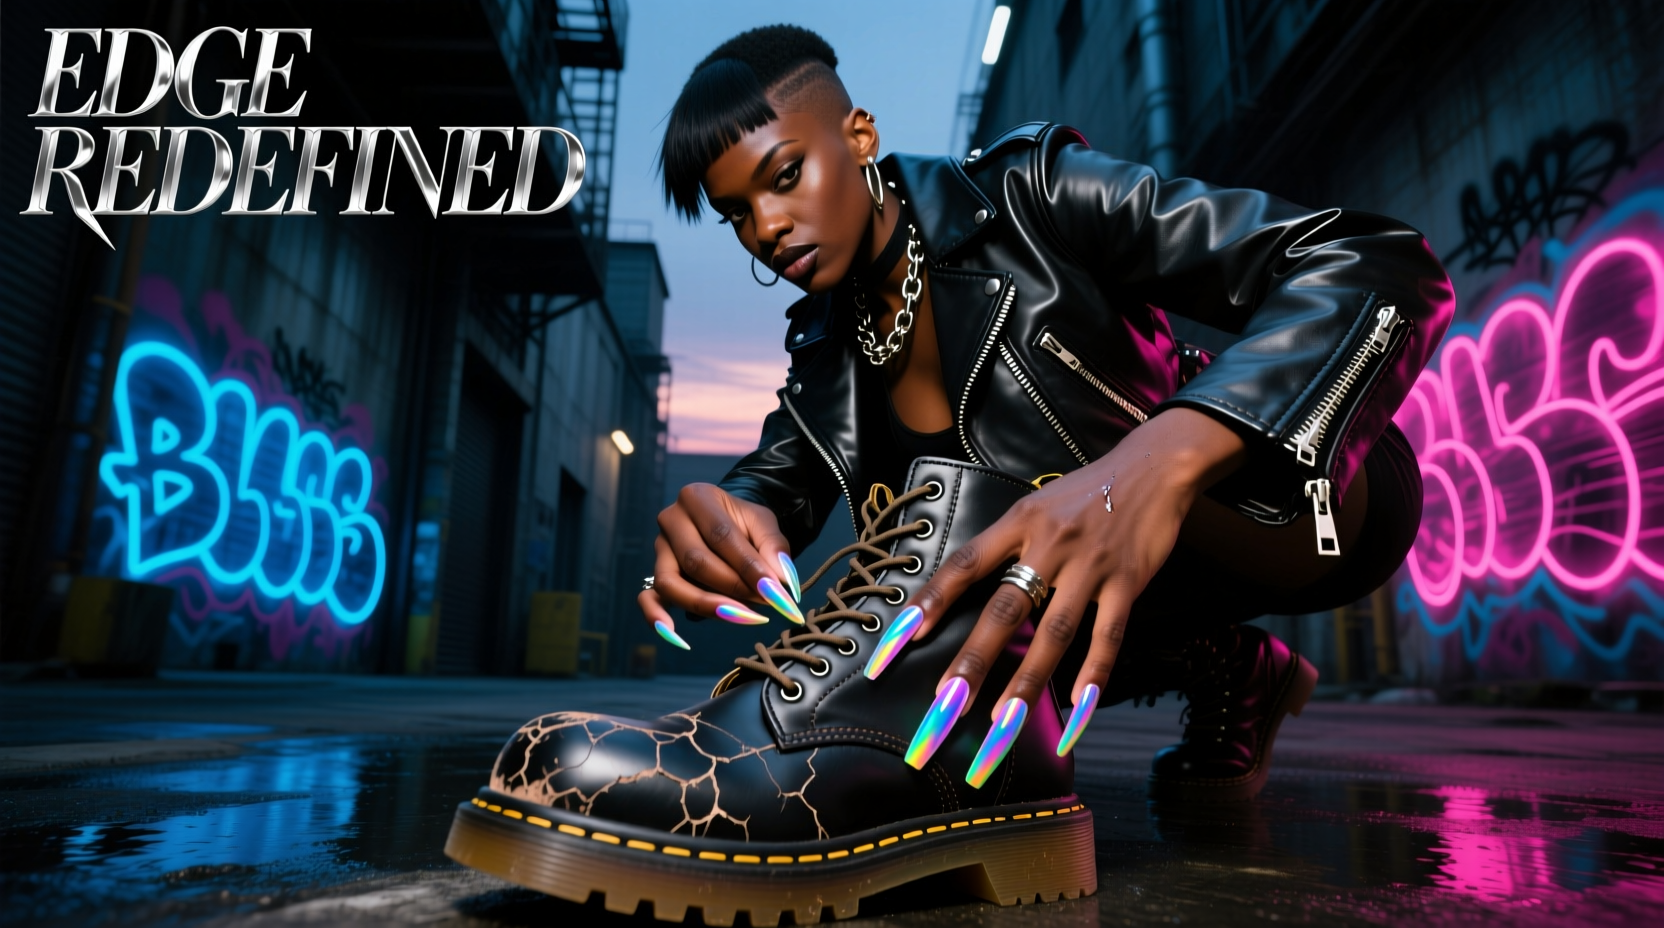
The juxtaposition of soft and hard, fragile and durable, ornamental and functional lies at the heart of this trend. Artificial nails—typically associated with manicured elegance—are recontextualized when grafted onto heavy-duty footwear. The result is a wearable piece of conceptual fashion that challenges gender norms, material expectations, and design conventions.
This look gained traction in experimental fashion circles, particularly among designers and performers who embrace body-centric art. It’s not about practicality; it’s about making a statement. Think of it as wearable sculpture—your boots become an extension of your identity, amplified through texture, shape, and visual contrast.
“Fashion thrives on contradiction. When you place something traditionally ‘delicate’ onto something inherently ‘aggressive,’ you force people to reconsider their assumptions.” — Lila Torres, Avant-Garde Stylist & Runway Designer
Materials and Tools You’ll Need
Successfully attaching artificial nails to combat boots requires more than just glue and enthusiasm. The materials must withstand pressure, friction, and environmental exposure while maintaining aesthetic integrity.
| Item | Purpose | Recommended Type |
|---|---|---|
| Artificial Nails | Decorative surface element | Acrylic or gel press-ons (matte or chrome finishes work best) |
| Adhesive | Bonding agent | E6000 industrial craft glue or epoxy resin |
| Primer | Surface preparation | Roughening sandpaper (120–200 grit) or plastic primer |
| Sealant | Protection against chipping/weather | Clear polyurethane spray or automotive clear coat |
| Clamps/Tape | Holding pieces in place during drying | Packing tape or mini clamps |
| Utility Knife/File | Shaping and trimming | Diamond nail file and small hobby knife |
Step-by-Step Application Process
Attaching artificial nails isn't just about sticking them on—it's about engineering a bond that lasts through movement, moisture, and time. Follow this detailed sequence for optimal results.
- Clean the Boot Surface: Wipe down the area where nails will be applied using isopropyl alcohol. Remove any dirt, oil, or wax that could interfere with adhesion.
- Roughen the Surface: Lightly sand the section of the boot (usually toe cap, sides, or heel) with medium-grit sandpaper. This increases grip for the adhesive.
- Dry-Fit the Nails: Arrange the nails without glue to plan your layout. Consider patterns: staggered rows, radiating clusters, or full coverage like armor plating.
- Apply Primer (Optional): For synthetic uppers (PVC, rubber), use a plastic bonding promoter to enhance longevity.
- Glue Each Nail Individually: Squeeze a pea-sized amount of E6000 onto the back of each nail. Press firmly onto the boot and hold for 30 seconds. Use tape or clamps to secure if needed.
- Allow Curing Time: Let the glue cure for at least 24 hours in a dust-free, dry environment. Avoid handling or wearing the boots during this phase.
- Seal the Entire Assembly: Once dry, apply 2–3 light coats of clear sealant, allowing 15 minutes between layers. This protects against water, UV rays, and abrasion.
Design Ideas to Inspire Your Build
- The Claw Effect: Align long stiletto nails outward from the toe box to mimic talons.
- Color Block Accents: Use neon, metallic, or matte black nails to highlight seams or lacing panels.
- Asymmetrical Patterns: Cover only one side of the boot for a dynamic, unbalanced look.
- Textural Contrast: Mix glossy and frosted nails for depth and visual interest.
Real-World Example: Maya’s Performance Boots
Maya Chen, a multidisciplinary artist based in Berlin, transformed a pair of military surplus combat boots for her performance piece “Femme Fatale Armor.” She covered the entire toe and instep with 48 chrome-accented acrylic nails, arranged in overlapping fish-scale formation.
Using epoxy resin and reinforced edge sealing, the boots survived a 45-minute dance performance involving stomping, kneeling, and simulated combat movements. Post-show inspection revealed only two minor lifts—both easily repaired with additional glue. Maya credits the success to meticulous surface prep and choosing flexible industrial adhesives.
Her project demonstrated that, when done correctly, this technique can endure physical stress while commanding attention.
Common Pitfalls and How to Avoid Them
Even with careful planning, mistakes happen. Here’s what not to do—and how to fix it.
| Mistake | Consequence | Solution |
|---|---|---|
| Using nail glue instead of industrial adhesive | Nails fall off within days | Switch to E6000 or epoxy; remove residue before reapplying |
| Skipping surface sanding | Poor adhesion, peeling edges | Roughen surface and re-glue affected areas |
| Overlapping nails too tightly | Cracking under pressure | Leave 1–2mm gaps for flexibility |
| No protective sealant | Yellowing, moisture damage | Apply UV-resistant clear coat immediately |
Frequently Asked Questions
Can I walk comfortably in nail-covered boots?
Comfort depends on placement. Nails attached to non-contact zones (upper sides, tongue, heel counter) won’t affect wearability. Avoid placing them on soles, flex points, or inner foot areas. These are primarily statement pieces, not everyday footwear.
How do I remove the nails later?
To safely remove, soak the bonded area with acetone for 15–20 minutes to weaken the glue. Gently pry nails off with a flat tool. Clean residue with rubbing alcohol. Some surface texture changes may occur, especially on softer synthetics.
Are there ethical concerns with this trend?
Some critics argue that repurposing beauty products associated with feminine grooming in aggressive contexts can reinforce stereotypes. However, many creators use the contrast intentionally to subvert those same tropes—turning vulnerability into power. As with all fashion, intent and context matter.
Final Checklist Before You Begin
- ☐ Choose the right boots:
- Sturdy, clean, preferably with flat, non-flexing surfaces.
- ☐ Select durable nails:
- Thick-based acrylics or pre-made sculpted tips.
- ☐ Prepare your workspace:
- Ventilated area, gloves, masking tape, clamps.
- ☐ Test adhesion:
- Apply one nail and wait 24 hours to assess bond strength.
- ☐ Plan your design:
- Sketch or digitally mock up your layout before committing.
- ☐ Seal after completion:
- Don’t skip the final protective layer.
Conclusion: Turn Function Into Fashion Rebellion
Attaching artificial fingernails to combat boots transcends mere customization—it’s an act of sartorial defiance. By merging two opposites, you create something entirely new: a hybrid artifact that questions tradition and celebrates individuality. Whether worn for a photoshoot, stage performance, or personal empowerment, these boots become more than footwear—they become宣言.
The process demands patience, precision, and a willingness to experiment. But with the right tools and mindset, anyone can transform utilitarian gear into a canvas of radical expression. Don’t wait for permission. Grab your glue, lay out your nails, and start building a look that refuses to be ignored.
💬 Created your own nail-boot masterpiece? Share your story, design choices, or lessons learned in the comments—inspire others to push fashion forward.