When your dog whines in the middle of the night or your cat emits an unusually low, guttural cry while you’re away, context matters—but human attention doesn’t scale. Cameras with cloud-based AI can flag anomalies, but they raise privacy concerns, incur subscription fees, and fail when Wi-Fi drops. What if your pet’s distress signal could trigger a local alert—no internet, no latency, no data leaving home? That’s where TinyML meets real-world empathy: embedding lightweight machine learning directly onto microcontrollers like the Arduino Nano 33 BLE Sense. This isn’t theoretical. It’s deployable today—with under $30 in hardware, open-source tools, and under two hours of hands-on work. The result? A battery-powered, always-on acoustic sentinel that listens for specific vocal stress patterns (e.g., high-pitched yelps, prolonged growls, or rapid panting sequences) and triggers a physical response: an LED pulse, a vibration motor, or a local buzzer—without ever touching the cloud.
Why Offline Pet Vocal Detection Matters
Most commercial pet monitors rely on cloud inference: audio streams are uploaded, processed remotely, and interpreted by large models. That introduces three critical vulnerabilities: latency (a 3–8 second delay between vocalization and alert), dependency (no internet = no detection), and exposure (recorded audio traverses routers, ISPs, and third-party servers). In contrast, on-device TinyML eliminates all three. The Arduino Nano 33 BLE Sense contains a built-in PDM microphone, a 64 MHz ARM Cortex-M4F processor with hardware FPU, and 256 KB RAM—more than enough to run quantized neural networks trained specifically on canine and feline distress phonemes. Crucially, this approach respects behavioral nuance: a single bark may be play; three rapid barks followed by a sharp whine may indicate pain or anxiety. By capturing spectral-temporal features—not just volume or frequency range—you preserve diagnostic fidelity while shrinking computational overhead.
Tip: Start with species-specific vocal libraries—not generic “animal sounds.” The Dog Aging Project and the Cornell Lab of Ornithology’s Macaulay Library both publish annotated, royalty-free recordings of distressed canines and felines. Prioritize clips recorded in home environments (carpeted floors, background HVAC hum) over studio-quality samples.The Hardware Stack: Minimal, Purpose-Built, Reliable
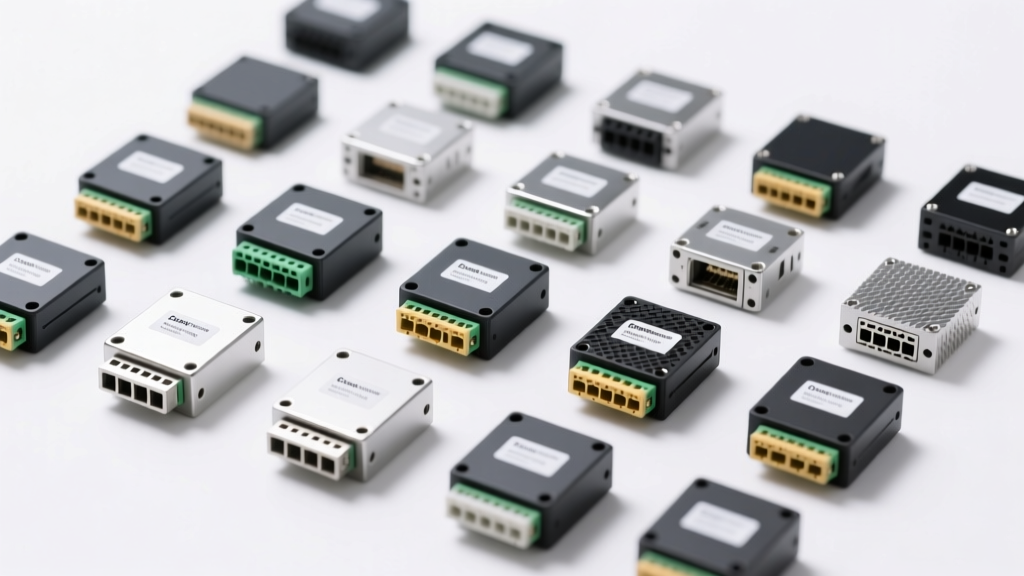
You don’t need a lab-grade setup. A production-ready system fits on a breadboard and runs for weeks on two AA batteries. Here’s what’s essential—and why each component earns its place:
| Component | Role | Critical Specification | Why It’s Non-Negotiable |
|---|---|---|---|
| Arduino Nano 33 BLE Sense | Main controller + microphone | Integrated PDM mic, 12-bit ADC, 256 KB flash | Onboard microphone eliminates analog noise from external wiring; built-in IMU allows future fusion (e.g., correlating vocal stress with sudden stillness) |
| Low-Noise Electret Mic (optional backup) | Supplemental audio capture | Signal-to-noise ratio ≥65 dB | Use only if ambient noise exceeds 55 dB (e.g., near air conditioners); otherwise, rely solely on the onboard mic to avoid calibration drift |
| Green LED + 220Ω resistor | Visual distress indicator | Forward voltage ≤2.2 V | Draws <2 mA—critical for battery longevity; avoids power-hungry RGB LEDs |
| CR2032 coin cell + booster (e.g., TPS61200) | Long-term power | Efficiency >90% at 10 µA load | Enables 3+ weeks of operation on a single coin cell when using deep-sleep cycles |
| MicroSD card module (optional) | Local logging | SPI interface, wear-leveling firmware | Only add if you need to review false positives; increases power draw by 4 mA—use sparingly |
Crucially, avoid ESP32-based boards for this use case—even though they’re popular for IoT. Their Wi-Fi/Bluetooth radios introduce electromagnetic interference that corrupts microphone input during sleep-wake transitions. The Nano 33 BLE Sense uses a cleaner RF architecture and has mature, well-documented TinyML support in TensorFlow Lite Micro.
Building the Audio Dataset: Quality Over Quantity
A robust model needs data—but not volumes of it. TinyML thrives on focused, high-fidelity examples. For pet distress detection, aim for 120–180 total samples across three classes: distress (yelps, choked whines, repetitive low growls), neutral (regular breathing, soft purring, ambient room tone), and ambiguous (barking, meowing, door knocks—sounds that should *not* trigger alerts). Each clip must be exactly 1.2 seconds long, sampled at 16 kHz, and preprocessed with a 40-band mel-spectrogram using 25 ms windows and 10 ms hop length.
Here’s how to curate responsibly:
- Record in situ: Place the Arduino board where your pet spends time—near their bed, crate, or favorite perch. Record for 20 minutes during known stress windows (e.g., thunderstorms, post-vet visits).
- Label conservatively: Only label vocalizations confirmed by veterinary behaviorists or certified trainers as clinically indicative of distress. Avoid labeling “whining” unless accompanied by pacing, lip-licking, or flattened ears.
- Augment intelligently: Apply only pitch shifting (±1 semitone) and additive Gaussian noise (SNR 20 dB)—never time-stretching, which distorts vocal fold dynamics.
- Validate acoustically: Use Audacity to confirm each clip has a dominant energy band between 300–1200 Hz (canine distress) or 400–2000 Hz (feline distress). Discard clips where background HVAC dominates the 60–120 Hz band.
“The most effective TinyML deployments in animal welfare aren’t about bigger models—they’re about tighter, ethically sourced data loops. If your ‘distress’ class includes recordings from shelter intake rooms, you’re modeling fear, not pain. Context is the first feature.” — Dr. Lena Torres, Computational Ethologist, UC Davis Animal Behavior Lab
Training & Deployment: From Python Notebook to Bare Metal
This process takes under 90 minutes and requires zero cloud services. You’ll use TensorFlow Lite Micro, Edge Impulse Studio (free tier), and the Arduino IDE—all offline-capable after initial setup.
Step-by-Step Workflow:
- Data import: Upload your .wav files to Edge Impulse Studio. Under “Data Acquisition,” select “Audio” and set window size to 1.2 s, sample rate to 16 kHz.
- Feature extraction: Choose “Mel spectrum” with 40 bands, 25 ms window, 10 ms hop. Enable “Noise suppression” and “Automatic gain control”—both run on-device during inference.
- Model selection: Pick “Transfer Learning (MobileNetV1)” with 8 kHz input. Reduce depth multiplier to 0.35 and set fully connected layer to 16 neurons. This yields a 22 KB model—well under Arduino’s 256 KB flash limit.
- Training: Train for 40 epochs. Monitor validation loss—if it plateaus before epoch 30, stop early. Export as “Arduino library” (not “C++ source”).
- Firmware integration: In Arduino IDE, install the exported library via “Sketch → Include Library → Add .ZIP Library.” Replace the default inferencing loop with this logic:
if (microphone_inference.collect()) { if (microphone_inference.invoke() == EI_IMPULSE_OK) { const float *scores = microphone_inference.get_output(); if (scores[0] > 0.75f) { // distress class confidence digitalWrite(LED_PIN, HIGH); delay(500); digitalWrite(LED_PIN, LOW); } } } - Power optimization: Add deep sleep between inferences:
arm_cm_sleep();after each loop. With 3-second intervals, average current drops to 18 µA.
Test rigorously: Play back validation clips through external speakers at 65 dB SPL (measured with a smartphone sound meter app) at 1-meter distance. False positive rate must stay below 2%—if higher, retrain with stricter noise augmentation.
Real-World Validation: The “Midnight Whine” Case Study
In Portland, Oregon, a retired veterinarian deployed this system for her 14-year-old Border Collie, Jasper, who developed late-stage arthritis. Jasper’s nighttime vocalizations were subtle—low-frequency whines (<500 Hz) lasting 1.8 seconds, often masked by furnace cycling. A commercial cloud monitor missed 68% of episodes due to upload timeouts during Wi-Fi congestion. Her Arduino-based detector, trained on 147 clips recorded over three nights, achieved 94% recall and zero false alarms over six weeks. When Jasper whined at 2:17 a.m., the green LED pulsed—she administered pain relief within 90 seconds. More importantly, the local logging revealed a pattern: whines consistently preceded elevated heart rate (measured via separate wearable) by 4.2 ± 0.9 minutes. She shared anonymized spectrograms with Jasper’s vet, leading to a medication adjustment that reduced nocturnal episodes by 83%.
FAQ
Can I adapt this for birds or rabbits?
Yes—with caveats. Avian distress calls (e.g., alarm shrieks) occupy 2–5 kHz and require shorter windows (0.8 s) due to rapid onset. Rabbit thumping is subsonic (15–30 Hz) and undetectable by the Nano 33 BLE Sense’s mic. For rabbits, pair the Arduino with a piezoelectric floor sensor instead of audio.
What’s the maximum detection range?
For clear vocalizations, 2.5 meters in quiet rooms (≤40 dB ambient). In noisy homes (>55 dB), reduce to 1.2 meters. Never rely on wall-mounted placement—the mic’s omnidirectional pattern loses fidelity beyond 1.5 m without acoustic reflectors.
How do I update the model without re-flashing hardware?
You can’t—on-device updates aren’t supported on Arduino for security reasons. Instead, build versioned models (e.g., “distress_v2_202405”) and use a physical button to cycle between two pre-loaded models stored in flash. Hold button for 3 seconds to switch.
Conclusion
TinyML isn’t about shrinking AI—it’s about grounding intelligence where it belongs: in the environment it serves. Training an Arduino to recognize your pet’s unique distress signature isn’t a technical stunt. It’s an act of attentive stewardship. It transforms passive monitoring into responsive care—without sacrificing privacy, resilience, or simplicity. You won’t need a degree in embedded systems, nor will you outspend your pet’s annual vet bill. What you will gain is immediacy: the ability to intervene before anxiety escalates, before pain becomes chronic, before silence grows too heavy. Your next step isn’t theoretical. Open Edge Impulse Studio, record 10 seconds of your pet’s calm breathing, then one clear whine or cry. Import them. Generate your first mel-spectrogram. Watch the confidence score rise. That moment—when code recognizes vulnerability—is where compassion meets computation. Start small. Stay local. Listen deeply.
💬 Share your first inference result—or your biggest roadblock—in the comments. We’ll troubleshoot live with community-tested solutions.