Crepes are a French culinary treasure—light, delicate, and endlessly versatile. Whether you prefer them filled with sweet strawberries and cream or savory ham and cheese, mastering the perfect crepe is simpler than most people think. The key lies in technique, consistency, and understanding the few essential steps that separate a rubbery disappointment from a silky, golden masterpiece. This guide walks you through everything you need to know to make flawless homemade crepes without fuss, special tools, or prior experience.
The Secret Behind Perfectly Thin Crepes
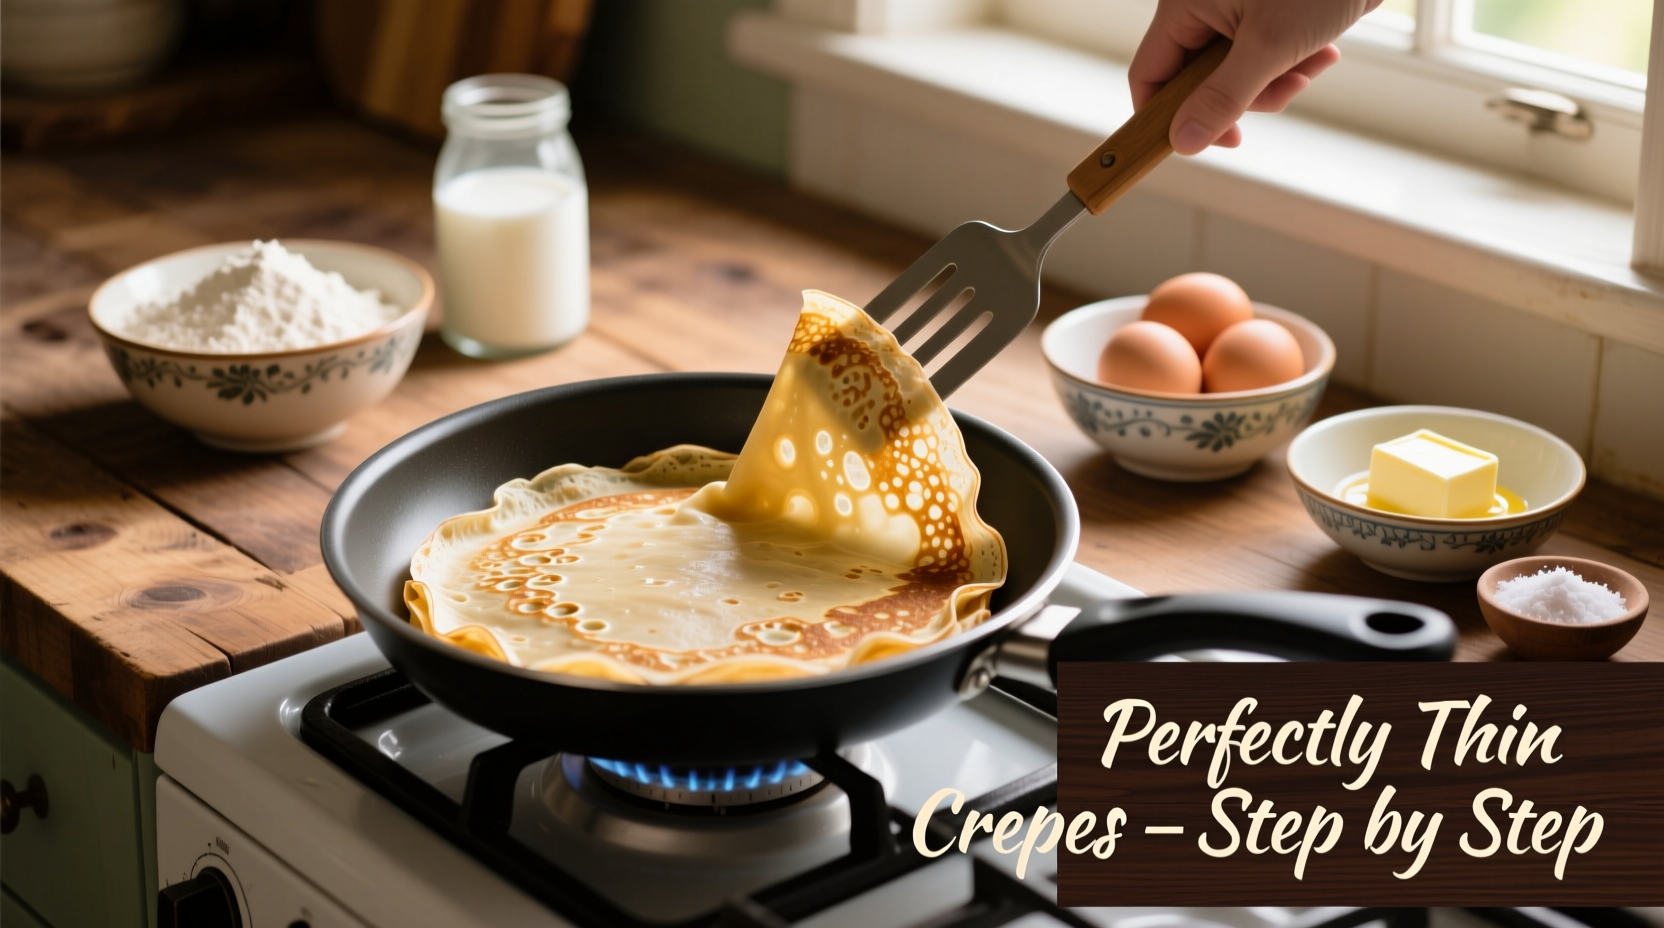
The hallmark of a great crepe is its paper-thin texture and slightly crisp edge, balanced with a soft, tender interior. Achieving this requires attention to batter consistency, pan temperature, and spreading technique. Unlike pancakes, crepes contain no leavening agents like baking powder, so they don’t puff up. Instead, they rely on a smooth, fluid batter that spreads easily across a hot surface.
The ideal crepe batter has the consistency of heavy cream. Too thick, and your crepes will be doughy; too thin, and they may tear. The balance comes from precise ratios and proper mixing. Letting the batter rest also plays a crucial role—it allows the flour to fully hydrate and the gluten to relax, resulting in a more pliable and evenly cooked crepe.
Tip: Always strain your crepe batter through a fine-mesh sieve to eliminate lumps and ensure a silky texture.Essential Ingredients and Equipment
You don’t need exotic ingredients or expensive gear. A basic kitchen setup is more than enough. Here’s what you’ll need:
Ingredients (Makes 8–10 crepes)
- 1 cup all-purpose flour
- 2 large eggs
- 1¼ cups milk (whole or 2%)
- ½ cup water
- 2 tablespoons melted butter (plus extra for greasing)
- Pinch of salt
- Optional: 1 tablespoon sugar (for sweet crepes), or omit for savory versions
Equipment Checklist
- Medium mixing bowl
- Whisk or blender
- Fine-mesh sieve
- Non-stick skillet or crepe pan (8–10 inches)
- Spatula (thin, flexible)
- Ladle or measuring cup (¼ cup works well)
- Parchment paper or plate for stacking
Step-by-Step Guide to Flawless Crepes
Follow these steps precisely for consistently excellent results:
- Mix the batter: In a bowl or blender, combine flour, eggs, milk, water, melted butter, salt, and sugar (if using). Whisk until completely smooth. If mixing by hand, start by making a well in the flour and gradually incorporate wet ingredients to avoid clumping.
- Strain and rest: Pour the batter through a fine-mesh sieve into a clean container. Cover and refrigerate for at least 30 minutes, or up to 24 hours. Resting improves texture and prevents tearing during cooking.
- Preheat the pan: Place an 8–10 inch non-stick skillet over medium heat. It’s ready when a drop of water sizzles and evaporates quickly. Lightly grease with butter or neutral oil using a folded paper towel.
- Pour and swirl: Ladle about ¼ cup of batter into the center of the pan. Immediately lift and tilt the pan in a circular motion to spread the batter evenly into a thin circle. Return to the burner and cook for 1–2 minutes until the edges begin to lift and the surface looks dry.
- Flip and finish: Slide a thin spatula under the crepe, flip it gently, and cook for another 30–60 seconds until lightly golden. Transfer to a plate.
- Stack and keep warm: Place parchment paper between each crepe if stacking to prevent sticking. Cover loosely with a towel to retain warmth while cooking the rest.
“Resting the batter is non-negotiable. It transforms a good crepe into a great one.” — Chef Laurent Dubois, Parisian Bistro Owner
Avoid These Common Mistakes
Even experienced cooks can stumble when making crepes. Here’s a breakdown of frequent errors and how to avoid them:
| Do | Don’t |
|---|---|
| Use room-temperature eggs and milk for smoother blending | Use cold ingredients straight from the fridge—they can cause the butter to solidify and create clumps |
| Cook over medium heat—not too high | Crank the heat to speed things up; high heat burns edges before the center sets |
| Grease the pan only when needed (every 2–3 crepes) | Over-grease, which leads to greasy, unevenly browned crepes |
| Let the batter rest for at least 30 minutes | Skimp on resting time—your crepes will be tougher and harder to flip |
| Swirl the pan immediately after pouring | Wait for the batter to start cooking before moving the pan—it won’t spread properly |
Filling Ideas and Serving Suggestions
Crepes shine in both sweet and savory applications. Their neutral flavor makes them a blank canvas for creativity.
Sweet Options
- Lemon juice and powdered sugar
- Strawberries and whipped cream
- Banana and Nutella
- Apples sautéed with cinnamon and brown sugar
- Grand Marnier or rum-poached peaches
Savory Fillings
- Ham and Gruyère (classic crêpe complète)
- Spinach, mushroom, and goat cheese
- Smoked salmon, cream cheese, and dill
- Scrambled eggs, chives, and herbs
- Roasted vegetables with béchamel sauce
To serve, fold the crepe into quarters or roll it tightly around the filling. A final dusting of powdered sugar, drizzle of syrup, or spoonful of sauce elevates presentation and flavor.
Real-Life Example: Hosting a Brunch with Confidence
Sophie, a home cook in Portland, used to dread making crepes for her Sunday brunch gatherings. Her early attempts were inconsistent—some too thick, others torn or burnt. After following a structured method and prioritizing batter rest and pan control, she transformed her approach. Now, she prepares the batter the night before, reheats her pan to the right temperature, and uses a ladle for consistent portioning. Her guests rave about the delicate texture and even browning. “Once I stopped rushing,” she says, “everything fell into place. They’re not just edible—they’re impressive.”
Frequently Asked Questions
Can I make crepes ahead of time?
Absolutely. Cooked crepes can be stored in an airtight container in the refrigerator for up to 3 days. Reheat gently in a dry pan or microwave with a damp paper towel for 15 seconds. You can also freeze them—place parchment between layers and thaw before reheating.
Why are my crepes sticking to the pan?
This usually means the pan isn’t hot enough before adding batter or needs re-greasing. Ensure the pan is properly preheated and use a small amount of butter or oil as needed. Non-stick pans work best, but even they require occasional lubrication.
Can I make gluten-free crepes?
Yes. Substitute all-purpose flour with a 1:1 gluten-free flour blend. Add ½ teaspoon xanthan gum if your blend doesn’t include it, to help maintain elasticity. The texture may vary slightly but still yields tender results.
Final Tips for Effortless Success
Perfect crepes come down to patience and precision. Don’t rush the process. Use consistent measurements, let the batter rest, and pay close attention to heat management. With practice, flipping becomes second nature, and the rhythm of pour-swirl-flip turns into a satisfying kitchen ritual.
Store leftover batter in the fridge for up to two days. You’ll find it’s just as effective the next morning for a quick breakfast. And if your first crepe isn’t perfect? That’s normal. Many call it the “test crepe”—it helps gauge pan temperature and adjust batter flow.
💬 Ready to impress at your next meal? Whip up a batch of crepes this weekend using this guide. Share your creation, tag a friend, or leave a comment with your favorite filling—you might inspire someone else’s first perfect crepe!