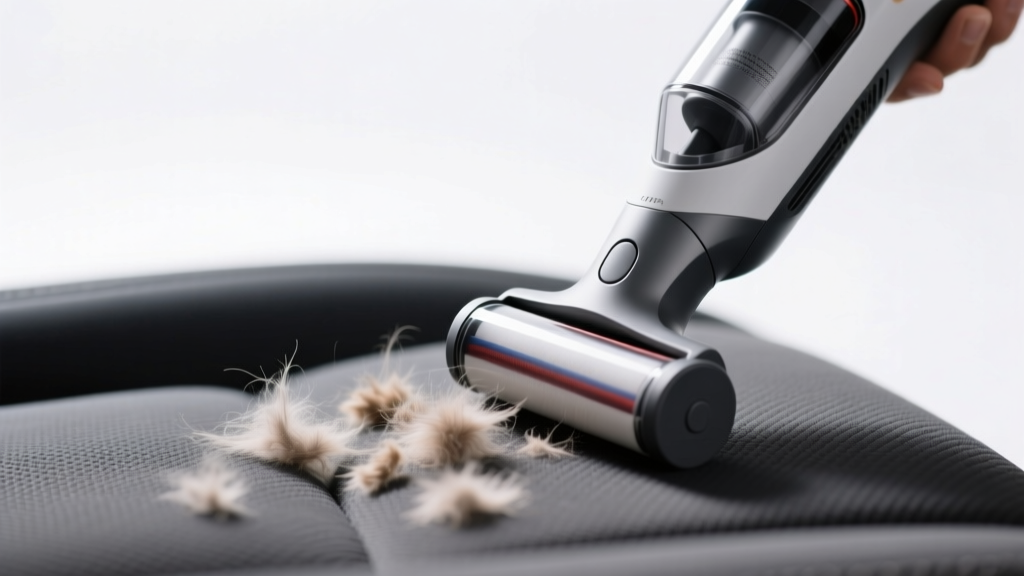
Pet owners know the struggle: one joyful ride with your furry companion and your car’s interior is transformed into a fur-covered landscape. Whether it's a thick layer of dog hair on the backseat or fine cat fur clinging to crevices, pet hair sticks stubbornly to car upholstery. Beyond being unsightly, accumulated pet hair can trigger allergies, trap odors, and degrade fabric over time. The good news? With the right techniques and tools, you can remove pet hair efficiently—often in under 15 minutes. This guide outlines proven, practical strategies that deliver real results without damaging your vehicle’s interior.
Why Pet Hair Clings So Stubbornly
Pet hair doesn’t just settle—it bonds. Static electricity builds up between synthetic upholstery fibers and dry animal fur, creating an electrostatic attraction that makes hair difficult to dislodge with regular brushing or wiping. Additionally, many modern car seats are made from microfiber or tightly woven fabrics that trap hair deep within their texture. Moisture, oils from skin, and frequent use only strengthen this hold. Understanding this helps explain why casual vacuuming often fails. Effective removal requires disrupting the static bond and physically lifting the hair without spreading it further.
“Pet hair is more than a cosmetic issue—it can affect air quality in enclosed spaces like cars. Regular removal supports both hygiene and comfort.” — Dr. Lena Patel, Environmental Health Specialist
Best Tools and Materials for Fast Removal
Success starts with using the right tool for the job. Not all solutions are created equal, and some can even worsen the problem by pushing hair deeper into seams. Below is a comparison of common tools used to combat pet hair, ranked by effectiveness, speed, and safety for upholstery.
| Tool | Effectiveness (1–5) | Speed | Safety for Upholstery |
|---|---|---|---|
| Rubber Glove | 4 | Fast | Excellent |
| Lint Roller | 3 | Moderate | Good (refills needed) |
| Upholstery Brush | 3.5 | Slow | Fair (can scratch) |
| Damp Microfiber Cloth | 4 | Fast | Excellent |
| Handheld Vacuum (with HEPA filter) | 4.5 | Fast | Good |
| Velcro Roller | 3 | Moderate | Fair (may snag) |
The most efficient solutions combine friction, moisture control, and mechanical lift. For example, rubber creates surface tension when dragged across fabric, gathering hair into clumps. Vacuums with motorized pet tools agitate fibers while suctioning debris. Knowing which tool fits your situation saves time and effort.
Tip: Keep a dedicated pet-hair removal kit in your glove compartment—include a rubber glove, small lint roller, and microfiber cloth for quick touch-ups after every trip.Step-by-Step Guide to Quick Pet Hair Removal
Follow this six-step process to remove pet hair from car upholstery in under 15 minutes. This method combines multiple techniques for maximum efficiency and lasting results.
- Ventilate the Car: Open all doors or windows to allow airflow. This reduces static buildup and helps loosen trapped hair.
- Shake Out Floor Mats: Remove rubber or fabric floor mats and shake them vigorously outside. Use a stiff brush to dislodge embedded hair before returning them.
- Use a Damp Rubber Glove: Lightly wet a household rubber glove and put it on your dominant hand. Run your fingers firmly across seat surfaces in one direction. The hair will ball up and stick to the glove. Rinse the glove as needed.
- Target Seams and Crevices: Use a dry microfiber cloth wrapped around a butter knife or old credit card. Gently scrape along seams where hair accumulates. The cloth grabs hair while protecting stitching.
- Vacuum Thoroughly: Use a handheld vacuum with a crevice tool and upholstery attachment. Focus on headrests, seat backs, and under seat edges. A model with a HEPA filter captures allergens and prevents recirculation.
- Finish with Anti-Static Spray: Lightly mist upholstery with a fabric-safe anti-static product or diluted fabric softener (1 part softener to 10 parts water). This reduces future static cling and keeps hair from reattaching immediately.
This sequence leverages physics—dampness breaks static, rubber gathers mass, and vacuuming removes residual particles. Completing all steps ensures long-lasting cleanliness.
Advanced Techniques for Heavy Buildup
If your car has been a regular transport for pets over months, a light cleanup won’t suffice. Deep-seated hair requires more aggressive but still safe methods.
One highly effective technique involves using a squeegee designed for car windows. Though unconventional, a rubber-bladed window squeegee works remarkably well on fabric seats. Pass it firmly over the surface in overlapping strokes—the rubber edge collects hair into neat rows that can be lifted off easily. This method covers large areas quickly and is especially useful for SUVs or vans with expansive seating.
Another professional-grade option is a pet hair removal brush with natural boar bristles. These bristles generate negative ions that neutralize static charge while lifting hair. Unlike plastic brushes, they don’t scratch or damage delicate fabrics. After brushing, follow with vacuuming to capture loosened debris.
“I’ve cleaned hundreds of pet-friendly vehicles. The rubber squeegee trick is a game-changer—fast, cheap, and surprisingly effective on both cloth and synthetic blends.” — Marcus Reed, Auto Detailing Technician, 12 years experience
Mini Case Study: Restoring a Daily Commuter SUV
Sarah, a dog trainer in Portland, uses her 2021 Honda Pilot to transport up to three dogs per day. After six months, the backseats were nearly invisible beneath layers of mixed-breed fur. Standard vacuuming took 20 minutes and left behind significant residue. Frustrated, she tried the rubber glove method combined with a handheld vacuum.
She began by opening all doors for ventilation, then dampened a kitchen rubber glove. Within five minutes, she had gathered fur into clumps across both rear seats. She used a microfiber-wrapped ruler to clean between seat cushions, extracting dense pockets of hair. Finally, she vacuumed with a Dyson V10 Car+Boat model, focusing on seams and floor joints. The entire process took 12 minutes. Post-cleaning, she sprayed a light anti-static solution to delay reaccumulation.
Result: Over 95% of visible hair removed. Sarah now performs a 5-minute maintenance routine weekly and reports significantly reduced allergy symptoms during drives.
Checklist: Weekly Pet Hair Maintenance Routine
Prevention is faster than correction. Use this checklist to minimize buildup and keep your car consistently clean:
- ✅ Wipe down seats with a dry microfiber cloth after each pet ride
- ✅ Store a rubber glove and lint roller in the console for emergencies
- ✅ Vacuum seats and floor mats at least once a week
- ✅ Apply anti-static spray biweekly, especially in dry climates
- ✅ Use washable seat covers designed for pets
- ✅ Brush your pet before entering the car to reduce shedding
- ✅ Rotate seat positions if multiple pets travel regularly
Consistency dramatically reduces the need for intensive cleaning sessions. Even two minutes of daily attention can prevent major fur accumulation.
Common Mistakes That Make the Problem Worse
Many people unintentionally spread pet hair or damage upholstery due to outdated habits. Avoid these pitfalls:
- Using dry paper towels: They generate static and scatter hair rather than collecting it.
- Over-relying on weak vacuums: Low-suction models push hair deeper instead of removing it.
- Ignoring seat crevices: Hair lodges in seams and reappears after cleaning.
- Skipping pre-treatment: Going straight to vacuuming misses statically bonded hair.
- Using harsh chemicals: Bleach or ammonia-based cleaners can discolor fabric and weaken fibers.
Instead, focus on methods that gather, lift, and extract—never just move hair around.
Frequently Asked Questions
Can I use a clothes dryer sheet to remove pet hair?
Yes, but cautiously. Dryer sheets reduce static and can help loosen hair when wiped across fabric. However, they leave behind chemical residues that may attract dust over time. Best used as a supplementary step—not a primary removal method.
How often should I deep-clean pet hair from my car?
For pet owners who drive with animals weekly, a thorough cleaning every 3–4 weeks is ideal. In high-shedding seasons (spring and fall), increase frequency to every 2 weeks. Light maintenance should occur weekly or after heavy use.
Are seat covers worth the investment?
Absolutely. High-quality, waterproof seat covers act as a removable barrier. Most are machine washable, making cleanup as simple as tossing them in the laundry. Look for ones with non-slip backing and full-side protection to prevent hair migration underneath.
Conclusion: Take Control of Your Car’s Cleanliness
Removing pet hair from car upholstery doesn’t require expensive gear or hours of labor. With smart techniques—like using a damp rubber glove, targeted vacuuming, and anti-static finishing—you can restore your vehicle’s interior quickly and maintain it with minimal effort. The key is consistency, the right tools, and understanding how pet hair behaves on fabric. No matter how much your pet sheds, a clean car is within reach.
🚀 Start today: Pick one method from this guide and apply it to your car this week. Share your results or favorite tip in the comments—help fellow pet owners drive cleaner, healthier rides.