Aromatherapy diffusers are a popular way to fill homes with calming scents using essential oils. However, many users notice oily residue or visible stains on nearby surfaces—tables, countertops, walls, or even electronics. This issue not only affects the appearance of your space but can also lead to long-term surface degradation if left unaddressed. Understanding why this happens and knowing how to clean safely is crucial for maintaining both your diffuser’s performance and your home’s integrity.
Essential oils are potent plant extracts, often composed of hydrophobic compounds that don’t mix with water and can adhere stubbornly to materials. When dispersed into the air via ultrasonic vibrations or nebulization, some of these oils inevitably settle as fine mist droplets. Over time, repeated exposure builds up into noticeable greasy marks. The problem is compounded when improper cleaning techniques are used, risking damage to wood finishes, stone countertops, or delicate electronics.
Why Your Diffuser Leaves Oil Stains
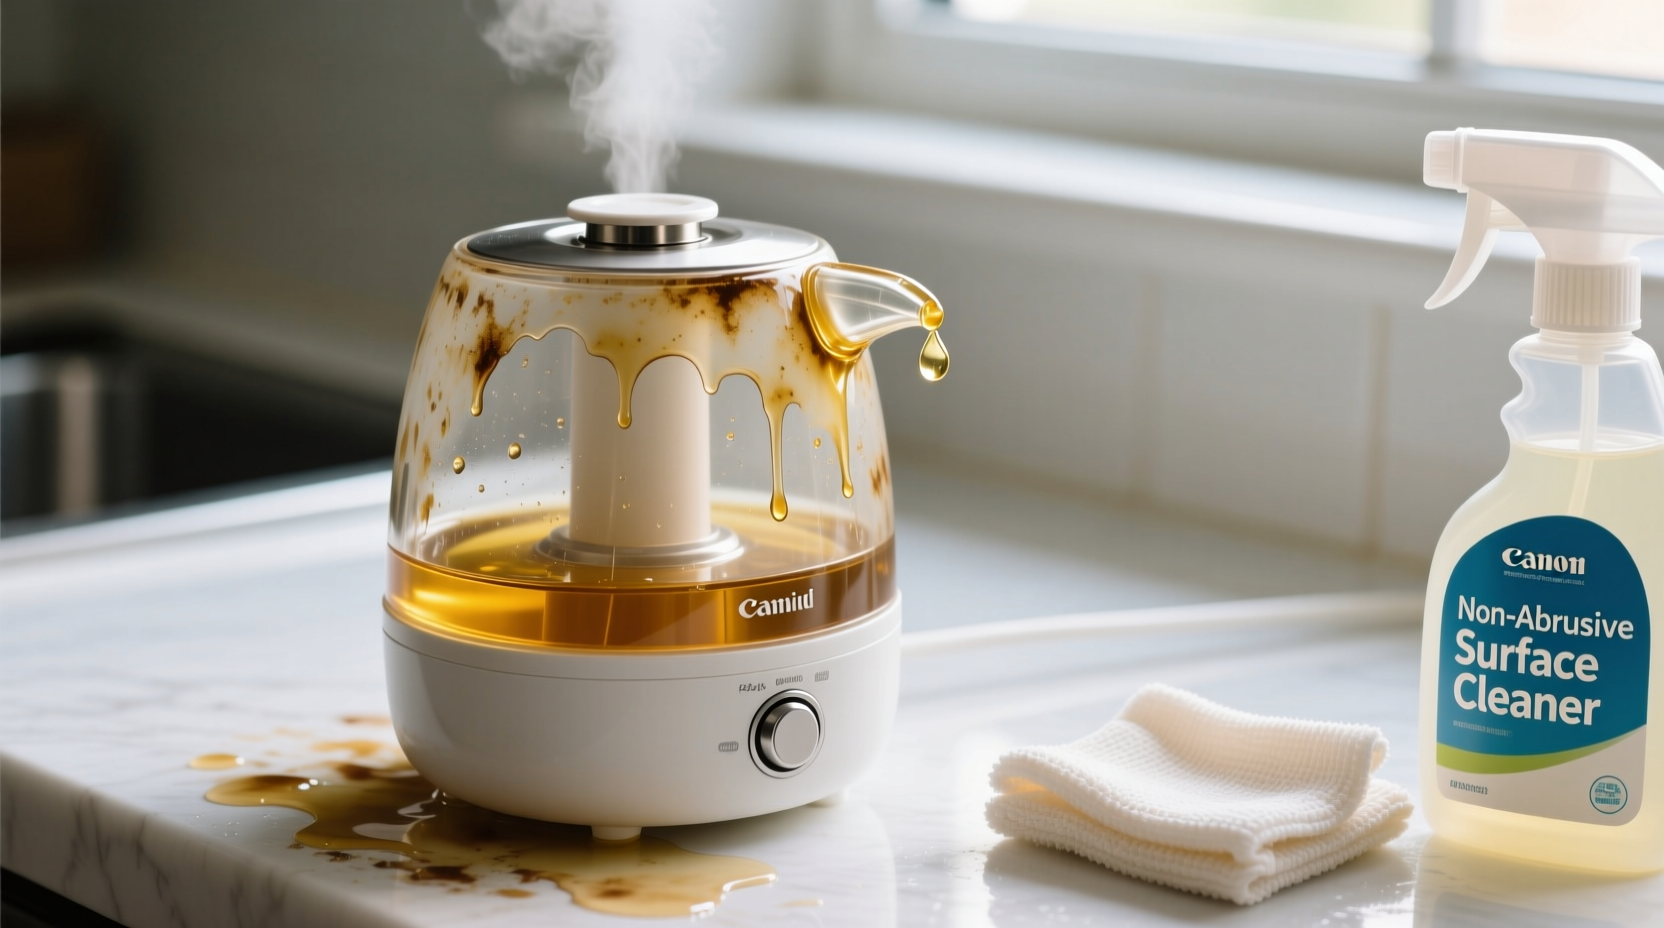
The root cause of oil stains lies in the mechanics of how most diffusers operate. Ultrasonic diffusers, the most common type, use high-frequency vibrations to break down water and essential oil mixtures into a fine mist. While effective, this process doesn’t fully atomize every oil molecule. Larger droplets may escape the vapor stream and land on surrounding surfaces.
Nebulizing diffusers, which do not use water, release pure essential oil in concentrated form. These models are especially prone to leaving residue because they emit undiluted oil particles directly into the air. Without proper ventilation or placement, those particles accumulate quickly.
Several factors increase the likelihood of staining:
- Overuse of essential oils: Adding more drops than recommended saturates the mist with oil, increasing residue.
- Poor diffuser placement: Placing the unit too close to walls, furniture, or electronics allows mist to settle before dispersing.
- Low-quality essential oils: Some brands cut oils with carrier oils (like jojoba or sweet almond), which are heavier and more likely to leave behind greasy films.
- Lack of regular maintenance: Internal buildup forces the diffuser to expel excess oil during operation.
“Many people don’t realize that even 'natural' oils can react with certain finishes, especially on wood or varnished surfaces. A little preventive care goes a long way.” — Dr. Lena Patel, Indoor Air Quality SpecialistTip: Always place your diffuser on a ceramic or glass tray to catch stray mist and prevent direct contact with sensitive surfaces.
Safe and Effective Cleaning Methods by Surface Type
Cleaning oil residue requires matching the method to the material. Using harsh chemicals or abrasive tools can do more harm than good, especially on porous or finished surfaces. Below is a breakdown of best practices for common household materials affected by diffuser oil stains.
| Surface Type | Recommended Cleaner | Method | Avoid |
|---|---|---|---|
| Wood (finished) | Mild dish soap + warm water | Dampen cloth, wring well, wipe gently in direction of grain | Excess moisture, vinegar, ammonia |
| Granite/Marble | pH-neutral stone cleaner | Spray lightly, wipe with microfiber cloth | Acidic cleaners (vinegar, lemon), abrasive pads |
| Plastic/Laminate | Isopropyl alcohol (70%) diluted 1:1 with water | Apply with soft cloth, rinse with damp cloth after | Undiluted alcohol, bleach |
| Stainless Steel | Baking soda paste (baking soda + water) | Gently rub in direction of grain, rinse, dry | Steel wool, chlorine-based cleaners |
| Painted Walls | Mild detergent + lukewarm water | Test in inconspicuous area first; dab, don’t scrub | Scrubbing, steam cleaners |
Step-by-Step: Removing Stubborn Oil Residue from Wood Furniture
- Turn off and remove the diffuser from the area.
- Wipe the surface with a dry microfiber cloth to remove dust and loose particles.
- Mix a few drops of mild dish soap (without degreasers) into warm water.
- Dampen a soft cotton cloth—never soak it—and wring thoroughly.
- Gently wipe the stained area along the wood grain using light pressure.
- Immediately follow with a second cloth dampened with plain water to rinse soap residue.
- Dry completely with a clean, absorbent towel.
- Once dry, apply a small amount of furniture polish compatible with your finish to restore luster.
Preventing Oil Stains: Practical Habits That Work
Prevention is far more effective—and less labor-intensive—than cleanup. By adjusting how you use and maintain your diffuser, you can eliminate or drastically reduce oil residue.
- Use the correct oil-to-water ratio: Follow manufacturer guidelines. Most ultrasonic diffusers require only 3–6 drops per 100ml of water.
- Elevate and isolate the diffuser: Place it on a raised platform or tray away from walls and valuables.
- Run shorter sessions: Limit continuous use to 30–60 minutes with breaks in between to allow dispersion and evaporation.
- Choose high-purity essential oils: Opt for 100% pure, undiluted oils from reputable brands that disclose sourcing and testing.
- Ensure room ventilation: Open a door or window slightly to improve air circulation and reduce condensation.
“I’ve seen customers ruin antique tables because they placed diffusers directly on them. A simple ceramic coaster could have prevented thousands in restoration costs.” — Mark Tran, Restoration Technician at Heritage Home Care
Mini Case Study: Recovering a Stained Nightstand
Sarah, a wellness coach from Portland, used her ultrasonic diffuser nightly on her oak nightstand. After three months, she noticed a dark, greasy film forming around the base. Initially, she tried wiping it with a vinegar solution, which dulled the finish further. Concerned, she consulted a local furniture restorer.
The technician advised her to stop using vinegar immediately and instead use a mixture of olive oil and lemon juice (1:1) applied sparingly with a soft cloth. After two gentle applications and buffing, the stain lifted significantly. He also recommended placing the diffuser on a marble trivet moving forward. Sarah now cleans her nightstand monthly and reports no further issues.
Internal Diffuser Maintenance to Reduce Residue
Oil buildup inside the diffuser chamber contributes to uneven mist output and increased residue. Regular internal cleaning ensures optimal performance and reduces the chance of excess oil being expelled.
Weekly Cleaning Routine for Ultrasonic Diffusers
- Unplug the unit and empty any remaining water-oil mixture.
- Fill the reservoir halfway with white vinegar or rubbing alcohol (70%).
- Add a few drops of dish soap if visible film is present.
- Let sit for 10–15 minutes to dissolve oil deposits.
- Use a soft brush (like a clean toothbrush) to gently scrub the interior, focusing on the nebulizer plate.
- Rinse thoroughly with clean water until no scent of vinegar or soap remains.
- Wipe dry with a lint-free cloth and allow to air-dry completely before reuse.
Frequently Asked Questions
Can essential oil stains become permanent?
On non-porous surfaces like glass or metal, stains are rarely permanent and can be removed with proper cleaning. On porous materials like untreated wood or fabric, prolonged exposure may lead to deep-set discoloration or rancidity if oils oxidize. Immediate attention prevents lasting damage.
Is it safe to use rubbing alcohol on electronic surfaces near the diffuser?
Yes, but with caution. Use 70% isopropyl alcohol diluted with an equal part of distilled water. Apply to a microfiber cloth—not directly—to clean devices like monitors or speakers. Avoid openings where liquid could seep in.
Do all diffusers produce oil stains?
No, but risk varies by type. Nebulizers produce the most residue due to oil concentration. Ultrasonic models are moderate. Evaporative diffusers (fan-based) disperse oils slowly and leave minimal residue, making them ideal for sensitive environments.
Checklist: Prevent and Clean Diffuser Oil Stains
- ☑ Use only 3–6 drops of essential oil per session
- ☑ Place diffuser on a non-absorbent tray or coaster
- ☑ Keep at least 12 inches away from walls and furniture
- ☑ Run for 30–60 minutes, then pause for 30 minutes
- ☑ Clean diffuser reservoir weekly with vinegar or alcohol
- ☑ Wipe nearby surfaces weekly with a damp microfiber cloth
- ☑ Use only 100% pure, high-quality essential oils
- ☑ Ventilate the room during and after use
Conclusion: Protect Your Space While Enjoying Aromatherapy
Essential oil diffusers enhance well-being, but they demand mindful use. Oil stains are not inevitable—they’re a sign of improper usage or maintenance. By understanding how diffusers work, selecting quality oils, and adopting a consistent cleaning routine, you can enjoy aromatic benefits without compromising your home’s surfaces.
Taking a few extra minutes to clean your diffuser and inspect nearby areas pays off in preserved furniture, spotless countertops, and uninterrupted enjoyment. Small habits make a lasting difference. Start today: check your diffuser setup, clean any existing residue with the right method, and implement one new preventive step.
💬 Have a tip or experience with diffuser stains? Share your story in the comments to help others maintain a clean, healthy, and beautifully scented home.