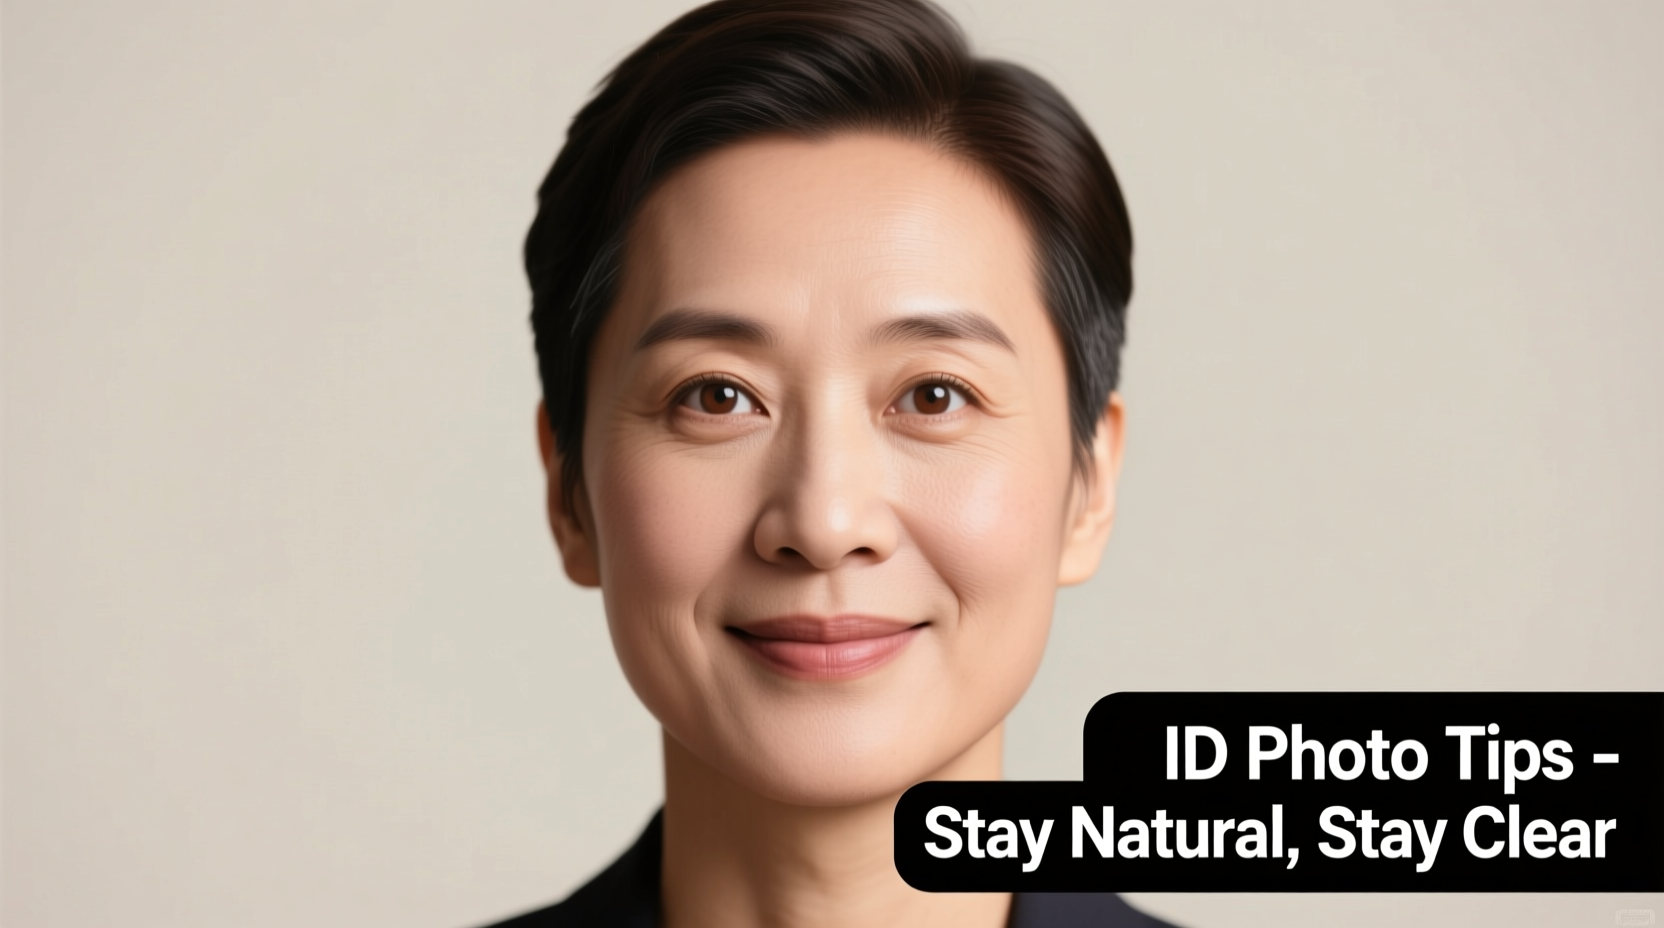
It’s a near-universal experience: you hand over your documents, receive your new passport or ID, and flip to the photo page—only to be met with a face that looks tired, washed out, or strangely unfamiliar. You’re not imagining it. Passport photos often look worse than any other picture of you. But why? And more importantly, can you actually improve how you appear in these high-stakes snapshots? The answer is yes. With the right preparation and awareness of common pitfalls, you can avoid looking like a sleep-deprived version of yourself and present a clear, accurate, and even flattering representation.
The Science Behind Unflattering Passport Photos
Passport photos are governed by strict international standards set by organizations like the International Civil Aviation Organization (ICAO). These rules ensure consistency and reliability for facial recognition systems used at borders and during identity verification. While necessary, they also create conditions that are far from ideal for looking your best.
Key requirements include neutral expressions, no smiling, direct eye contact with the camera, even lighting, and plain backgrounds. These constraints eliminate many of the natural cues we rely on in everyday interactions—smiles, relaxed brows, dynamic lighting—that make us appear approachable and vibrant. Instead, the result is often a flat, rigid image that emphasizes shadows, blemishes, and asymmetries we don’t normally notice.
Additionally, most government-approved photo booths and kiosks use low-end cameras with harsh fluorescent or LED lighting. This combination flattens facial contours, washes out skin tones, and creates unflattering glare or shadows under the eyes and nose. The lack of professional retouching further compounds the issue.
“Facial recognition algorithms need consistency, not attractiveness. That’s why passport photos prioritize geometric accuracy over aesthetic appeal.” — Dr. Lena Patel, Biometric Imaging Specialist, National Institute of Standards and Technology (NIST)Tip: Avoid taking your photo under flickering fluorescent lights—they can cause uneven exposure and color distortion.
Common Mistakes That Make ID Photos Worse
Even when using compliant services, small errors can drastically affect your appearance. Here are the most frequent missteps:
- Wearing glasses – Reflections from lenses can obscure the eyes, leading to rejection or poor visibility.
- Choosing the wrong clothing – Patterns, logos, or colors too close to the background can violate photo rules or create visual confusion.
- Poor grooming – Unkempt hair, visible stubble (if inconsistent with your usual look), or heavy makeup can distort recognition.
- Bad timing – Taking a photo after a long flight, late night, or during allergy season amplifies puffiness, dark circles, and fatigue.
- Looking up or down – Tilted head angles break compliance and distort facial proportions.
These issues may seem minor individually, but together they contribute to the “worst version” effect that plagues so many ID photos.
Step-by-Step Guide to Looking Decent in Your Next ID Photo
You don’t need a professional photoshoot to get a good passport photo. Follow this timeline to prepare effectively:
- 7 Days Before: Begin skincare routine. Use gentle exfoliation and hydration to reduce dullness and prevent breakouts. Avoid trying new products that could irritate your skin.
- 24 Hours Before: Get adequate sleep. Limit alcohol and salty foods to reduce facial puffiness. Wash your hair and let it air-dry to see its natural shape and volume.
- Morning Of: Eat a light meal, drink water, and avoid caffeine if it causes jitteriness or tension in your face. Do a few minutes of facial stretching or massage to relax muscles.
- 30 Minutes Before: Apply minimal, non-shiny skincare and sunscreen. Avoid heavy foundation or powder that could appear chalky under flash.
- At the Photo Session: Stand straight, keep your chin level, and focus on a point just above the lens. Breathe deeply and relax your jaw. Think calm thoughts—not “say cheese,” but “I’m at the beach.”
What to Wear and How to Groom for Success
Your clothing and grooming choices matter more than you think. Since the photo must contrast clearly with the background (usually white or off-white), your attire should provide definition without violating rules.
| Do’s | Don’ts |
|---|---|
| Wear solid-colored tops in dark or medium shades (navy, gray, burgundy) | Avoid white, beige, or light gray shirts that blend into the background |
| Choose crewnecks or collared shirts that frame the face | Avoid turtlenecks or high necklines that reduce visible neck area |
| Style hair neatly; use product to control flyaways | Don’t cover your face, forehead, or ears with hair |
| Men: Be consistent with facial hair. If you usually have a beard, keep it trimmed. | Don’t shave completely if you typically have stubble—it alters facial structure. |
| Women: Use light, matte makeup to minimize shine and even skin tone | Avoid glitter, shimmer, or contouring that shows under flash |
Jewelry should be minimal and not obstruct the face. Hats and head coverings are only allowed for religious or medical reasons—and even then, your full face must remain visible.
Real Example: How One Traveler Fixed Her Passport Photo Issue
Sophie, a digital marketer from Portland, had her passport application rejected twice due to photo issues. The first photo showed reflection from her glasses; the second was too dark because she used a home printer and didn’t adjust brightness. On her third attempt, she visited a professional studio recommended by a friend.
She arrived well-rested, wore a deep blue blouse, and followed pre-photo advice: no makeup with SPF (which can cause flashback), and hair pulled back gently from her face. The photographer used softbox lighting and a neutral backdrop, ensuring compliance while preserving natural skin tone.
The result? Her photo was accepted immediately, and Sophie later said, “For the first time, I didn’t cringe when I saw my ID. It actually looks like me.”
“The best passport photo isn’t about looking perfect—it’s about looking recognizable and true to life.” — Mark Tran, Professional Portrait Photographer specializing in biometric imaging
Checklist: Prepare for a Flattering and Compliant ID Photo
Use this checklist before your appointment to ensure everything goes smoothly:
- ☑ Research official photo requirements for your country (e.g., U.S. Department of State, UK GOV.UK)
- ☑ Choose appropriate clothing (dark, solid color, no patterns)
- ☑ Avoid glasses unless medically necessary
- ☑ Get a good night’s sleep the night before
- ☑ Hydrate and avoid salty foods/alcohol 24 hours prior
- ☑ Wash and style hair to frame your face naturally
- ☑ Use minimal, non-reflective skincare and makeup
- ☑ Arrive early to avoid rushing and tensing up
- ☑ Practice a neutral, relaxed facial expression in the mirror
- ☑ Confirm the photo service checks for compliance before printing
Frequently Asked Questions
Can I smile in my passport photo?
No. Most countries require a neutral expression with your mouth closed and teeth not visible. Smiling can alter facial geometry and interfere with facial recognition software. However, your eyes should appear natural and alert—not stern or squinting.
What if my appearance changes after I get my passport?
Minor changes like weight fluctuation, aging, or growing facial hair are generally acceptable. However, significant alterations—such as major surgery, gender transition, or drastic hairstyle changes—may require updating your photo. Airlines and border agents reserve the right to question IDs if the photo no longer resembles the holder.
Are smartphone passport photos acceptable?
In some countries (like the U.S.), you can submit digitally taken photos as long as they meet technical specifications: correct dimensions (2x2 inches), resolution (600 dpi), plain background, and proper lighting. However, self-taken photos often fail due to shadows, incorrect angles, or poor focus. For best results, use a tripod, natural light, and have someone else take the shot.
Final Thoughts: You Deserve a Decent-Looking ID
Passport and ID photos don’t have to be a source of dread. Understanding why they often look bad—the rigid rules, subpar lighting, and mechanical process—empowers you to work within the system. By preparing in advance, dressing strategically, and managing your mindset, you can produce a compliant photo that still reflects who you are.
Remember, this image will represent you at borders, banks, and official checkpoints. It deserves more attention than a random selfie. A little effort goes a long way in making sure you’re recognized quickly, confidently, and without unnecessary scrutiny.
💬 Have a passport photo horror story or success tip? Share your experience in the comments—your insight could help someone avoid the same mistake!