Passport photos are among the most widely used forms of identification across the globe. Yet, despite their importance, most people grimace when they see their final image. Why is it that passport photos so often fail to capture our best selves? The truth is, the issue isn’t just personal appearance—it’s a combination of technical constraints, psychological factors, and subtle environmental influences that converge to create an unflattering result.
The rigid standards imposed by governments—neutral expressions, plain backgrounds, no retouching—are designed for security and consistency, not aesthetics. But within those boundaries, there's still room to improve your outcome. With the right preparation and awareness, you can submit a passport photo that’s both compliant and more representative of how you actually look.
The Science Behind Unflattering Passport Photos
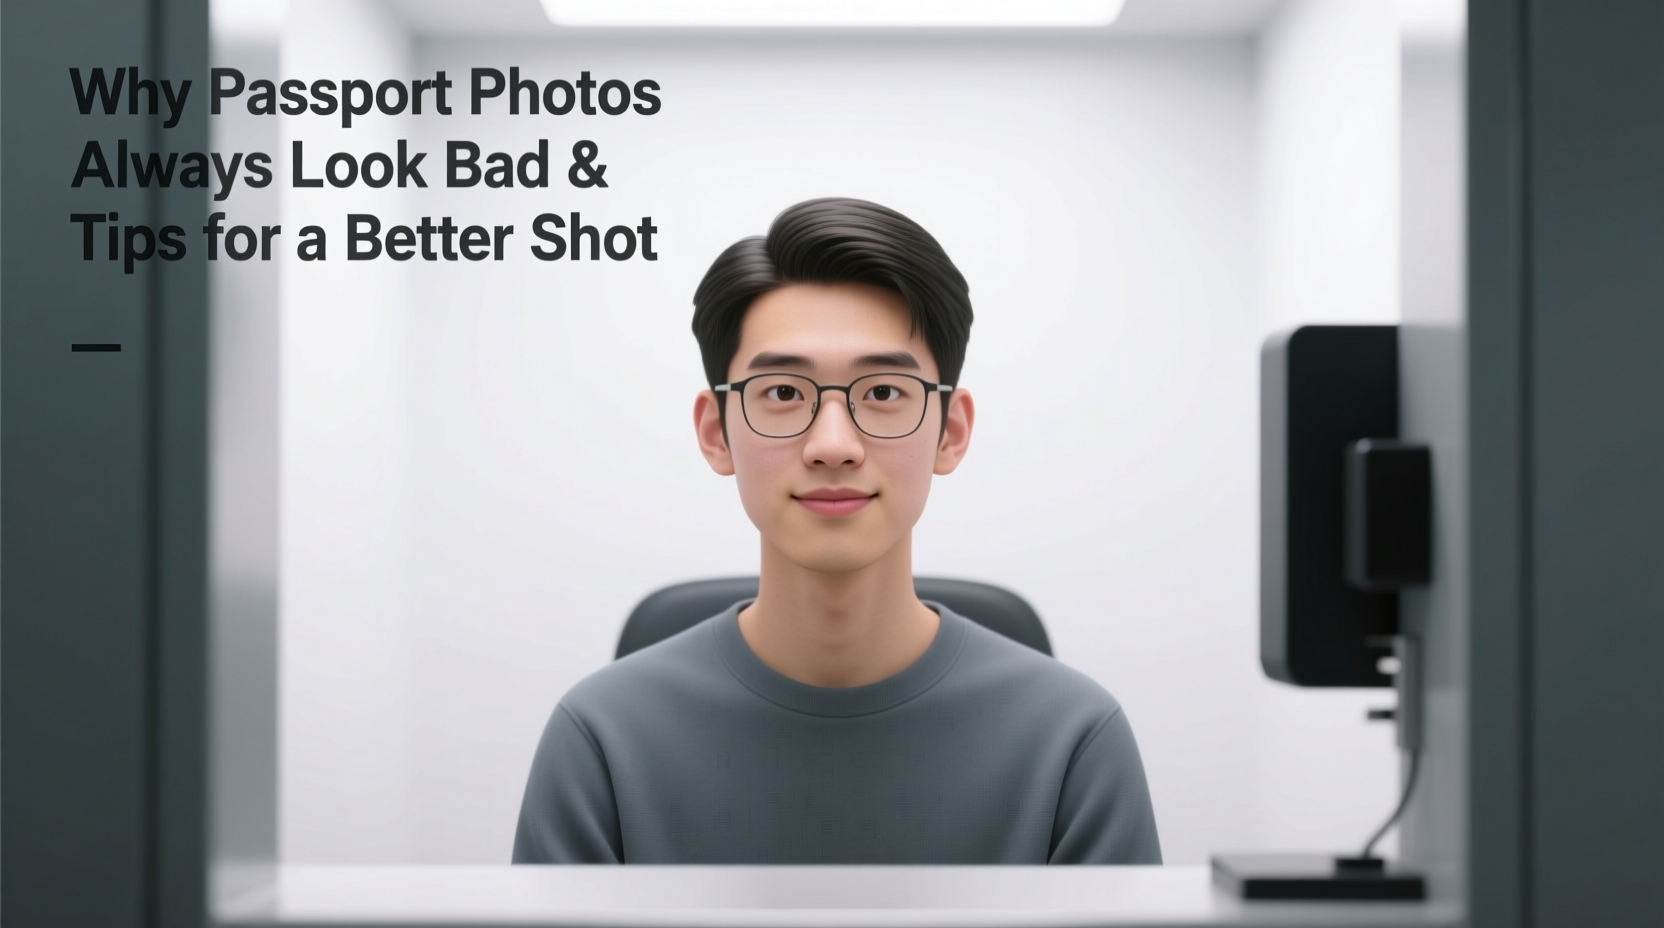
Several factors contribute to why passport photos rarely resemble the way we see ourselves in everyday life. One major reason is the lack of depth and lighting control. Most passport photos are taken with flat, front-facing lighting, which eliminates shadows and contours that normally give facial features dimension. Without these cues, faces appear flatter, wider, or even swollen.
Another factor is lens distortion. Many passport booths use wide-angle lenses on low-end cameras or smartphones, which exaggerate features closest to the lens—typically the nose and forehead. This creates a \"bulbous nose\" effect that many find distressing.
Psychologically, we also struggle with mirror reversal. We’re used to seeing our reflection every day, but photos show us as others see us—a flipped version. This minor difference can make us feel like we don’t recognize ourselves, leading to the common complaint: “That doesn’t even look like me.”
“Facial symmetry and lighting play a huge role in perceived attractiveness. In passport photos, both are often compromised due to standardization protocols.” — Dr. Lena Patel, Cognitive Psychologist specializing in visual perception
Common Mistakes That Worsen Passport Photos
Even with good intentions, travelers unknowingly sabotage their passport photos. These mistakes are easily avoidable with a bit of planning:
- Wearing the wrong clothing: Turtlenecks, uniforms, or clothing similar in color to the background violate photo guidelines and draw attention away from the face.
- Poor grooming: Unkempt hair, visible sweat, or heavy makeup that cracks under flash lighting can make the photo look unprofessional.
- Incorrect expression: While a smile is usually prohibited, going too far in the opposite direction—looking angry or stern—can distort your natural resting expression.
- Choosing the wrong time: Taking a photo after a long flight, during allergy season, or first thing in the morning increases puffiness, redness, or fatigue.
- Using outdated or low-quality equipment: Some kiosks use aging cameras with poor resolution, resulting in grainy, overexposed, or blurry images.
Step-by-Step Guide to a Better Passport Photo
You don’t need professional photography skills to get a better passport photo. Follow this step-by-step process to maximize your chances of a clean, accurate, and acceptable result.
- Choose the Right Day and Time: Pick a day when you’re well-rested, hydrated, and free from allergies or breakouts. Mid-morning is ideal.
- Wear Compliant, Flattering Clothing: Opt for a collared shirt or top in a color that contrasts with your skin tone and the background (usually white or off-white).
- Style Your Hair Naturally: Wear your hair as you typically would, ensuring it doesn’t cover your eyes or ears. Avoid extreme styles that may raise questions during verification.
- Apply Minimal, Matte Makeup (if applicable): Use non-reflective products to even out skin tone. Avoid glitter, shimmer, or heavy foundation that may crack under bright lights.
- Select a Reputable Photo Provider: Research local pharmacies, post offices, or photography studios known for high-quality passport services. Read reviews focusing on image clarity and customer service.
- Review the Photo Immediately: Before submission, examine the image for issues like red-eye, shadows, or crooked posture. Request a retake if necessary.
- Double-Check Government Requirements: Confirm size, background color, head position, and expression rules for your country. For example, U.S. State Department photos must be 2x2 inches with a neutral expression and full face visibility.
Do’s and Don’ts: Passport Photo Edition
| Do’s | Don’ts |
|---|---|
| Do wear glasses only if you normally use them daily (check current rules—some countries now allow them) | Don’t wear sunglasses or tinted lenses unless medically required |
| Do ensure even, soft lighting from the front | Don’t stand under harsh overhead lights or direct sunlight |
| Do keep a neutral expression—relaxed mouth, eyes open naturally | Don’t force a smile or purse your lips |
| Do have someone else take the photo (selfies rarely meet standards) | Don’t use smartphone filters or editing apps |
| Do check that your entire face is visible and centered | Don’t tilt your head or turn sideways |
Real Example: Maria’s Passport Photo Redemption
Maria, a frequent traveler from Chicago, had been rejected twice for her visa applications—not because of paperwork, but because of her passport photo. The first photo made her look exhausted; the second had a shadow across one eye. Frustrated, she researched proper techniques before her third attempt.
This time, she scheduled her appointment at a professional studio recommended online. She arrived early, wore a navy-blue blouse, and asked the photographer to use diffused lighting. She avoided makeup with SPF, which can cause flash glare, and ensured her hair was pulled back gently from her face.
The result? A clear, balanced photo where her features were accurately represented. Her next visa application was approved without delay. “I didn’t look glamorous,” she said, “but I finally looked like *me*.”
Tip: Bring a small mirror or comb to touch up before your session. Even minor adjustments can significantly improve your appearance.Expert Tips for Specific Challenges
Different individuals face unique hurdles when taking passport photos. Here’s targeted advice for common concerns:
- For People with Glasses: Anti-reflective coating helps reduce glare. Remove glasses if reflections persist, unless you require them for vision correction—and even then, confirm current regulations. As of 2023, the U.S. Department of State allows glasses in passport photos only if they don’t cast shadows or cause glare.
- For Those with Facial Hair: Be consistent. If you regularly wear a beard, keep it trimmed and neat. Sudden changes in appearance between your photo and real-life look can trigger secondary screening at borders.
- For Religious Headwear: You can wear head coverings for religious reasons, but your face must be fully visible from the bottom of your chin to the top of your forehead and both edges of your face. The headwear cannot cast shadows or obscure facial features.
- For Children: Take photos when they’re alert but calm. Use a plain background and avoid toys or distracting elements. Some countries require both eyes to be open and looking at the camera—even for infants.
“Consistency between your photo and real-world appearance reduces delays at immigration checkpoints. A recognizable photo is a secure photo.” — James Lin, Border Security Analyst, International Travel Safety Council
Frequently Asked Questions
Can I retake my passport photo if I don’t like it?
Yes, in most cases. Whether you're using a kiosk, pharmacy, or professional studio, reputable providers will offer at least one free retake. When applying in person, you can often submit a new photo during processing. Online systems may require uploading a new compliant image.
Are selfies acceptable for passport photos?
No. Selfies are generally not accepted because they often fail to meet technical standards—incorrect angle, poor lighting, or background issues. Additionally, most countries require the photo to be taken by someone else to ensure full frontality and compliance.
How often should I update my passport photo?
Your passport photo should reflect your current appearance. While passports are typically valid for 10 years (for adults), significant changes in appearance—such as major weight loss, aging, or facial hair changes—may warrant updating your passport earlier. Children under 16 require updated photos every five years due to rapid growth.
Final Checklist for a Better Passport Photo
Before heading to your photo session, run through this checklist to ensure everything is in order:
- ☑️ I am well-rested and hydrated
- ☑️ My hair is clean and styled to expose my face
- ☑️ I’m wearing appropriate clothing (collared, contrasting color)
- ☑️ I’ve avoided shiny makeup or accessories
- ☑️ I’ve confirmed the latest photo requirements for my country
- ☑️ I’m using a reputable photo service with good lighting and equipment
- ☑️ I will review the photo before final submission
Conclusion: Look Like Yourself, Officially
Passport photos don’t have to be dreaded moments of self-doubt. By understanding the technical and psychological reasons behind their unflattering reputation, you gain the power to work within the system—not against it. Small, intentional choices in preparation, clothing, timing, and provider selection can lead to a photo that’s not only compliant but also authentically you.
In an age where identity verification happens in seconds, a clear, accurate passport photo is more than a formality—it’s a tool for smoother travel, faster processing, and confident recognition. Don’t settle for a photo that makes you cringe. Prepare wisely, advocate for retakes when needed, and remember: looking like yourself is the highest standard of all.
💬 Have a passport photo tip that saved your application? Share it in the comments and help others avoid the dreaded “ugly photo” surprise!