Passport photos are among the most widely used forms of identification across the globe. Yet, despite their importance, few people walk away from the experience feeling photogenic. More often than not, the resulting image feels flat, harsh, or simply unflattering. Why do these small squares of identity so frequently fail to capture us at our best? And more importantly, how can you ensure that the photo stamped into your passport remains something you don’t cringe at — not just today, but even five or ten years down the line?
The truth is, passport photos aren’t designed to be flattering. They’re designed to be functional — standardized, secure, and consistent. But that doesn’t mean you have to resign yourself to looking tired, wide-eyed, or oddly expressionless. With a deeper understanding of the technical constraints and a few strategic personal adjustments, it’s entirely possible to look like a recognizable, decent version of yourself — one that will still feel accurate nearly a decade later.
The Science Behind the Unflattering Passport Photo
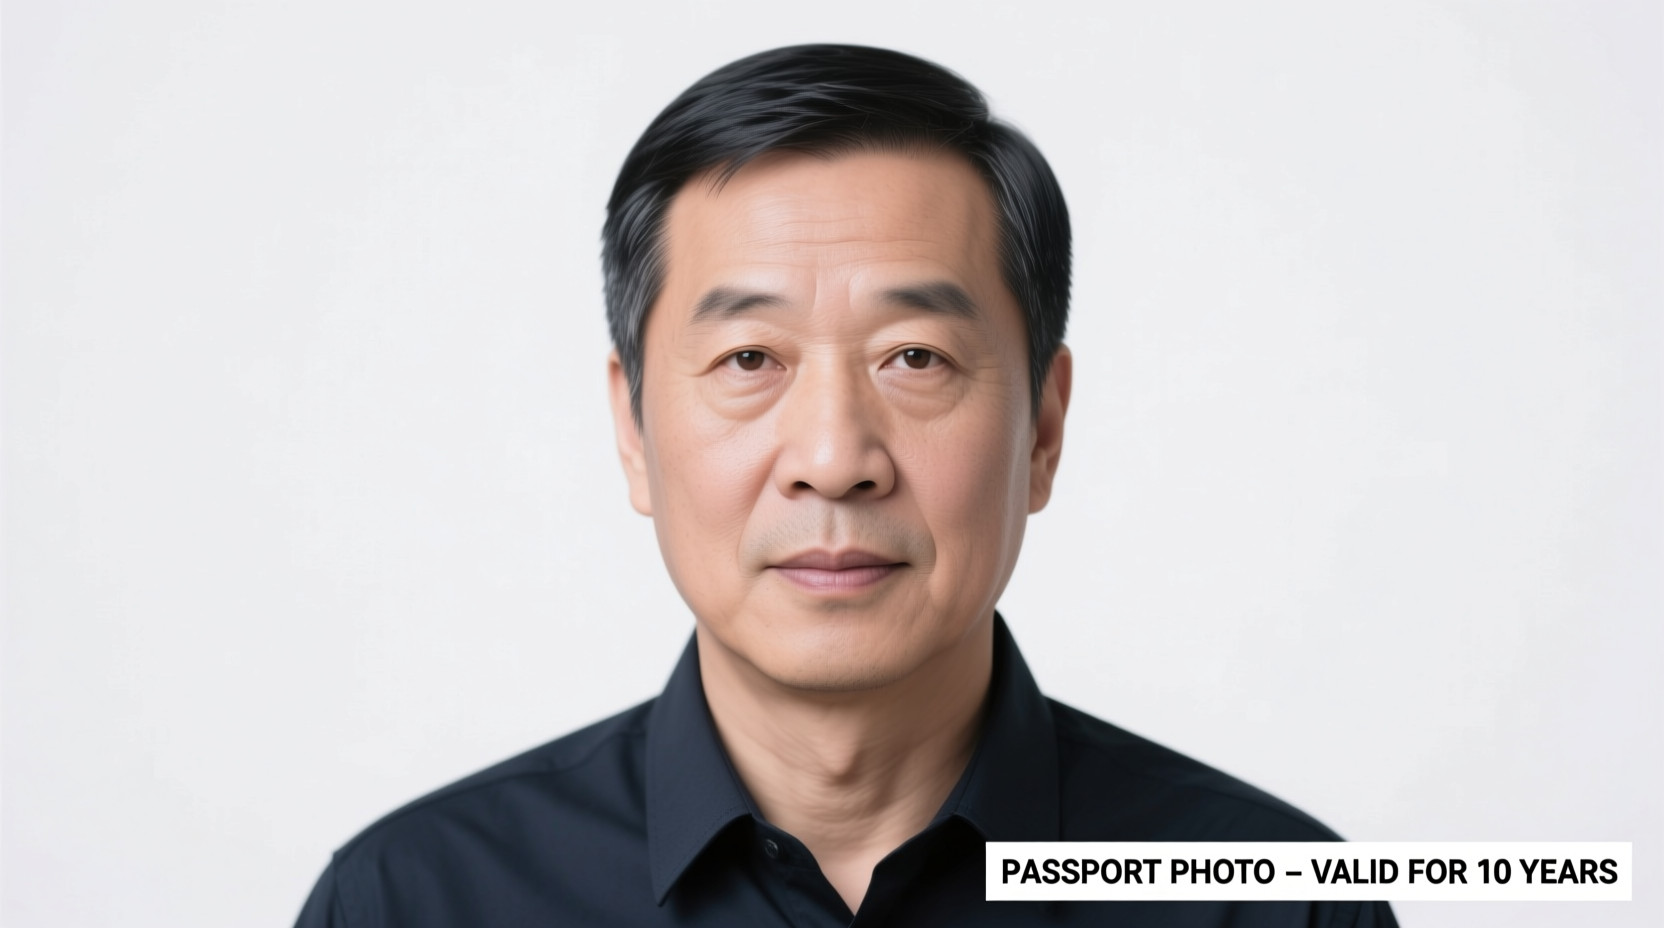
Several factors conspire to make passport photos appear less than ideal. These aren’t flaws in execution; they’re built into the system by design.
First, lighting plays a critical role. Most government-approved photo booths and kiosks use overhead fluorescent lighting, which casts sharp shadows under the eyes, nose, and chin. This creates a hollowed, almost gaunt effect, especially on individuals with defined facial features. Natural light, which softens contours and evens out skin tone, is rarely an option.
Second, the strict rules governing facial expression eliminate any hint of personality. You must face forward, maintain a neutral expression, keep your mouth closed, and avoid smiling — all of which flattens the natural warmth of your features. A genuine smile engages the muscles around the eyes (the \"crow's feet\"), giving a sense of liveliness. Without it, even alert faces can appear stern or fatigued.
Third, the background is uniformly plain — usually white or off-white — which provides no contrast or depth. Combined with high-resolution digital cameras, this results in images that lack dimensionality. Your face appears pressed against the backdrop, like a cutout rather than a three-dimensional person.
“Facial recognition systems rely on consistency, not aesthetics. The goal is to capture a repeatable baseline of your appearance, not to flatter it.” — Dr. Lena Park, Biometric Imaging Researcher at MIT Media Lab
Finally, there’s the issue of aging. A passport is typically valid for 10 years. While we may age gracefully, the expectation that a single photograph accurately represents us over a decade is inherently flawed. Skin texture changes, hairlines shift, weight fluctuates — yet the photo remains static.
Tip: Choose a professional photographer who specializes in ID photos. Many understand how to work within the rules while minimizing unflattering effects.How to Look Decent — Even in a Regulated Photo
You can't control the rules, but you can control your preparation. Looking \"decent\" in a passport photo isn’t about achieving perfection — it’s about minimizing common pitfalls and presenting a clear, authentic likeness of yourself that will remain recognizable over time.
The key lies in preparation: grooming, clothing choices, timing, and subtle techniques that align with both regulations and visual appeal.
Grooming and Presentation
Your appearance on photo day should reflect a slightly elevated version of your everyday self — clean, well-rested, and put together without being overdressed.
- Skincare: Hydrated skin reflects light more evenly. Use a light moisturizer (non-greasy) about 30 minutes before your photo to reduce dry patches and shine.
- Facial Hair: If you have a beard or mustache, trim it neatly the day before. Sudden changes in facial hair can cause discrepancies during border checks.
- Hair: Style it as you normally would, but avoid extreme volume or styles that obscure your face. Remember: ears must be visible, and no hats are allowed unless worn for religious reasons.
- Makeup: Use minimal, matte makeup if applicable. Avoid shimmer or highlighters, which can create glare under bright lights.
Clothing That Works With the Rules
While only your head and shoulders are captured, your clothing matters more than you think. The contrast between your outfit and the plain background helps define your silhouette.
| Do | Don’t |
|---|---|
| Wear solid colors that contrast with a white/off-white background (e.g., navy, burgundy, dark gray) | Avoid white or very light-colored shirts — they blend into the background |
| Choose simple collars that frame the face (crew necks, button-downs) | Don’t wear busy patterns, logos, or flashy accessories |
| Opt for modest necklines that don’t distract | Avoid low-cut tops or oversized turtlenecks that alter neck proportions |
Timing Matters
Schedule your photo session when you're most alert. Early afternoon is often ideal — you're past morning grogginess, but not yet fatigued. Avoid booking right after travel, late nights, or intense workouts, when puffiness or redness may be present.
Looking Consistent Over 10 Years: A Longevity Strategy
One of the most overlooked aspects of passport photography is longevity. Unlike social media photos, which are momentary, this image will represent you for up to a decade. The challenge isn’t just looking good now — it’s ensuring the photo doesn’t become misleadingly outdated.
Consider this: if you take a photo at 25 with full hair, bright eyes, and smooth skin, will it still resemble you at 35? Will border agents question its validity? Discrepancies can lead to delays, secondary screenings, or even denied entry.
The solution isn’t to freeze your appearance artificially, but to choose a photo that captures a stable, enduring version of yourself.
Step-by-Step Guide to a Timeless Passport Photo
- Evaluate Your Likely Aging Pattern: Look at older family photos. Do you tend to gain or lose weight gradually? Does your hairline recede? Use this insight to guide your styling.
- Aim for a Mid-Point Look: If you're planning major lifestyle changes (weight loss, hair color change), consider waiting until you’re closer to your target before updating documents.
- Choose a Neutral Expression Wisely: While smiles aren’t allowed, you can still soften your gaze. Relax your forehead, slightly raise your eyebrows, and keep your jaw loose.
- Get Multiple Shots Taken: Even in regulated settings, professionals can take several compliant shots. Review them carefully before submission.
- Save the Original File: Store a high-resolution digital copy. You’ll need it for visas, IDs, and online applications over the next decade.
Real Example: Sarah’s Passport Photo Journey
Sarah, a 32-year-old project manager, renewed her passport after nine years. Her previous photo was taken shortly after college — long hair, no glasses, and noticeably thinner. In the intervening years, she’d gained 15 pounds, started wearing reading glasses, and cut her hair short for practicality.
At renewal, she opted for a professional studio instead of an airport kiosk. She wore a dark blue blouse, applied light makeup, and asked the photographer to minimize overhead shadows using diffused lighting. Though the result wasn’t glamorous, it captured her current, stable appearance accurately.
Two years later, during a trip to Japan, immigration officers scanned her passport without hesitation. “It looked like me,” she said. “Not better, not worse — just me. That’s all I wanted.”
Sarah’s experience underscores a crucial point: authenticity trumps attractiveness in official documentation. A photo that reflects your real, everyday self is more likely to remain valid — and accepted — over time.
Checklist: Preparing for Your Passport Photo
Use this checklist to ensure you're fully prepared before stepping in front of the camera:
- ✅ Get a good night’s sleep the night before
- ✅ Moisturize skin (avoid oil-based products)
- ✅ Trim or groom facial hair
- ✅ Wear a solid-color top that contrasts with white
- ✅ Avoid heavy makeup, glitter, or shiny products
- ✅ Remove hats, headphones, and sunglasses (unless religiously required)
- ✅ Practice a neutral expression in the mirror
- ✅ Bring an old photo for reference if needed
- ✅ Confirm the photo meets local requirements (size, resolution, background)
- ✅ Save a digital copy in multiple locations (cloud, email, USB)
Frequently Asked Questions
Can I retake my passport photo if I don’t like it?
Yes — as long as the photo hasn’t been submitted to the issuing authority. Many private studios allow retakes within the same session. Government kiosks may charge per attempt, so practice your expression beforehand.
What if I change my appearance significantly during the 10-year validity?
If you undergo major changes — gender transition, significant weight loss/gain, facial surgery — you may need to update your passport earlier. Most countries allow early renewal for such reasons, though policies vary. Always check with your national passport agency.
Are digital edits allowed in passport photos?
No. Heavy retouching, filters, or digital alterations are prohibited. Minor exposure or contrast adjustments are acceptable if they don’t distort your facial features. The photo must be a true representation of your appearance at the time.
Final Thoughts: Rethinking the Role of the Passport Photo
Passport photos may never win beauty contests, and they’re not meant to. Their purpose is identification, not admiration. But that doesn’t mean you have to surrender to the dreaded “passport pout” or ghostly pallor.
By understanding the technical limitations and preparing strategically, you can achieve a photo that is both compliant and human — one that shows not just your face, but your presence. More importantly, by thinking ahead, you can create an image that remains truthful and useful for years to come.
In a world where identity is increasingly digital and automated, your passport photo is a silent ambassador. It speaks for you at borders, during verifications, and in moments when you’re not there to explain yourself. Make sure it says what you want it to say: *This is me. I’m here. And yes, it’s really me.*
💬 Have a passport photo tip that saved your look? Share your story in the comments — your advice could help someone avoid a decade of regret!