Running Cat 5 or Cat 5e Ethernet cable through your home is one of the most effective ways to boost network speed, reduce latency, and future-proof your internet setup. While Wi-Fi has improved dramatically, a wired connection still delivers superior reliability and performance—especially for gaming, streaming, and home offices. Whether you're upgrading from outdated wiring or installing a new system from scratch, doing it right the first time saves time, money, and frustration. This guide walks you through every phase: planning, tools, installation techniques, testing, and optimization—all with professional-level precision.
Why Wired Beats Wireless (Even in 2024)
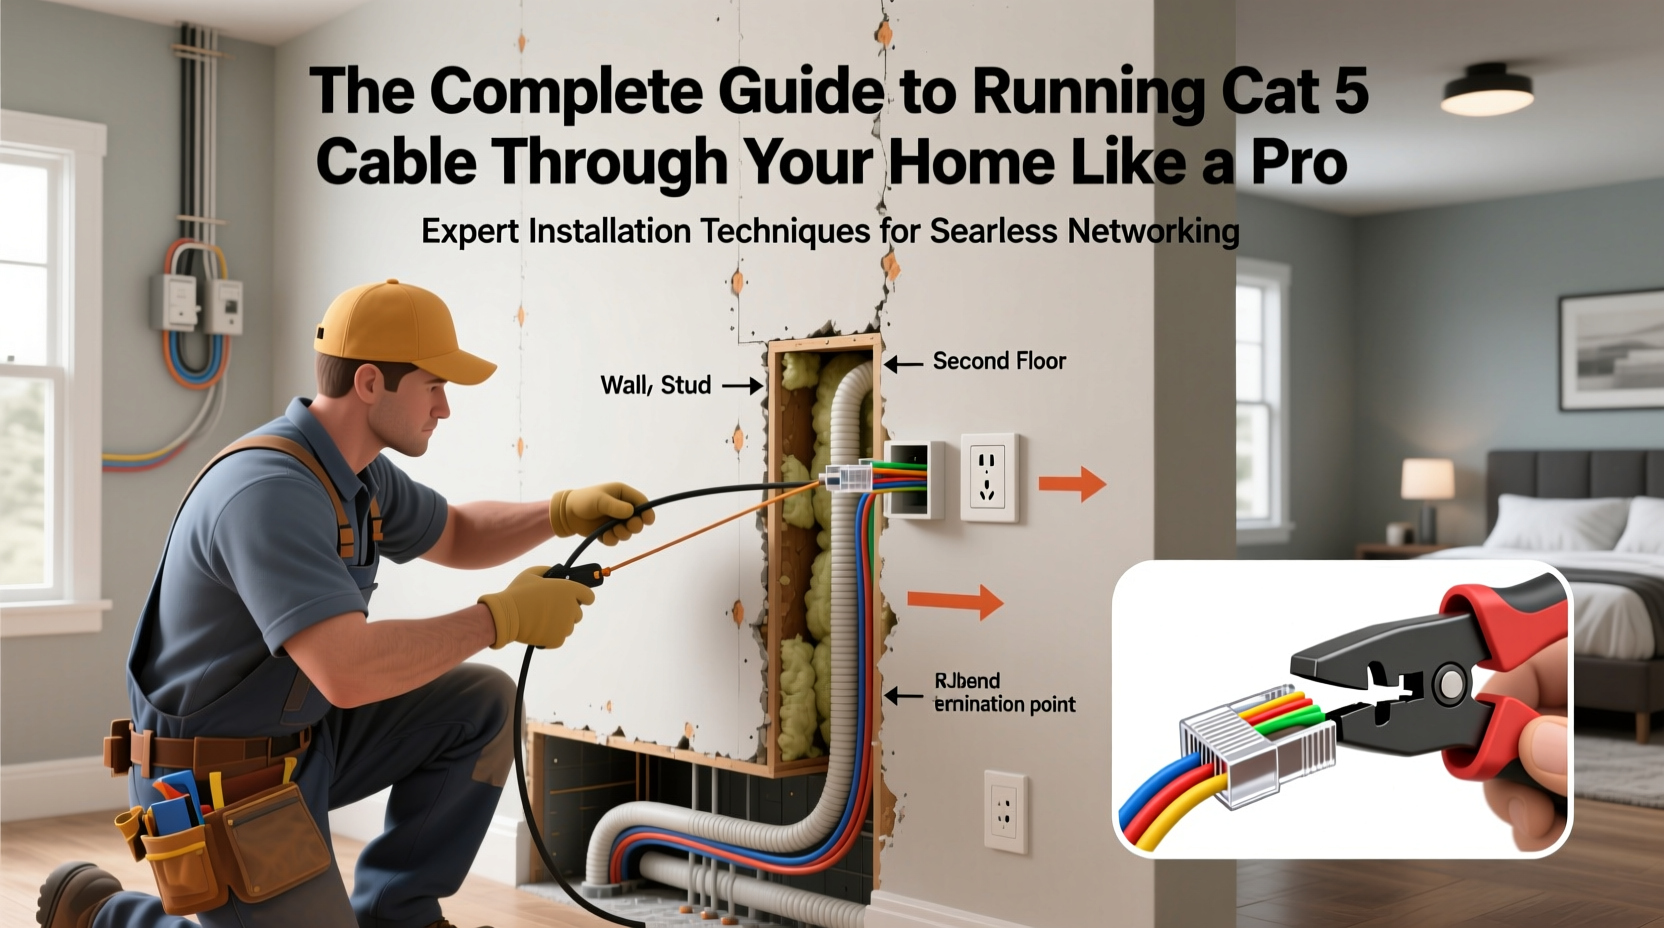
Despite advances in Wi-Fi 6 and mesh networks, physical Ethernet connections remain unmatched in consistency and throughput. Cat 5e cables support up to 1 Gbps speeds at distances up to 100 meters (328 feet), with minimal interference. Unlike wireless signals that degrade due to walls, appliances, or congestion, wired connections offer dedicated bandwidth. For bandwidth-heavy applications—like 4K video editing, multi-device households, or remote work—a hardwired network eliminates buffering, jitter, and dropouts.
“Ethernet isn’t obsolete—it’s essential. Homes built today without structured cabling are setting themselves up for tech limitations within five years.” — David Lin, Network Infrastructure Consultant
Planning Your Cable Run: The Blueprint Phase
Before cutting drywall or drilling holes, map out your entire network layout. Start by identifying key locations: primary router placement, secondary access points, desktops, smart TVs, security systems, and any future expansion zones (e.g., home gym, office nook).
Sketch a floor plan or use free software like SketchUp or Floorplanner to mark desired outlet positions. Each run should begin at your central networking hub—typically where your modem/router resides—and extend to each endpoint. Avoid daisy-chaining; run individual cables back to the main panel for optimal performance.
Tip: Label both ends of every cable during installation. Use numbered tags or color-coded labels to avoid confusion later.Key Planning Considerations
- Cable length: Keep runs under 100 meters to maintain signal integrity.
- Future-proofing: Install conduit or pull strings for easy upgrades to Cat 6 or fiber.
- Access points: Combine wired drops with strategically placed Wi-Fi access points for hybrid coverage.
- Concealment: Plan paths behind baseboards, inside walls, or through attics and crawl spaces.
Tools and Materials Checklist
Having the right tools makes the job faster, cleaner, and safer. Here’s what you’ll need before starting:
Checklist: Essential Tools & Supplies- Box of Cat 5e or Cat 6 cable (solid-core for in-wall use)
- RJ45 connectors (for termination)
- Crimping tool
- Cable stripper
- Wall plates and keystone jacks
- Stud finder
- Fish tape or flexible drill bit (for wall fishing)
- Drill with long spade bits (1/2 inch recommended)
- Voltage tester (to check for live wires)
- Label maker or masking tape and pen
- Cable tester (basic continuity or advanced link checker)
- Conduit or J-tubes (optional, for protection)
Step-by-Step Installation Process
Follow this sequence to install your cables efficiently and professionally.
- Determine entry and exit points: Choose locations where cables enter and exit walls. Ideally, place outlets 12 inches above floor level or near baseboards.
- Locate studs and utilities: Use a stud finder and voltage detector to avoid drilling into electrical wiring or plumbing.
- Drill top-plate holes (attic method): If accessible, go through the attic, drill down through the top plate of the wall, then feed the cable to the outlet location.
- Fish the wall cavity: Insert fish tape from the lower hole, guide it upward, attach the cable, and pull it back down.
- Feed and pull: Attach the cable securely to the fish tape using electrical tape. Pull slowly to avoid snagging or stretching.
- Leave slack: Allow 12–18 inches of extra cable at both ends for termination and future adjustments.
- Repeat for all runs: Maintain consistent labeling throughout.
- Terminate at patch panel and jacks: Use punch-down tools for keystone jacks and patch panels. Follow T568B wiring standard unless otherwise specified.
- Test each line: Use a cable tester to verify all eight pins are connected correctly and there are no shorts or crosstalk.
- Install faceplates and connect devices: Finalize with clean wall plates and plug into your switch or router.
Avoid These Common Installation Mistakes
Even experienced DIYers make errors that compromise performance. Learn from these frequent missteps.
| Mistake | Why It’s Bad | How to Avoid |
|---|---|---|
| Using stranded cable for in-wall runs | Stranded is flexible but not plenum-rated; unsafe and against code | Use solid-core CMR or CMP-rated cable indoors |
| Stretching cable too tightly | Tension damages twisted pairs, causing attenuation | Allow slight slack and avoid pulling taut |
| Neglecting to test before closing walls | Discovering faults after drywall repair is costly | Test every run immediately after termination |
| Running parallel to power lines | Electromagnetic interference degrades data | Cross power lines at 90-degree angles; keep 12+ inches apart |
Real-World Example: Wiring a Two-Story Home
Consider Sarah, a remote worker in a 2,200 sq ft home. Her Wi-Fi struggled in the basement office and backyard studio. She decided to run Cat 5e cables from her attic-mounted router to four critical zones: basement office, upstairs bedroom, garage workshop, and outdoor shed.
She started by installing a small rack in the attic with a 16-port switch. Using existing attic access, she drilled through top plates into each target room. Fish tape guided cables down, which were then terminated at wall plates. By following the T568B standard and testing each line, she confirmed full gigabit connectivity. The result? Zero lag during video calls, instant file transfers, and seamless smart home integration—all while keeping Wi-Fi clear for mobile devices.
When to Upgrade: Cat 5e vs. Cat 6 and Beyond
While Cat 5e handles most residential needs, consider Cat 6 if you anticipate higher bandwidth demands. The table below compares common Ethernet types:
| Cable Type | Max Speed | Bandwidth | Best For |
|---|---|---|---|
| Cat 5e | 1 Gbps | 100 MHz | General home use, HD streaming, gaming |
| Cat 6 | 10 Gbps (up to 55m) | 250 MHz | 4K/8K video, large file servers, future-proofing |
| Cat 6a | 10 Gbps (up to 100m) | 500 MHz | Professional studios, high-density networks |
For most homeowners, Cat 5e is sufficient. But if you’re opening walls anyway, spending slightly more on Cat 6 reduces the need for rework later.
FAQ
Can I run Ethernet cable alongside electrical wiring?
You can, but never run them parallel in the same stud bay. If they must cross, do so at a 90-degree angle. Maintain at least 12 inches of separation to prevent electromagnetic interference.
Do I need a license to run Ethernet in my home?
No. Residential low-voltage cabling like Ethernet does not require permits or licensed electricians in most jurisdictions. However, always follow local building codes, especially regarding fire-rated walls and plenum spaces.
What’s the difference between Cat 5 and Cat 5e?
Cat 5 supports up to 100 Mbps; Cat 5e (“enhanced”) supports 1 Gbps and has better insulation to reduce crosstalk. Cat 5 is obsolete—always choose Cat 5e or higher for new installations.
Final Thoughts: Build a Network That Lasts
Running Cat 5 cable through your home isn’t just a technical upgrade—it’s an investment in reliability, speed, and peace of mind. With careful planning, the right tools, and attention to detail, you can achieve results that rival professional installations. Once completed, your wired network will serve you for decades, supporting evolving technologies without constant troubleshooting.
🚀 Ready to cut the Wi-Fi cord? Start your first cable run this weekend. Document your progress, share tips, or ask questions in the comments—let’s build smarter homes together.