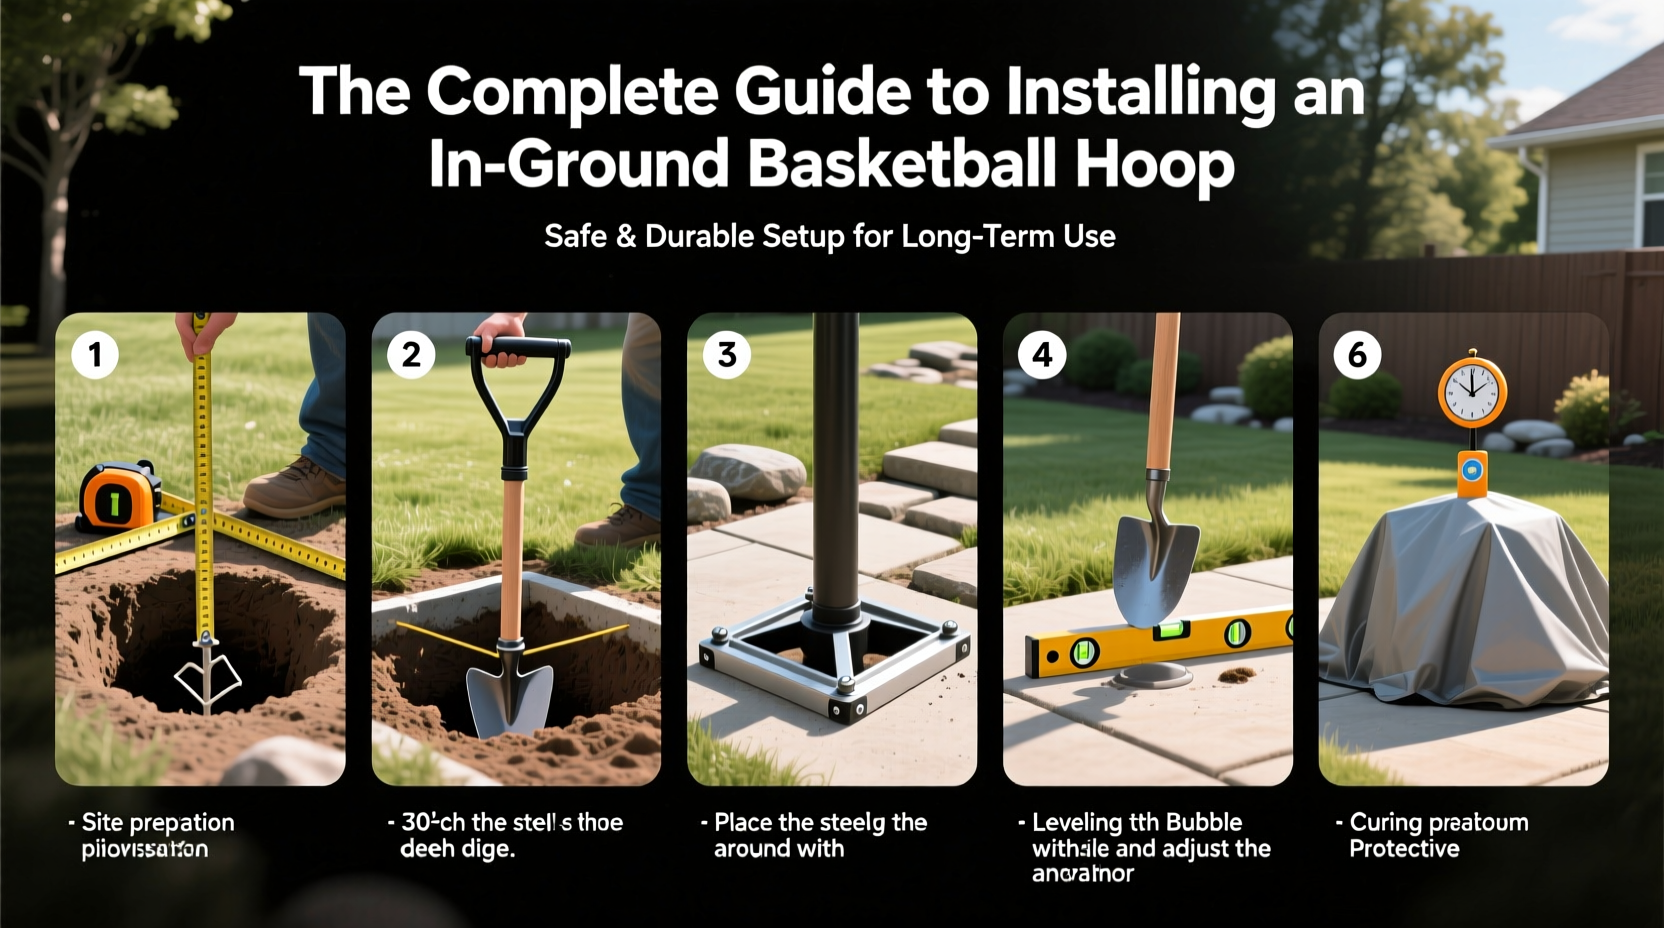
Installing an in-ground basketball hoop transforms any backyard into a functional sports space. Whether you're setting it up for kids, family games, or serious practice, a properly installed system offers stability, safety, and years of reliable use. However, cutting corners during installation can lead to wobbly poles, structural failure, or even injury. This guide walks through every critical step—from planning and excavation to anchoring and curing—with expert-backed methods that ensure your hoop stands strong through seasons of play.
Selecting the Right Location and Checking Utilities
The first step isn’t digging—it’s choosing where to dig. The ideal location balances visibility, playability, and safety. Avoid areas near driveways, power lines, or underground utilities. A flat, open space with at least 5 feet of clearance behind the backboard is recommended to prevent collisions.
Before breaking ground, contact your local utility services via 811 (Call Before You Dig). This free service identifies buried gas, water, electric, and communication lines. Hitting a utility line during excavation is dangerous and costly. Wait for confirmation—usually within 48–72 hours—before proceeding.
Tip: Mark your intended hole location with spray paint or a stake after confirming no underground hazards exist.Digging the Hole: Depth, Diameter, and Alignment
The foundation of a stable basketball goal is the depth and width of the hole. Most manufacturers recommend a hole between 24 to 36 inches deep and 12 to 16 inches in diameter. Deeper holes provide greater resistance to lateral forces from dunking or wind.
Use a post-hole digger or auger for precision. If your soil is sandy or loose, consider going deeper���up to 36 inches—to enhance stability. In regions with frost lines (like the northern U.S.), the hole should extend below the frost depth (typically 36–48 inches) to prevent heaving during freeze-thaw cycles.
Once dug, level the bottom with gravel for drainage. Uneven bases can cause the pole to tilt as the concrete settles. Place a 2–3 inch layer of gravel at the bottom and tamp it down firmly.
“An improperly leveled pole leads to a misaligned backboard, affecting shot accuracy and long-term wear.” — Jason Reed, Outdoor Sports Installation Specialist
Choosing the Right Concrete Mix and Anchoring System
Not all concrete is created equal. For in-ground hoops, use high-strength concrete rated at **5,000 PSI** or higher. Fast-setting mixes are convenient but require careful timing during placement. Standard Portland cement-based concrete gives more working time and better long-term integrity.
Reinforce the anchor with a manufacturer-approved ground sleeve or anchor kit. These metal brackets secure the pole inside the concrete, preventing movement and simplifying future replacement if needed. Never rely solely on concrete gripping the pole directly—this risks cracking and slippage over time.
Pour the concrete in layers, vibrating or tapping the sides to remove air pockets. Keep the pole perfectly vertical using a level on two perpendicular sides. Brace it with wooden stakes and straps until the concrete sets.
| Concrete Type | Setting Time | Best For |
|---|---|---|
| Fast-Setting (Quikrete) | 20–40 minutes | Quick installations, dry weather |
| Standard 5,000 PSI | 24–48 hours | Durability, cold climates |
| Fiber-Reinforced | 24+ hours | High-impact zones, commercial use |
Step-by-Step Installation Timeline
Follow this sequence for a secure, professional-grade installation:
- Day 1 – Planning & Prep: Confirm location, call 811, gather tools and materials.
- Day 2 – Excavation: Dig hole to required depth, add gravel base, check level.
- Day 2 – Assembly: Attach anchor sleeve to pole base per instructions; do not skip torque specifications.
- Day 2 – Pouring: Mix and pour concrete around the sleeve, ensuring pole remains plumb. Brace securely.
- Day 3–7 – Curing: Allow concrete to cure fully. Do not apply stress. Ideal curing time is 7 days at 60°F+.
- Day 8 – Final Setup: Attach backboard and rim, adjust height, test stability.
Real Example: A Suburban Family's Backyard Hoop Project
The Thompsons in Columbus, Ohio, wanted a permanent hoop for their two sons, ages 10 and 13. They chose a 5-inch round steel pole with a breakaway rim. After calling 811, they marked a spot 6 feet from their garage and 8 feet from the sidewalk.
They dug a 30-inch-deep hole using a power auger, added a 3-inch gravel base, and used a 5,000 PSI concrete mix with fiber reinforcement. The pole was braced with four wooden supports anchored into the lawn. Despite a light rain on day two, the curing process was uninterrupted thanks to a tarp cover.
After seven days, they mounted the backboard and tested the system with dunks and rebounds. Two years later, the hoop remains rock-solid, even during winter snow removal and summer tournaments.
Dos and Don'ts of In-Ground Hoop Installation
| Do | Don't |
|---|---|
| Check local zoning laws for height restrictions | Install too close to property lines or sidewalks |
| Use rebar or anchor bolts for extra support | Allow children or pets near the site during curing |
| Follow manufacturer torque specs for hardware | Mount the backboard before concrete fully cures |
| Seal exposed metal parts against rust | Use low-grade concrete or mortar mix |
| Inspect annually for cracks or shifting | Ignore small leaks or tilting signs |
Maintenance and Long-Term Durability Tips
A well-installed hoop can last 15–20 years with minimal upkeep. Inspect the base yearly for cracks, pooling water, or leaning. Seal any hairline fractures with hydraulic cement to prevent water intrusion and freeze damage.
In colder climates, avoid piling snow against the pole during winter cleanup. Moisture trapped between snow and metal accelerates corrosion. Apply a rust-inhibiting coating to the lower 12 inches of the pole annually.
Keep the backboard clean with mild soap and water. Avoid pressure washers, which can degrade seals and gaskets. Lubricate adjustment mechanisms every six months if your system includes a hydraulic lift.
FAQ
Can I install an in-ground hoop on a slope?
Yes, but it requires additional engineering. The hole must still be vertical (plumb), not aligned with the slope. This may mean excavating deeper on the downhill side. Use a transit level or laser level to ensure accuracy. Consider consulting a contractor for steep grades.
How much concrete do I need for one hoop?
For a standard 30-inch-deep, 14-inch-diameter hole with a 5-inch pole and sleeve, you’ll need approximately **1.5 to 2 bags (80 lbs each)** of dry mix. Always calculate based on volume: π × r² × depth. Account for displacement by the pole and sleeve.
Is it safe to let kids dunk on a residential in-ground hoop?
Most modern in-ground systems are rated for dunking, especially those with breakaway rims and reinforced poles. Verify the manufacturer’s weight and impact ratings. Regular inspection of bolts, welds, and concrete is essential after repeated high-impact use.
Final Steps and Safety Verification
After installation, conduct a stability test. Apply firm lateral pressure to the backboard—there should be no movement at the base. Check all bolts and connections monthly for the first year, then quarterly thereafter.
Ensure the backboard meets local safety standards. Tempered glass or acrylic boards are safer than polycarbonate, which can shatter under extreme conditions. Install padding around the pole if children frequently play nearby.
“A secure hoop isn’t just about performance—it’s about peace of mind when your kids are playing hard.” — Maria Lin, Playground Safety Consultant
Conclusion
Installing an in-ground basketball hoop is more than a weekend project—it’s an investment in health, recreation, and family connection. By following precise excavation, using high-quality materials, and allowing proper curing time, you create a structure that withstands years of aggressive play and changing weather. Attention to detail now prevents costly repairs or accidents later.
🚀 Ready to build a lasting court in your yard? Gather your tools, double-check your plans, and start digging with confidence. Share your installation story or ask questions in the comments—your experience could help another family score the perfect setup!