
Reliable, high-speed internet is no longer a luxury—it’s essential. While Wi-Fi has improved dramatically, a wired Ethernet connection using Cat cable (typically Cat 6 or Cat 6a) still delivers superior speed, lower latency, and greater stability. Whether you're setting up a home office, gaming station, or media center, installing Ethernet cables throughout your home can transform your network performance. The key is doing it right: cleanly, efficiently, and with future upgrades in mind.
This guide walks through the entire process of running Cat cable in your home—from planning to termination—with professional tips to avoid common pitfalls and ensure a tidy, long-lasting setup.
Plan Your Network Layout
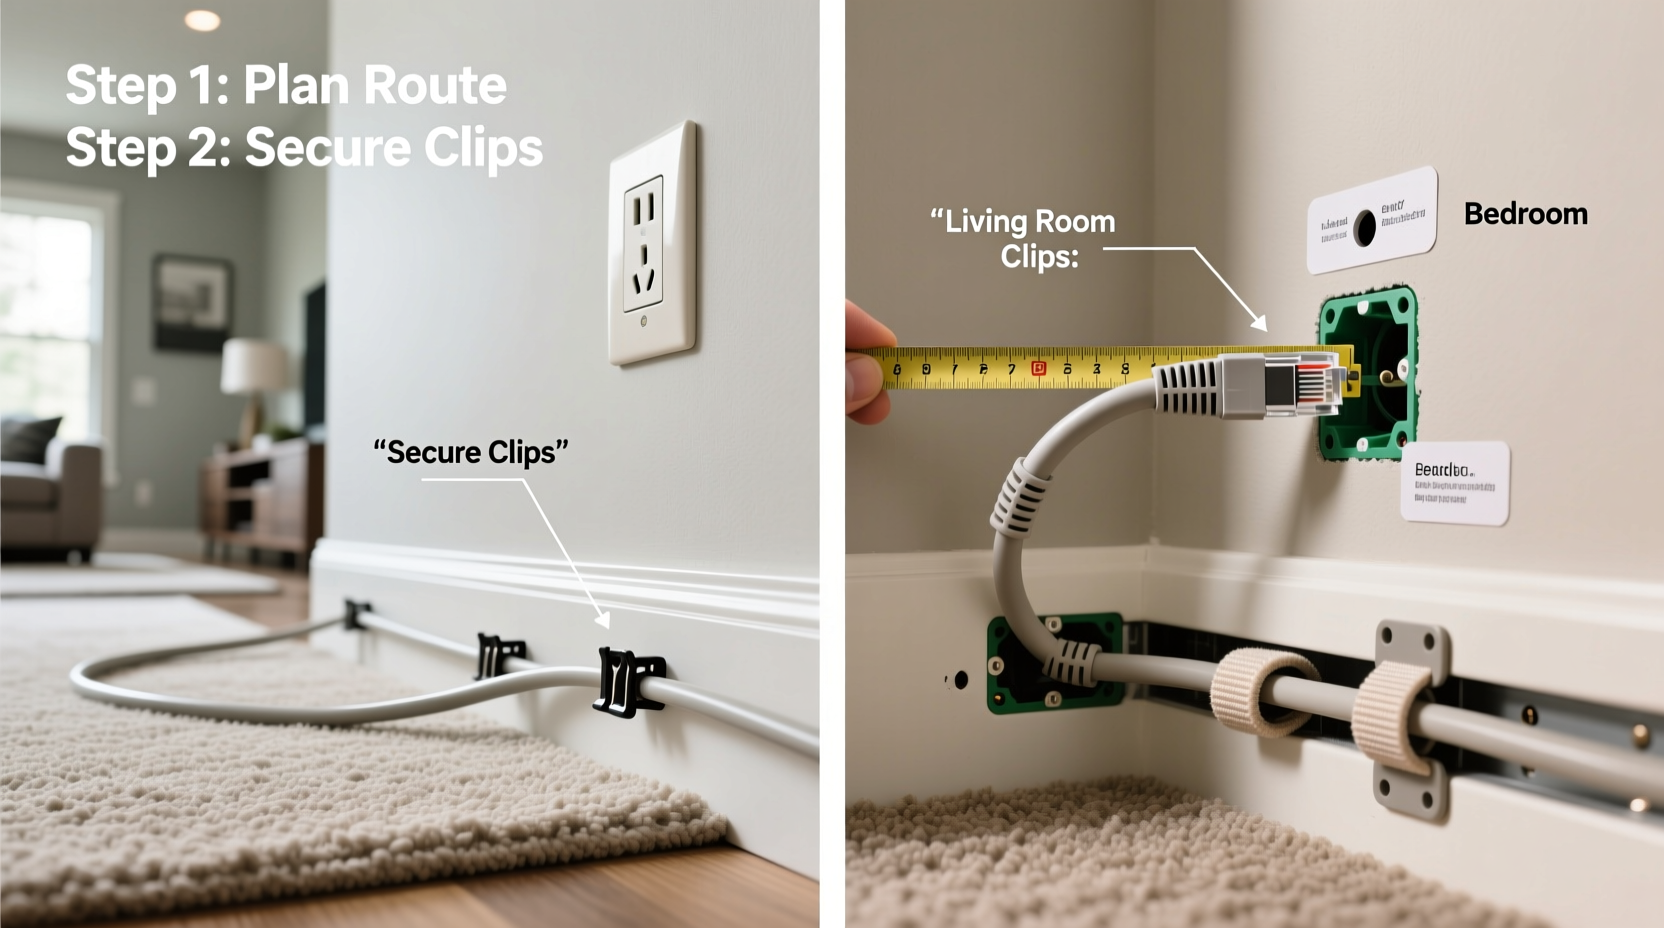
Before cutting drywall or drilling holes, map out your network needs. Identify where wired connections are most valuable: home offices, entertainment centers, smart hubs, or security systems. Avoid over-cabling, but also anticipate future needs—adding a spare cable during installation costs little now but saves significant effort later.
Sketch a floor plan and mark desired outlet locations. Choose a central point for your network hub—usually near your modem or router. This location will serve as your \"network closet\" or patch panel zone. From there, determine the shortest, most accessible cable routes, avoiding water pipes, electrical wiring, and HVAC ducts when possible.
Tip: Label every cable at both ends from the start—even if you think you’ll remember. Mistakes here lead to hours of troubleshooting later.Choose the Right Cable Type
Not all Ethernet cables are equal. For most modern homes, Cat 6 is the sweet spot—supporting speeds up to 10 Gbps at distances up to 55 meters (ideal for typical room-to-room runs). If you're building new construction or want maximum future-proofing, consider Cat 6a, which maintains 10 Gbps over the full 100 meters.
Avoid Cat 5e unless budget is extremely tight; its performance ceiling may limit future upgrades. Also, use plenum-rated (CMP) cable if running through air-handling spaces (like drop ceilings or raised floors), as required by fire codes in many areas.
| Cable Type | Max Speed | Max Distance (10Gbps) | Best Use Case |
|---|---|---|---|
| Cat 5e | 1 Gbps | N/A | Budget retrofits, short runs |
| Cat 6 | 10 Gbps | 55 meters | Most homes, offices |
| Cat 6a | 10 Gbps | 100 meters | New builds, future-proofing |
| Cat 7/8 | 10–40 Gbps | 15–30 meters | Data centers, not typical homes |
Tools and Materials Checklist
Proper tools make the job faster, safer, and more professional. Here’s what you’ll need:
- Category-rated Ethernet cable (Cat 6 or higher)
- Fish tape or flexible rod for pulling wires
- Stud finder and voltage detector
- Drill with long spade or paddle bits (3/4 inch recommended)
- Wall plate and low-voltage mounting brackets
- RJ45 keystone jacks and wall plates
- Cable stripper and crimping tool
- Network tester (essential for verifying connections)
- Labels and permanent marker
- Utility knife, measuring tape, pencil
“Running cable during a remodel is 80% easier than retrofitting. If walls are open, install conduit for future flexibility.” — Mark Tran, Residential Network Installer with 12 years of experience
Step-by-Step Installation Process
Follow this sequence for a smooth, error-free installation:
- Mark locations: Use a stud finder to locate framing. Mark entry and exit points on baseboards or walls.
- Drill access holes: Drill through studs or top/bottom plates vertically between floors. Angle slightly downward to prevent water migration.
- Feed fish tape: Insert fish tape from the upper opening down to the lower one. Attach the cable securely using electrical tape (don’t knot it).
- Pull the cable: Gently pull the fish tape back up, bringing the cable with it. Apply silicone-based lubricant if friction is high.
- Route along baseboards (if needed): For visible runs, use surface-mounted raceways to keep cables organized and protected.
- Terminate at both ends: Strip the outer jacket, untwist pairs just enough, insert into RJ45 jack following T568B standard, and punch down with a tool.
- Test each run: Use a network cable tester to confirm all eight pins are connected correctly and there are no shorts or crosstalk.
- Label everything: Use numbered or room-specific labels at both ends and on patch panels.
Avoid Common Installation Mistakes
Even experienced DIYers make errors that degrade performance. Watch out for these:
- Over-bending cables: Never bend Ethernet cable tighter than a 1-inch radius. Sharp kinks damage internal wire geometry and cause signal loss.
- Untwisting pairs too much: Excess untwisting before termination increases crosstalk. Keep it under 1/2 inch.
- Running parallel to power lines: Crossing power cables is acceptable, but avoid long parallel runs within 12 inches. Electromagnetic interference can disrupt data signals.
- Using consumer-grade bulk cable: Cheap cable may lack proper shielding or twist consistency. Invest in reputable brands like Belden, Leviton, or Panduit.
- Skipping the patch panel: Directly connecting wall jacks to a switch creates a messy, unmanageable system. A patch panel centralizes control and simplifies changes.
Real Example: Wiring a Two-Story Home
Consider a homeowner adding wired connections to a study, basement theater, and upstairs bedroom. The network hub was placed in a utility closet near the main electrical panel. Using a fish tape, they fed cables from the closet up through the attic to the bedroom, and down through interior walls to the basement. Each run was labeled “Study-01,” “Theater-02,” etc., and terminated at a central patch panel. Keystone jacks were installed flush with wall plates, matching the home’s décor. After testing, all connections delivered full gigabit speeds. The project took one weekend and eliminated Wi-Fi dead zones permanently.
Final Setup and Optimization
Once cables are installed and tested, connect them properly:
- Link each wall jack to the corresponding port on the patch panel.
- Use short, high-quality patch cables to connect the patch panel to your managed switch or router.
- Configure your network settings—assign static IPs if needed, enable Quality of Service (QoS) for streaming or gaming.
- Consider VLANs if you have separate networks (e.g., guest devices, IoT gadgets).
If you’re using a mesh Wi-Fi system, connect nodes via Ethernet for backhaul. This dramatically improves performance compared to wireless mesh links.
FAQ
Can I run Ethernet cables alongside electrical wiring?
You can cross electrical wires at 90-degree angles, but avoid running Ethernet parallel to power lines for more than 2 feet. When necessary, maintain at least 12 inches of separation to minimize electromagnetic interference.
Do I need a professional to terminate the cables?
No—terminating keystone jacks and using a punch-down tool is learnable with practice. However, if you’re installing more than 10 drops or want a certified installation, hiring a licensed low-voltage electrician ensures compliance and reliability.
What’s better: wall jacks or surface raceways?
Wall jacks offer a clean, built-in look and are ideal during renovations. Surface raceways are perfect for finished walls—they’re paintable and removable without damage. Choose based on aesthetics and construction stage.
Conclusion
Installing Cat cable in your home is one of the most impactful upgrades you can make to your digital infrastructure. With careful planning, the right materials, and attention to detail, you can achieve a network that’s fast, reliable, and invisible—until you need it. Every device connected via Ethernet benefits from reduced lag, consistent throughput, and immunity to Wi-Fi congestion.
🚀 Start your installation this weekend. Map your first two drops, gather your tools, and take the first pull. A future-proof home network isn’t magic—it’s measured, methodical work. Share your progress or ask questions in the comments below!