Creating a personalized baseball t-shirt at home is more than just a craft—it’s a way to express team spirit, commemorate a season, or celebrate a player’s journey. Whether you're designing for a youth league, a high school team, or a backyard tournament, custom shirts add a professional touch without the bulk cost of outsourcing. With basic tools and a bit of creativity, you can produce durable, eye-catching designs that stand up to wear and washing. This guide walks through every stage—from concept to final press—with practical advice, expert insights, and real-world tips.
1. Plan Your Design Concept
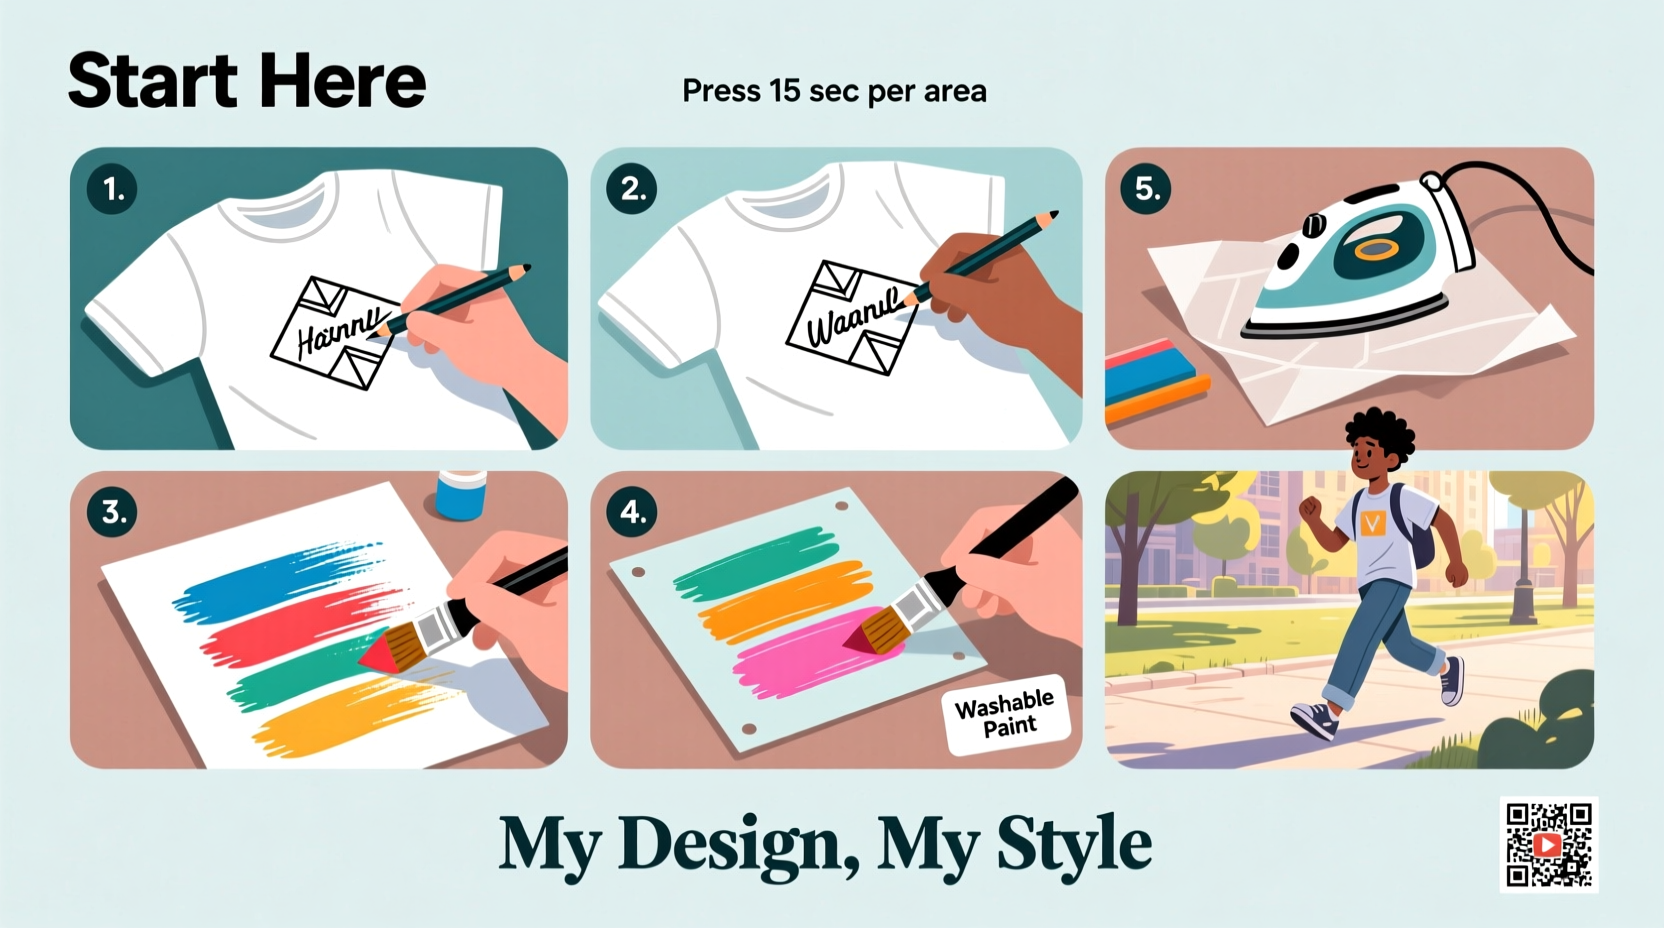
Before touching fabric, define what your shirt should communicate. Is it about team identity? A player's number and name? A fun slogan for fans? Start with paper sketches or digital mockups using free tools like Canva or Inkscape. Focus on readability: large fonts for names and numbers, balanced spacing, and limited colors for easier printing.
Consider placement: front logos, back player names, sleeve patches, or collar tags. Standard positions include centered chest logos (4–6 inches wide), full-back names and numbers (10–12 inches tall), and sleeve insignias (2–3 inches).
Tip: Use contrasting colors between shirt and design for maximum visibility—white text on navy works better than yellow.2. Choose Your Fabric and Shirt Base
The success of any custom design depends on the shirt itself. Most baseball tees are made from 100% cotton or cotton-polyester blends. Cotton absorbs ink and paint well but may shrink; polyester resists shrinking but can react poorly to high heat during transfer.
For best results, select a heavyweight jersey knit (around 6 oz) with a smooth surface. Avoid ribbed or textured fabrics, as they interfere with even application of transfers or stencils. Pre-wash the shirt to remove sizing chemicals and prevent post-design shrinkage.
“Cotton gives the cleanest transfer and longest-lasting print when paired with quality vinyl or screen-printing methods.” — Dana Reyes, Apparel Designer & Textile Educator
3. Select Your Personalization Method
There are several DIY-friendly techniques to personalize a t-shirt. Each has pros and cons depending on your skill level, budget, and desired durability.
| Method | Best For | Tools Needed | Durability |
|---|---|---|---|
| Iron-on Transfers | Photographs, detailed graphics | Inkjet printer, transfer paper, iron | Moderate (5–15 washes) |
| Heat Transfer Vinyl (HTV) | Names, numbers, bold text | Cutting machine (Cricut/Silhouette), heat press or iron | High (30+ washes) |
| Fabric Paint & Stencils | Simple shapes, team logos | Stencil, brush, fabric medium | Good (with proper setting) |
| Screen Printing (DIY kit) | Bulk orders, vibrant colors | Squeegee, mesh frame, emulsion | Excellent |
For beginners, HTV offers the best balance of ease and longevity. It comes in multiple colors, including metallics and glow-in-the-dark, and adheres strongly when applied correctly.
4. Step-by-Step Application Process (Using Heat Transfer Vinyl)
This timeline-based method ensures precision and durability when applying HTV—the most popular choice for baseball shirts.
- Design and Mirror: Create your text or logo in design software. Mirror the image horizontally so it reads correctly after transfer.
- Cut the Vinyl: Load HTV into a cutting machine. Use standard settings for your material (e.g., “Glitter” or “Iron-On” mode). Cut only the top layer, not through the backing.
- Weed Excess: Remove unwanted vinyl pieces using tweezers. Leave only the letters or shapes you want to apply.
- Preheat Shirt: Set iron or heat press to 305°F (or cotton setting if no thermometer). Iron the shirt for 15 seconds to eliminate moisture and wrinkles.
- Position and Press: Place the weeded design on the shirt. Cover with a Teflon sheet or parchment paper. Apply firm pressure for 15–20 seconds with a heat press, or 30 seconds with a household iron using circular motions.
- Peel Carrier Sheet: Wait 10–15 seconds, then slowly peel the clear carrier sheet. For some vinyl types (like glitter), do a \"hot peel\"; others require cooling first (\"cold peel\").
- Seal the Design: Press again for 10 seconds to ensure full adhesion. Let cool completely before handling.
5. Real Example: Customizing a Little League Team Shirt
When Sarah Thompson volunteered to outfit her son’s 10U baseball team, she wanted affordable yet professional-looking jerseys. She chose navy cotton shirts and used gold and white HTV for last names and numbers. Using a Cricut Maker, she mirrored and cut each name in block font, weeded them in batches, and pressed them onto the back of 12 shirts over a weekend.
She pre-washed all shirts, used a heat press at 305°F for consistent results, and included a care tag advising cold washes and inside-out drying. After three months of weekly games and laundry, none of the designs cracked or peeled. Parents praised the sharp look, and the total cost was less than $8 per shirt—including materials.
Essential Do’s and Don’ts
- Do use 100% cotton or cotton-blend shirts for best HTV adhesion.
- Do let the design cool fully before moving the shirt.
- Do wash shirts inside out in cold water to extend design life.
- Don’t stretch the fabric while applying heat—this causes cracks.
- Don’t use steam when pressing HTV unless specified by manufacturer.
- Don’t dry-clean shirts with vinyl designs—solvents degrade adhesive.
Frequently Asked Questions
Can I mix fabric paint and heat transfer vinyl on the same shirt?
Yes, but apply the HTV first. Fabric paint adds texture and could interfere with even heat distribution if layered underneath. Allow painted areas to dry and cure fully before adding vinyl.
How long does a DIY baseball t-shirt design last?
A well-applied HTV design lasts 30+ washes. Iron-on transfers typically last 5–15 washes. Proper care—washing inside out, avoiding high heat drying—can double its lifespan.
Is screen printing feasible at home for one-off designs?
It’s possible but less efficient for single shirts. Screen printing excels when making 5+ identical copies. For one-offs, HTV or fabric painting saves time and cleanup effort.
Final Checklist Before You Begin
- ☐ Choose shirt color and material (pre-washed)
- ☐ Finalize design (name, number, logo, font)
- ☐ Select personalization method (HTV, paint, etc.)
- ☐ Gather tools (cutting machine, iron, transfer tape, tweezers)
- ☐ Test design on scrap fabric
- ☐ Prepare workspace with flat, heat-resistant surface
- ☐ Follow curing and care instructions after application
Bring Your Vision to Life
Personalizing a baseball t-shirt at home isn’t just economical—it’s meaningful. Each stitch and print carries intention, whether it’s honoring a player’s dedication or uniting a team under a shared identity. With accessible tools and attention to detail, anyone can create a garment that looks professionally made. The key is preparation, precision in application, and respect for material limits.
💬 Ready to make your first custom baseball tee? Share your design idea or ask questions in the comments—we’d love to see what you create!