Balloon centerpieces have evolved from simple decorations into show-stopping focal points at children’s parties and superhero-themed events. When it comes to capturing the excitement of a young fan, few characters spark joy like Spider-Man and his allies. Whether you're planning a birthday bash, school event, or surprise party, a custom Spidey and friends balloon centerpiece can elevate the atmosphere instantly. This guide walks through every stage—from material selection to final assembly—so you can create a professional-looking centerpiece without hiring a decorator.
Gather Your Materials and Tools
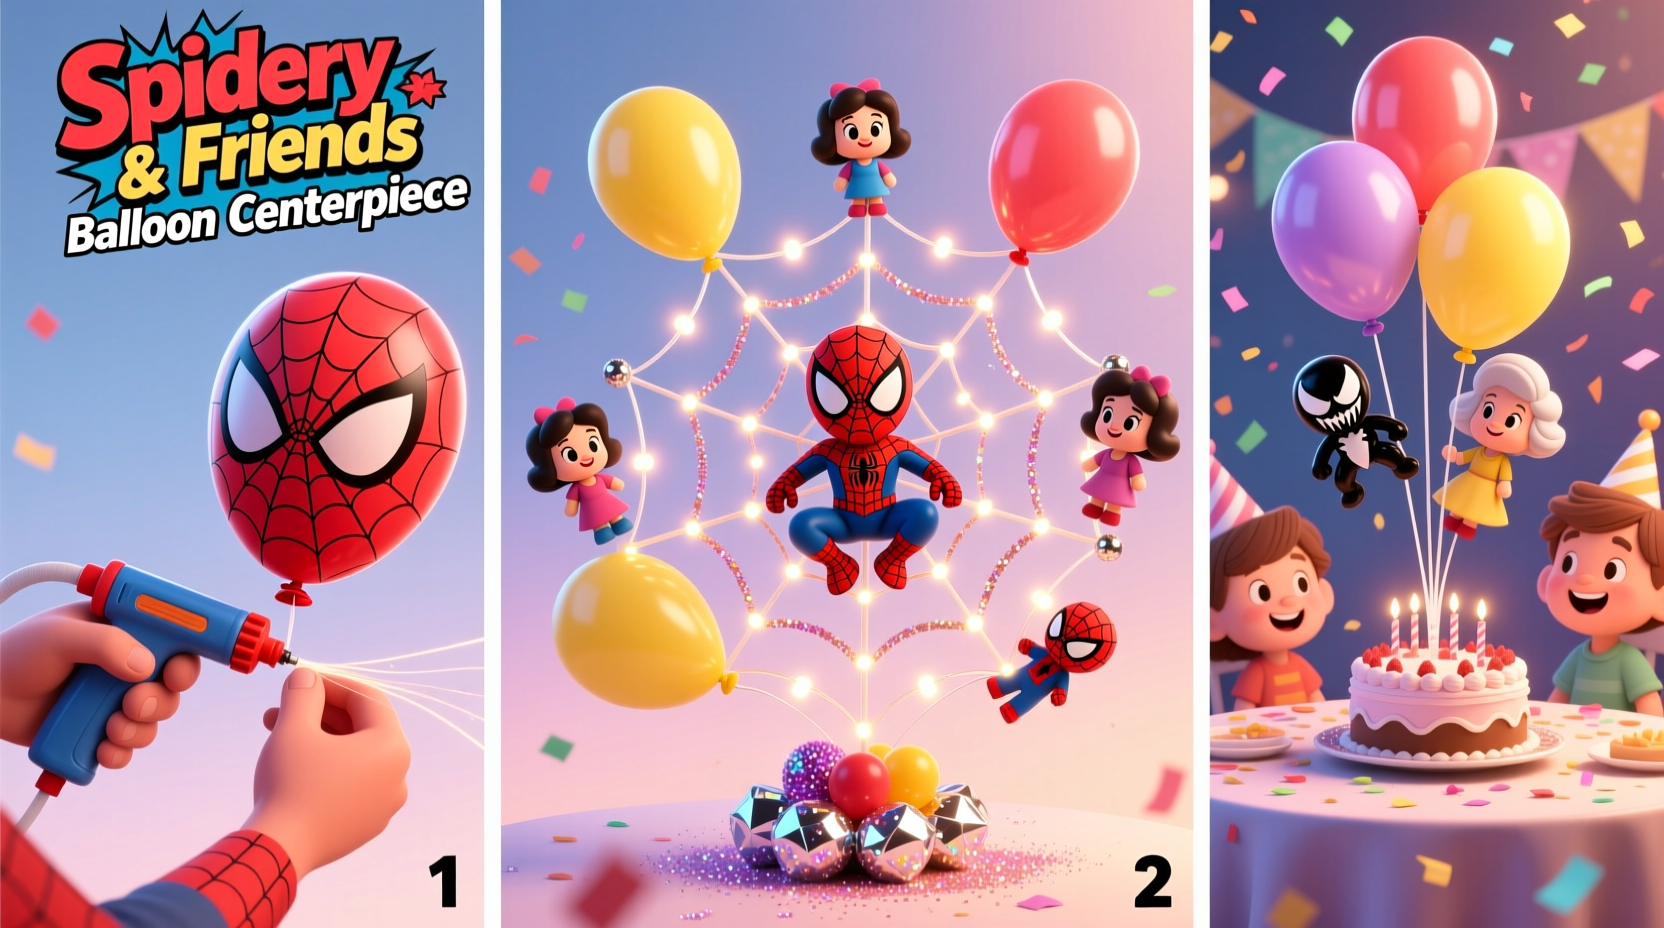
The foundation of a polished centerpiece lies in preparation. Assemble all necessary supplies before beginning to avoid interruptions mid-project. Choose high-quality balloons in colors that reflect Spider-Man’s classic red and blue, along with accents for supporting characters like Miles Morales, Black Cat, or Gwen Stacy.
- 9” and 12” latex balloons (red, blue, black, white, yellow)
- 4’ mylar balloons (Spider-Man face, web pattern, or character cutouts)
- Hand pump or electric inflator
- Clear balloon decorating strip (60–72”)
- Fishing line or thin nylon cord (for shaping and securing)
- Floral wire or bendable craft rods (for structural support)
- Base weight (plastic cup filled with pebbles, clay, or a commercial balloon base)
- Tape, scissors, and double-sided tape
Design Your Centerpiece Structure
A visually balanced centerpiece combines height, symmetry, and character representation. Most successful designs use a central tower with satellite clusters around it. Consider a tiered approach:
- Base Layer: A ring of alternating red and blue 9” balloons to anchor the piece.
- Middle Layer: A cluster of 12” balloons forming a dome, incorporating web-pattern mylars.
- Top Feature: A large Spider-Man mylar balloon mounted vertically using floral wire.
- Satellite Elements: Smaller balloon pairs shaped like mini heroes (e.g., “Spidey hands” made with two connected balloons).
| Design Element | Purpose | Recommended Quantity |
|---|---|---|
| Red & Blue Latex (9”) | Base stability and color rhythm | 12–16 |
| Latex (12”) | Main dome structure | 6–8 |
| Mylar Character Balloons | Thematic identity | 1–3 |
| Web Accents | Texture and theme reinforcement | 2–4 |
| Support Wire | Vertical lift and positioning | 1–2 pieces (12–18” each) |
Step-by-Step Assembly Process
Follow this timeline-based sequence for a seamless build. Allow 30–45 minutes total, depending on complexity.
- Inflate the base layer: Use the hand pump to fill 12 red and blue 9” balloons. Twist pairs together and attach them to the balloon strip in an alternating pattern. Secure the strip around the weighted base.
- Create the dome cluster: Inflate six 12” balloons (3 red, 3 blue). Pair and twist them into sets of four, then stack them into a rounded cluster. Attach this to the center of the base using fishing line looped through the knot.
- Add mylar elements: Insert a flexible floral wire through the mylar balloon’s tab. Bend the bottom end into a hook and embed it into the base. Position the mylar so it stands upright behind the dome, slightly tilted forward.
- Incorporate web and side balloons: Attach small web-pattern mylars to thin cords and drape them between main sections. Add “hero buddy” mini-clusters (two-balloon arches) around the perimeter using short wires.
- Final stabilization: Test balance by gently tilting the base. If wobbling occurs, add more weight inside the cup or adjust balloon distribution. Trim excess wire ends flush to prevent snags.
Real-World Example: Emma’s Birthday Surprise
When Sarah planned her son Mateo’s 7th birthday—a Spider-Verse theme—she wanted something memorable but affordable. She followed this method using $38 worth of supplies from a local party store. By assembling three centerpieces the night before, she saved over $120 compared to rental quotes. Guests complimented the dynamic look, especially the way the mylar Spidey appeared to “swing” over the table. One parent asked for the tutorial, proving that thoughtful DIY efforts often inspire others.
“With attention to proportion and character placement, even home crafters can achieve display-quality results.” — Jordan Lee, Professional Balloon Artist & Instructor
Common Pitfalls and How to Avoid Them
Even experienced decorators encounter issues. Recognizing these early prevents last-minute fixes.
- Overinflation: Stretching latex too thin causes premature popping. Inflate until firm but still slightly yielding.
- Poor weight distribution: Top-heavy designs tip easily. Always counterbalance vertical elements with a sturdy base.
- Late inflation: Latex balloons lose lift within 12–24 hours. Inflate no more than 6 hours before the event for helium-free versions.
- Neglecting room layout: Tall centerpieces block views. Keep heights under 24” for dining tables unless used on buffet counters.
Checklist: Before You Present Your Centerpiece
- ✅ All balloons securely tied and puncture-free
- ✅ Base is stable and won’t tip when lightly nudged
- ✅ Color scheme matches party theme (verify under event lighting)
- ✅ No exposed wires or sharp edges
- ✅ Mylar balloons facing forward and visible from key angles
- ✅ Backup balloons on hand in case of pop during setup
Frequently Asked Questions
Can I make this without helium?
Absolutely. This design uses air-filled balloons secured to a weighted base. Helium is unnecessary and less stable for centerpieces requiring precise positioning.
How long will the centerpiece last?
Air-filled latex balloons typically hold shape for 3–5 days indoors. For longest life, keep away from direct sunlight, heat sources, and high humidity.
Are there child-safe alternatives to mylar balloons?
Yes. Use printed cardboard cutouts or fabric banners attached to sticks as non-choking-hazard alternatives, especially for toddlers’ events.
Bring the Heroic Touch to Your Next Event
Crafting a Spidey and friends balloon centerpiece isn’t just about decoration—it’s about creating moments of wonder. With thoughtful planning and attention to detail, you can produce a centerpiece that captures the spirit of adventure and heroism. Whether you’re a parent, teacher, or party planner, this project proves that creativity and care outshine cost. The smiles on children’s faces when they spot their favorite web-slinger towering above the snacks? That’s the real reward.
💬 Created your own Spidey centerpiece? Share your photos or tips in the comments—we’d love to see your heroic designs!